A Waistcoat out of Ties
First published: 5th July 2026
My mum invited me to a CluedUp Games event. For those of you who are not familiar, you work as a team to travel around a city and solve riddles. Dressing up is encouraged!
This particular event was Alice in Wonderland themed. When I told my mum I wanted to go as the Mad Hatter, we quickly decided that he is objectively the best character for dressing up, and so we decided to all go as Mad Hatters.
I spend weeks designing and making a hat (see here ), but while scrolling Pinterest I also noticed some very cool waistcoats. In particular, waistcoats made of ties caught my eye. Then I found out you can bulk buy silk ties on ebay pretty cheaply. I simply have to do this.
I bought a bundle of 24 ties for £18 and I ranked them in terms of how colourful and exciting the patterns are. I put the best ties on the front of the waistcoat. I'm looking for a kaleidoscope of colour that immediately catches the eye from a distance. I want this to be totally over the top and loud .
So I picked my 6 favourite ties and put on a T-shirt and pinned them onto it with safety pins in front of a mirror. I sewed a kink into the central ties that will form the edge of the waistcoat, and let the other 4 hang vertically. As ties are thicker at the bottom than the top, having everything hang vertically means they will naturally overlap at the bottom.
From there, its a simple matter of adding the most exciting and colourful tie to one side, cutting and finishing the top of the tie at the desired height, and then trying it on to pin the next tie. I repeated this process until I had 17 ties in the waistcoat in total. For you, this will vary depending on your waist size, the width of the ties you have, and how much you make the ties overlap.
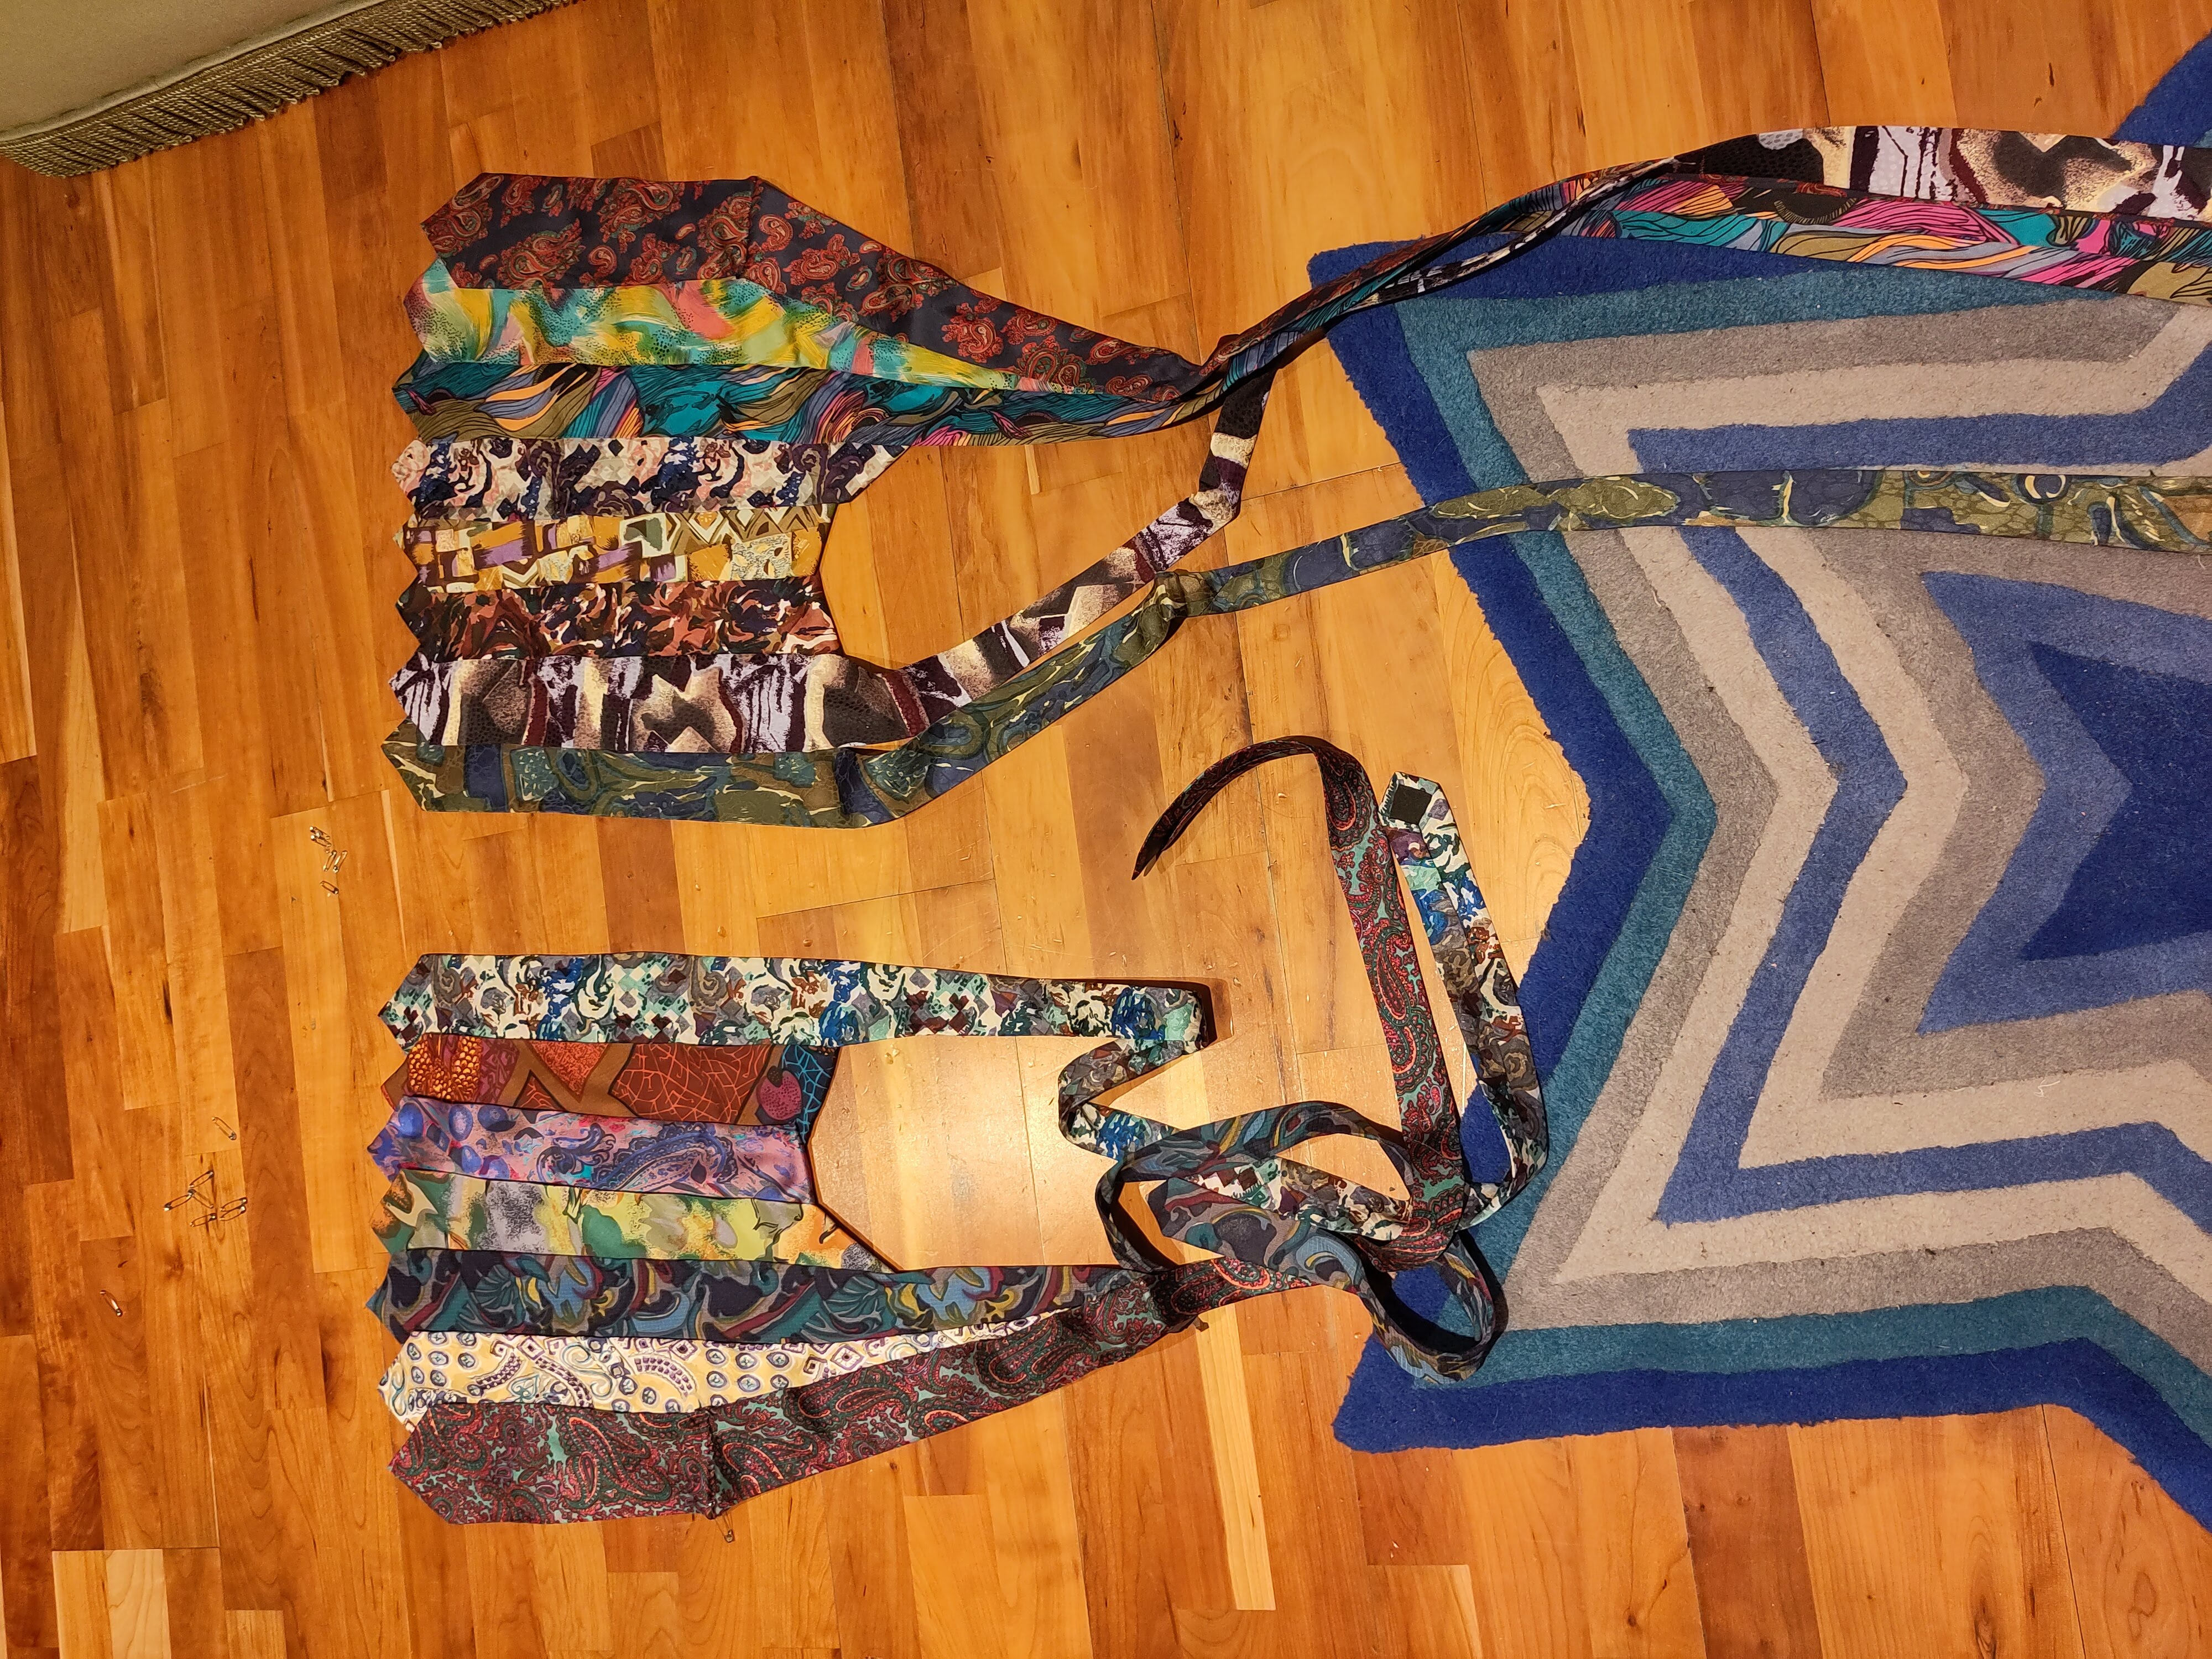
This already looks fantastic, and I'm very excited. This is heading in the right direction to turn out how I imagined.
Next I have to figure out what I want to do with the shoulders. These have to be able to support the weight of the garment, so I had a large overlap where the front and back ties are lying over each other, rather than meeting at a seam.
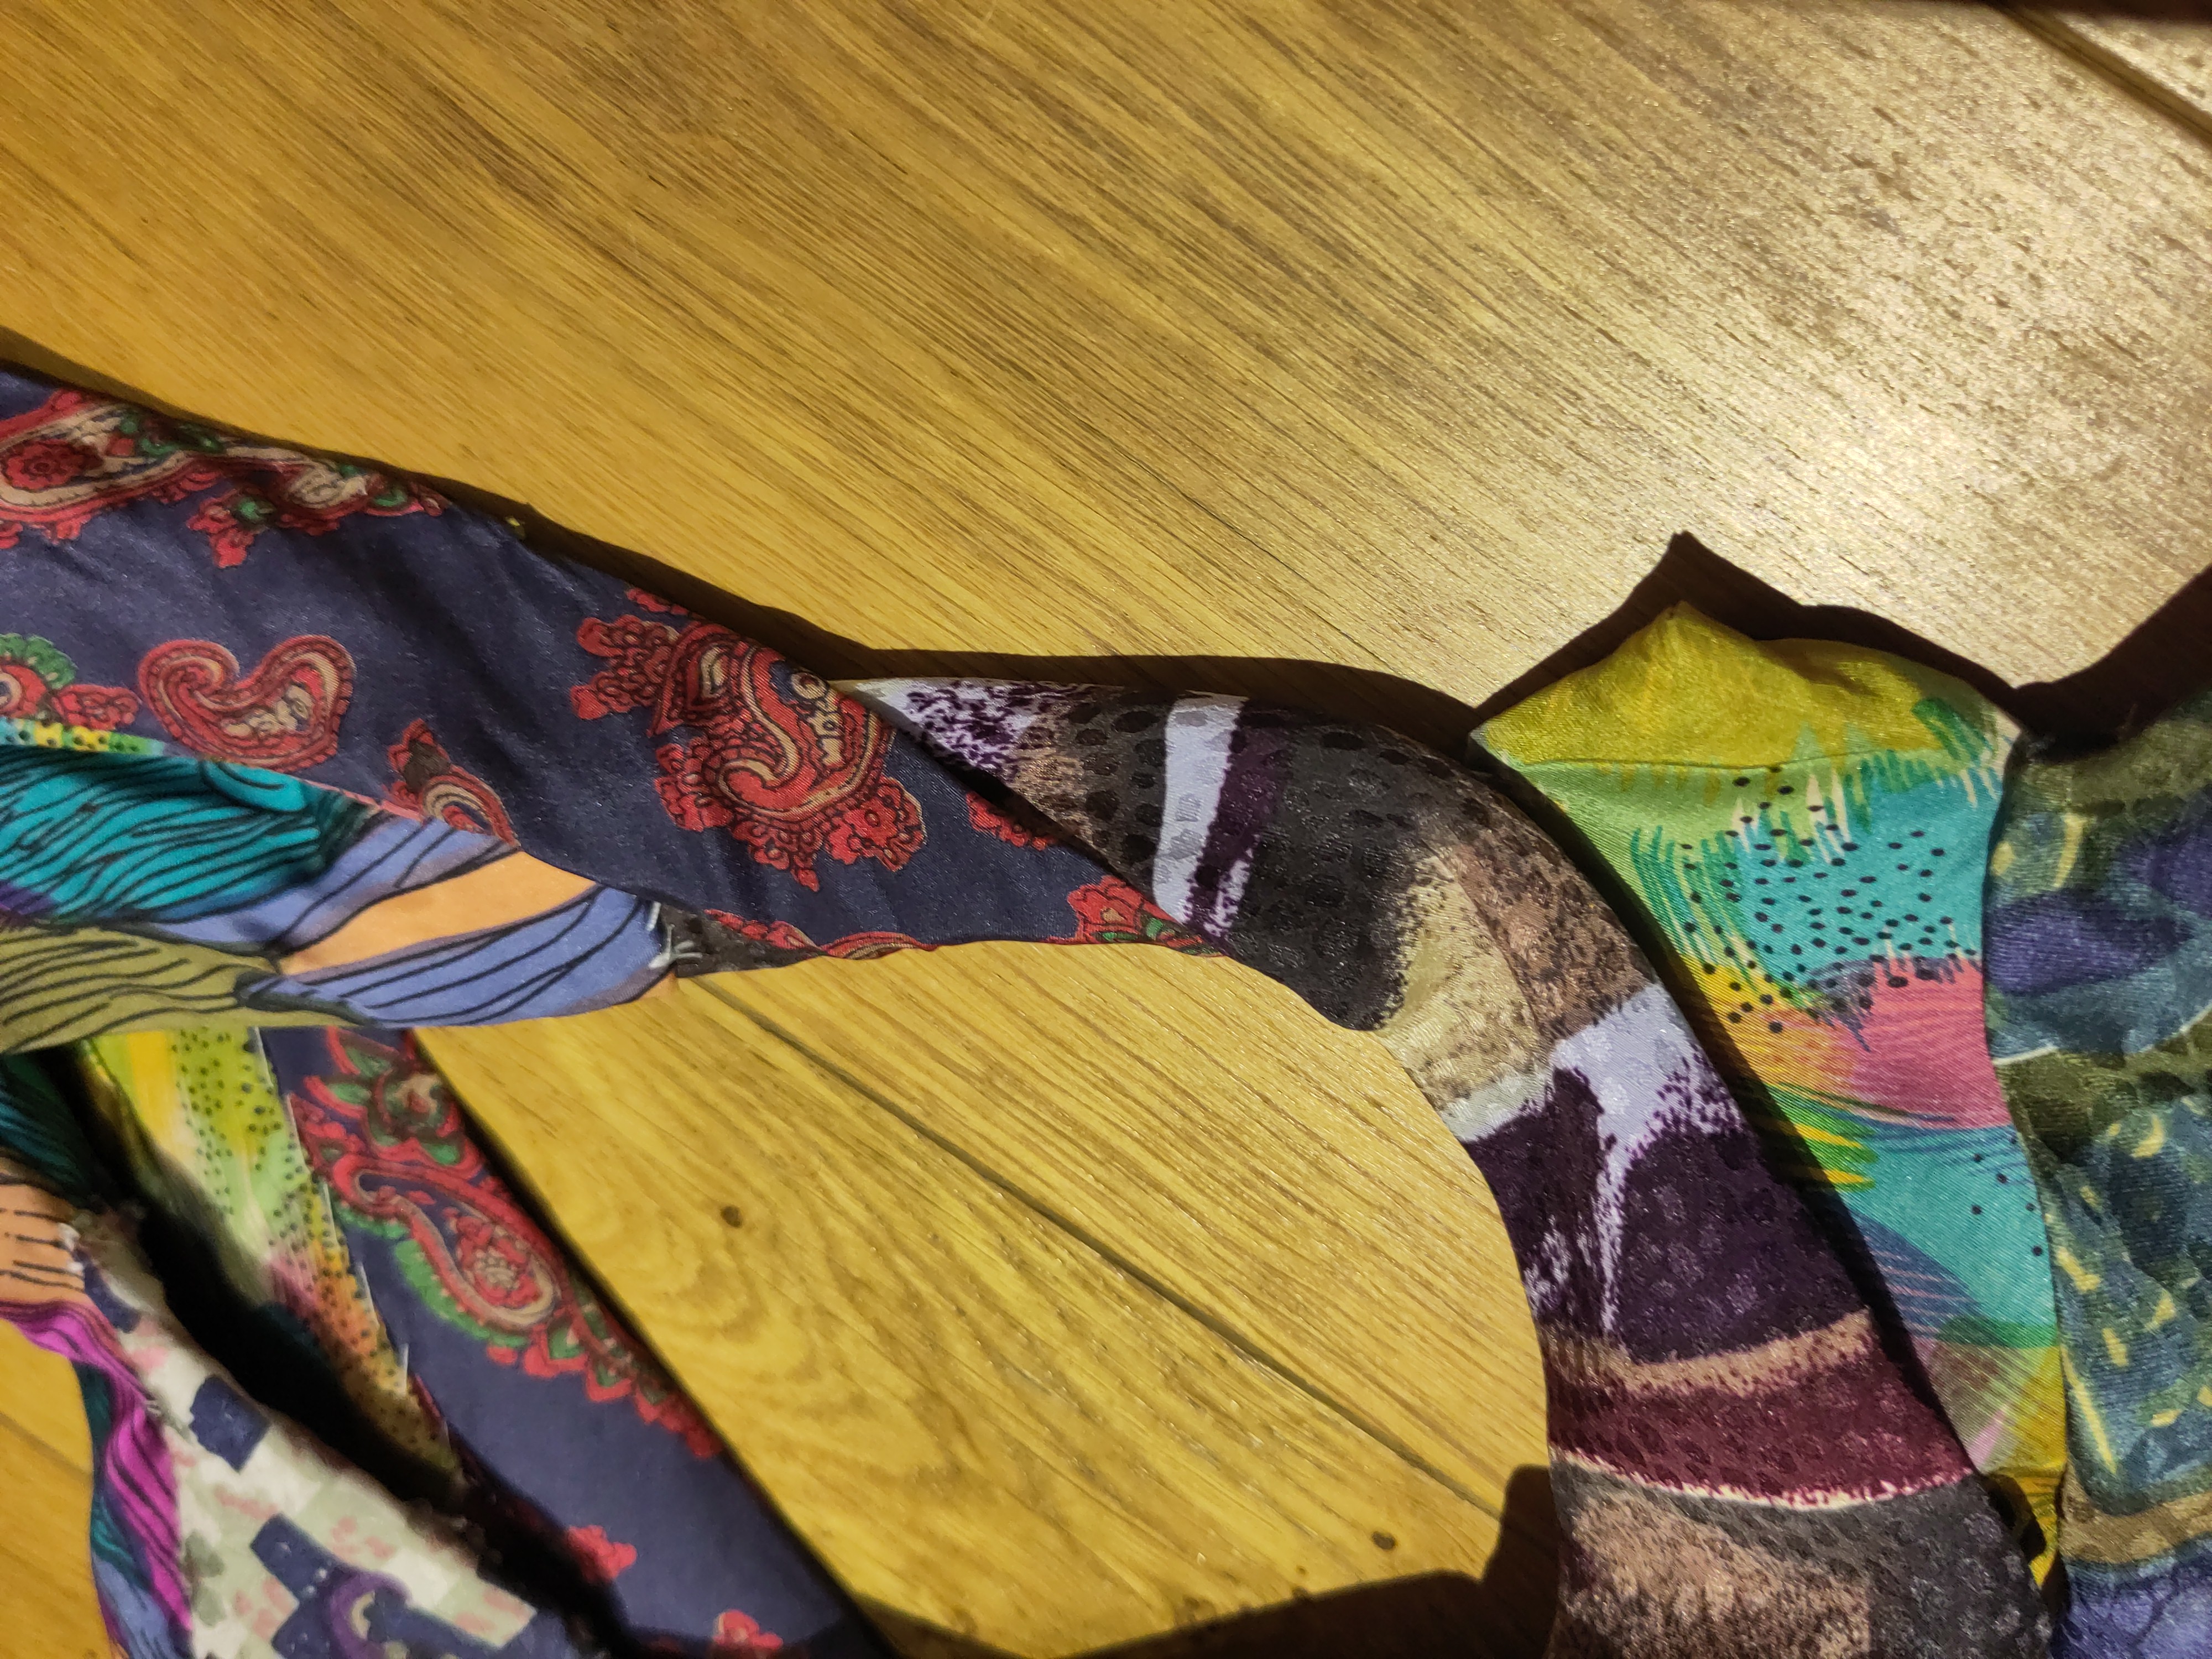
Stronk.
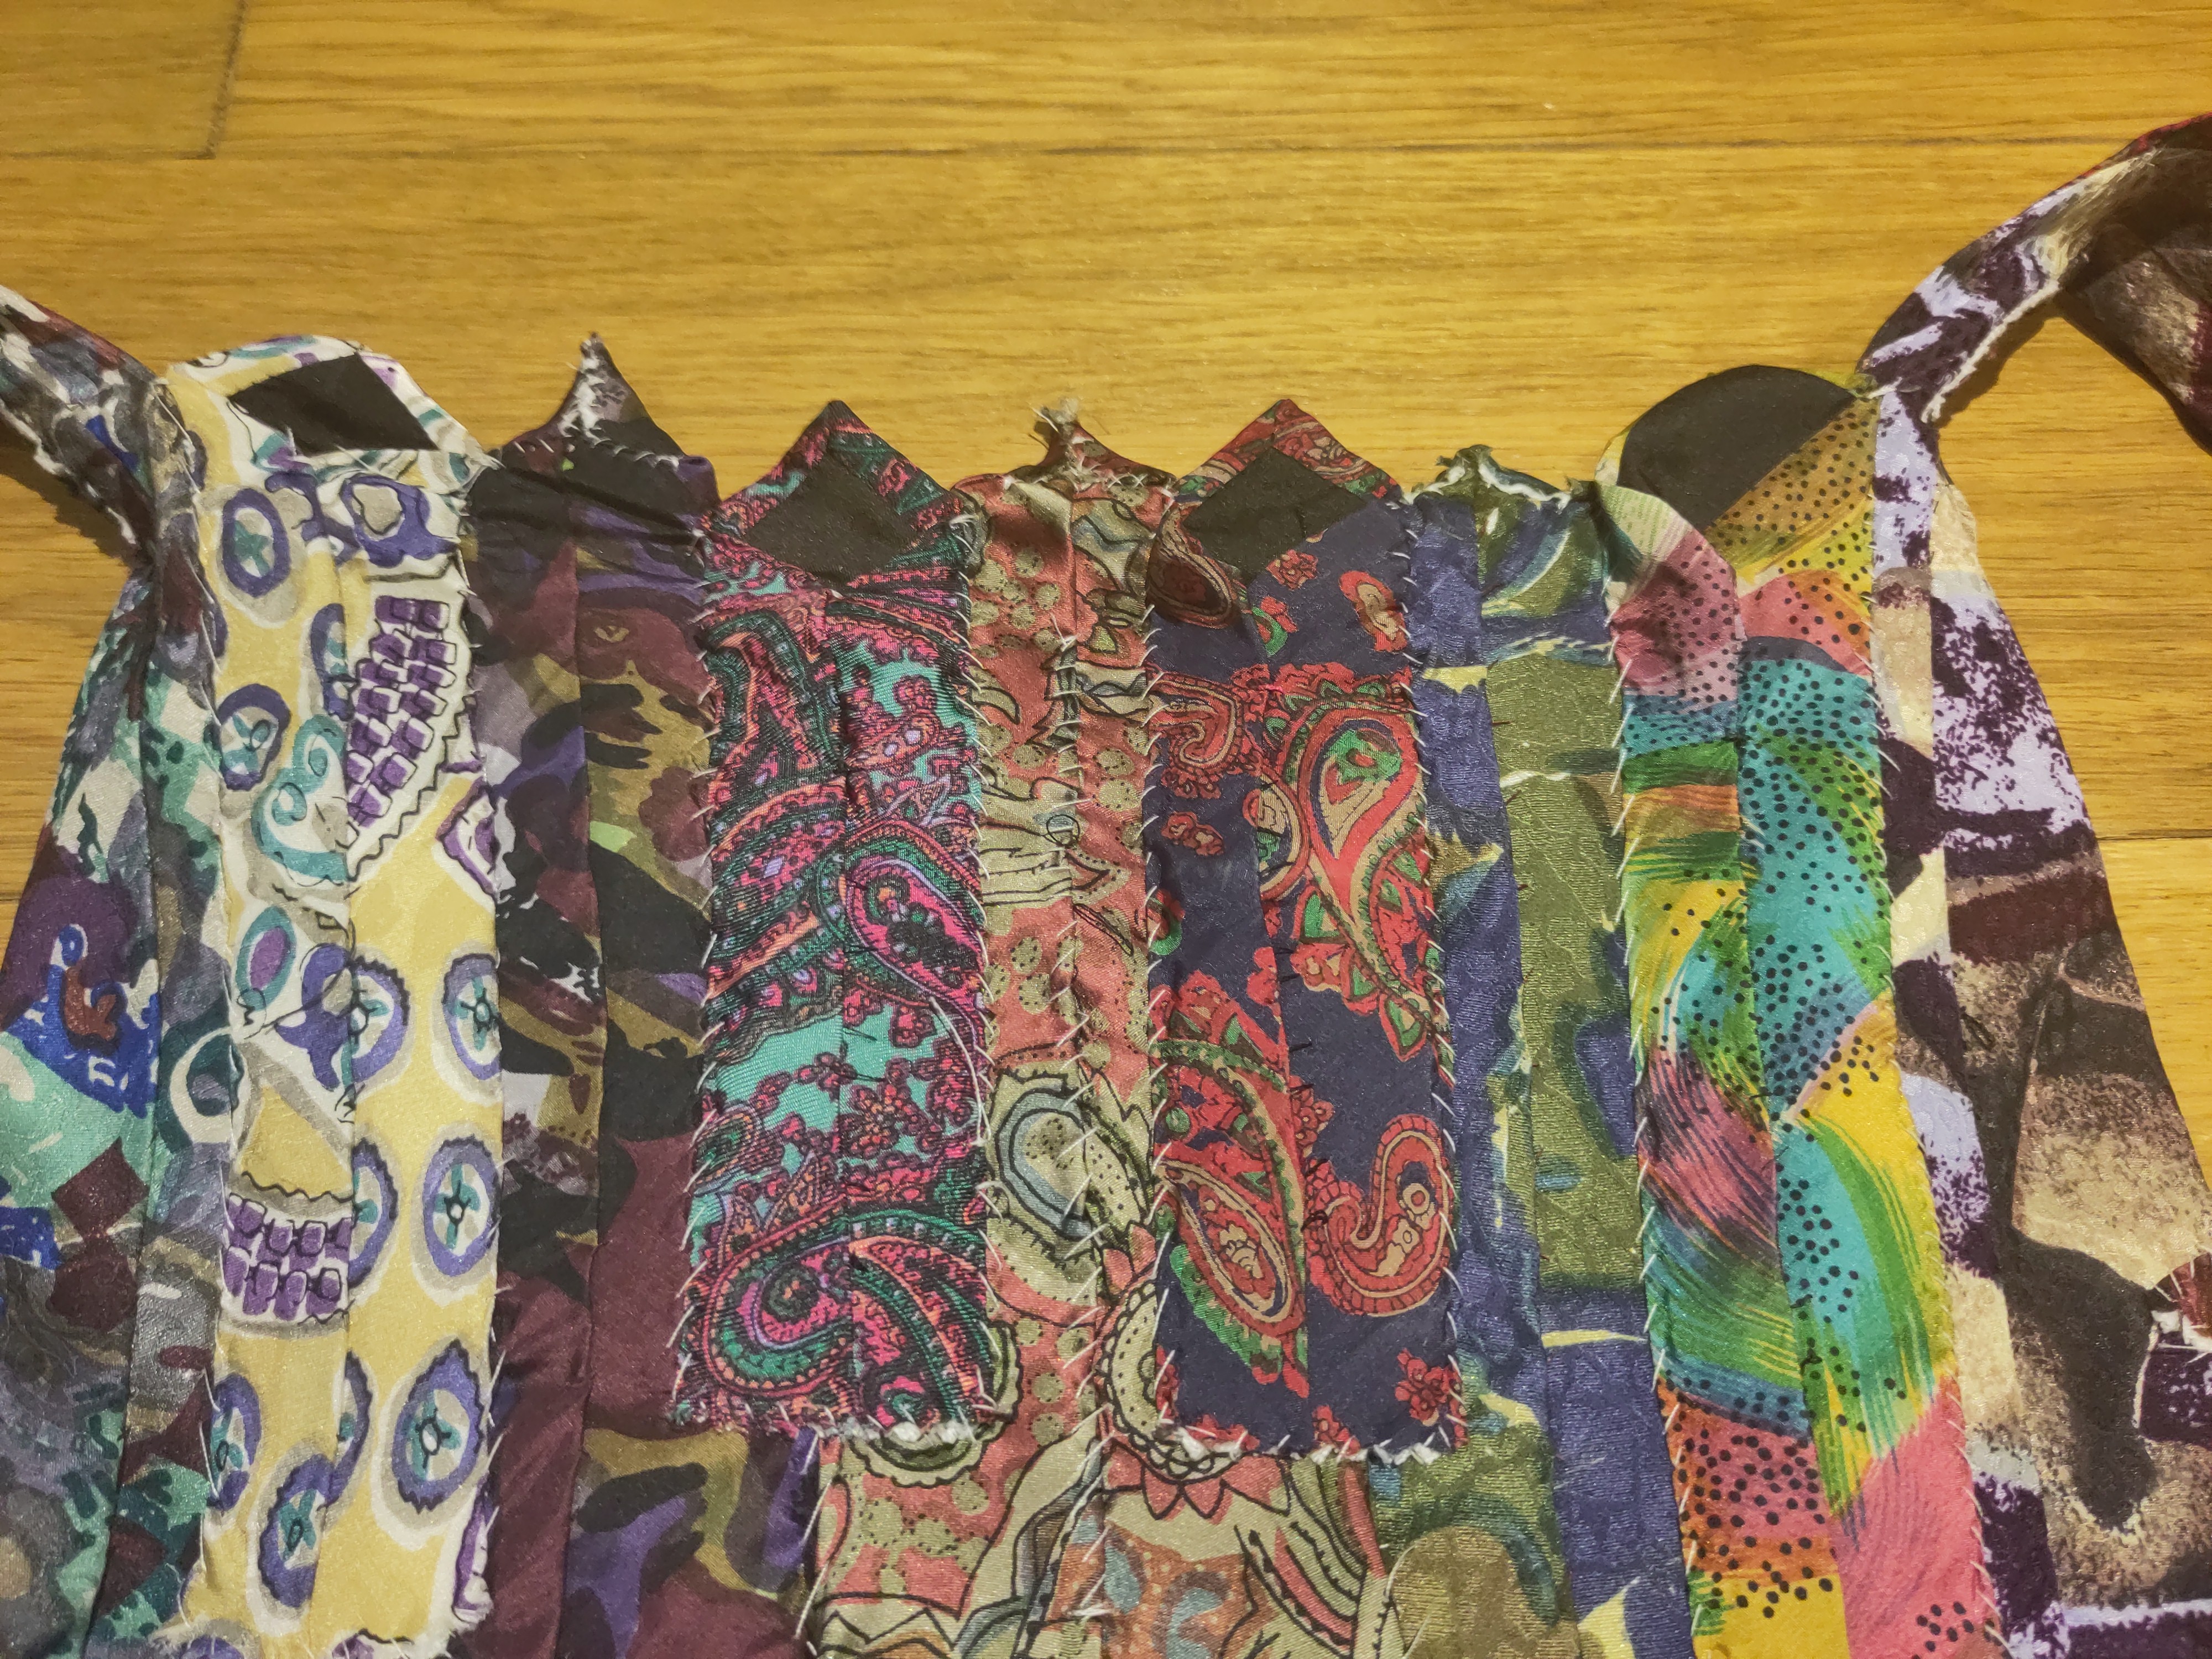
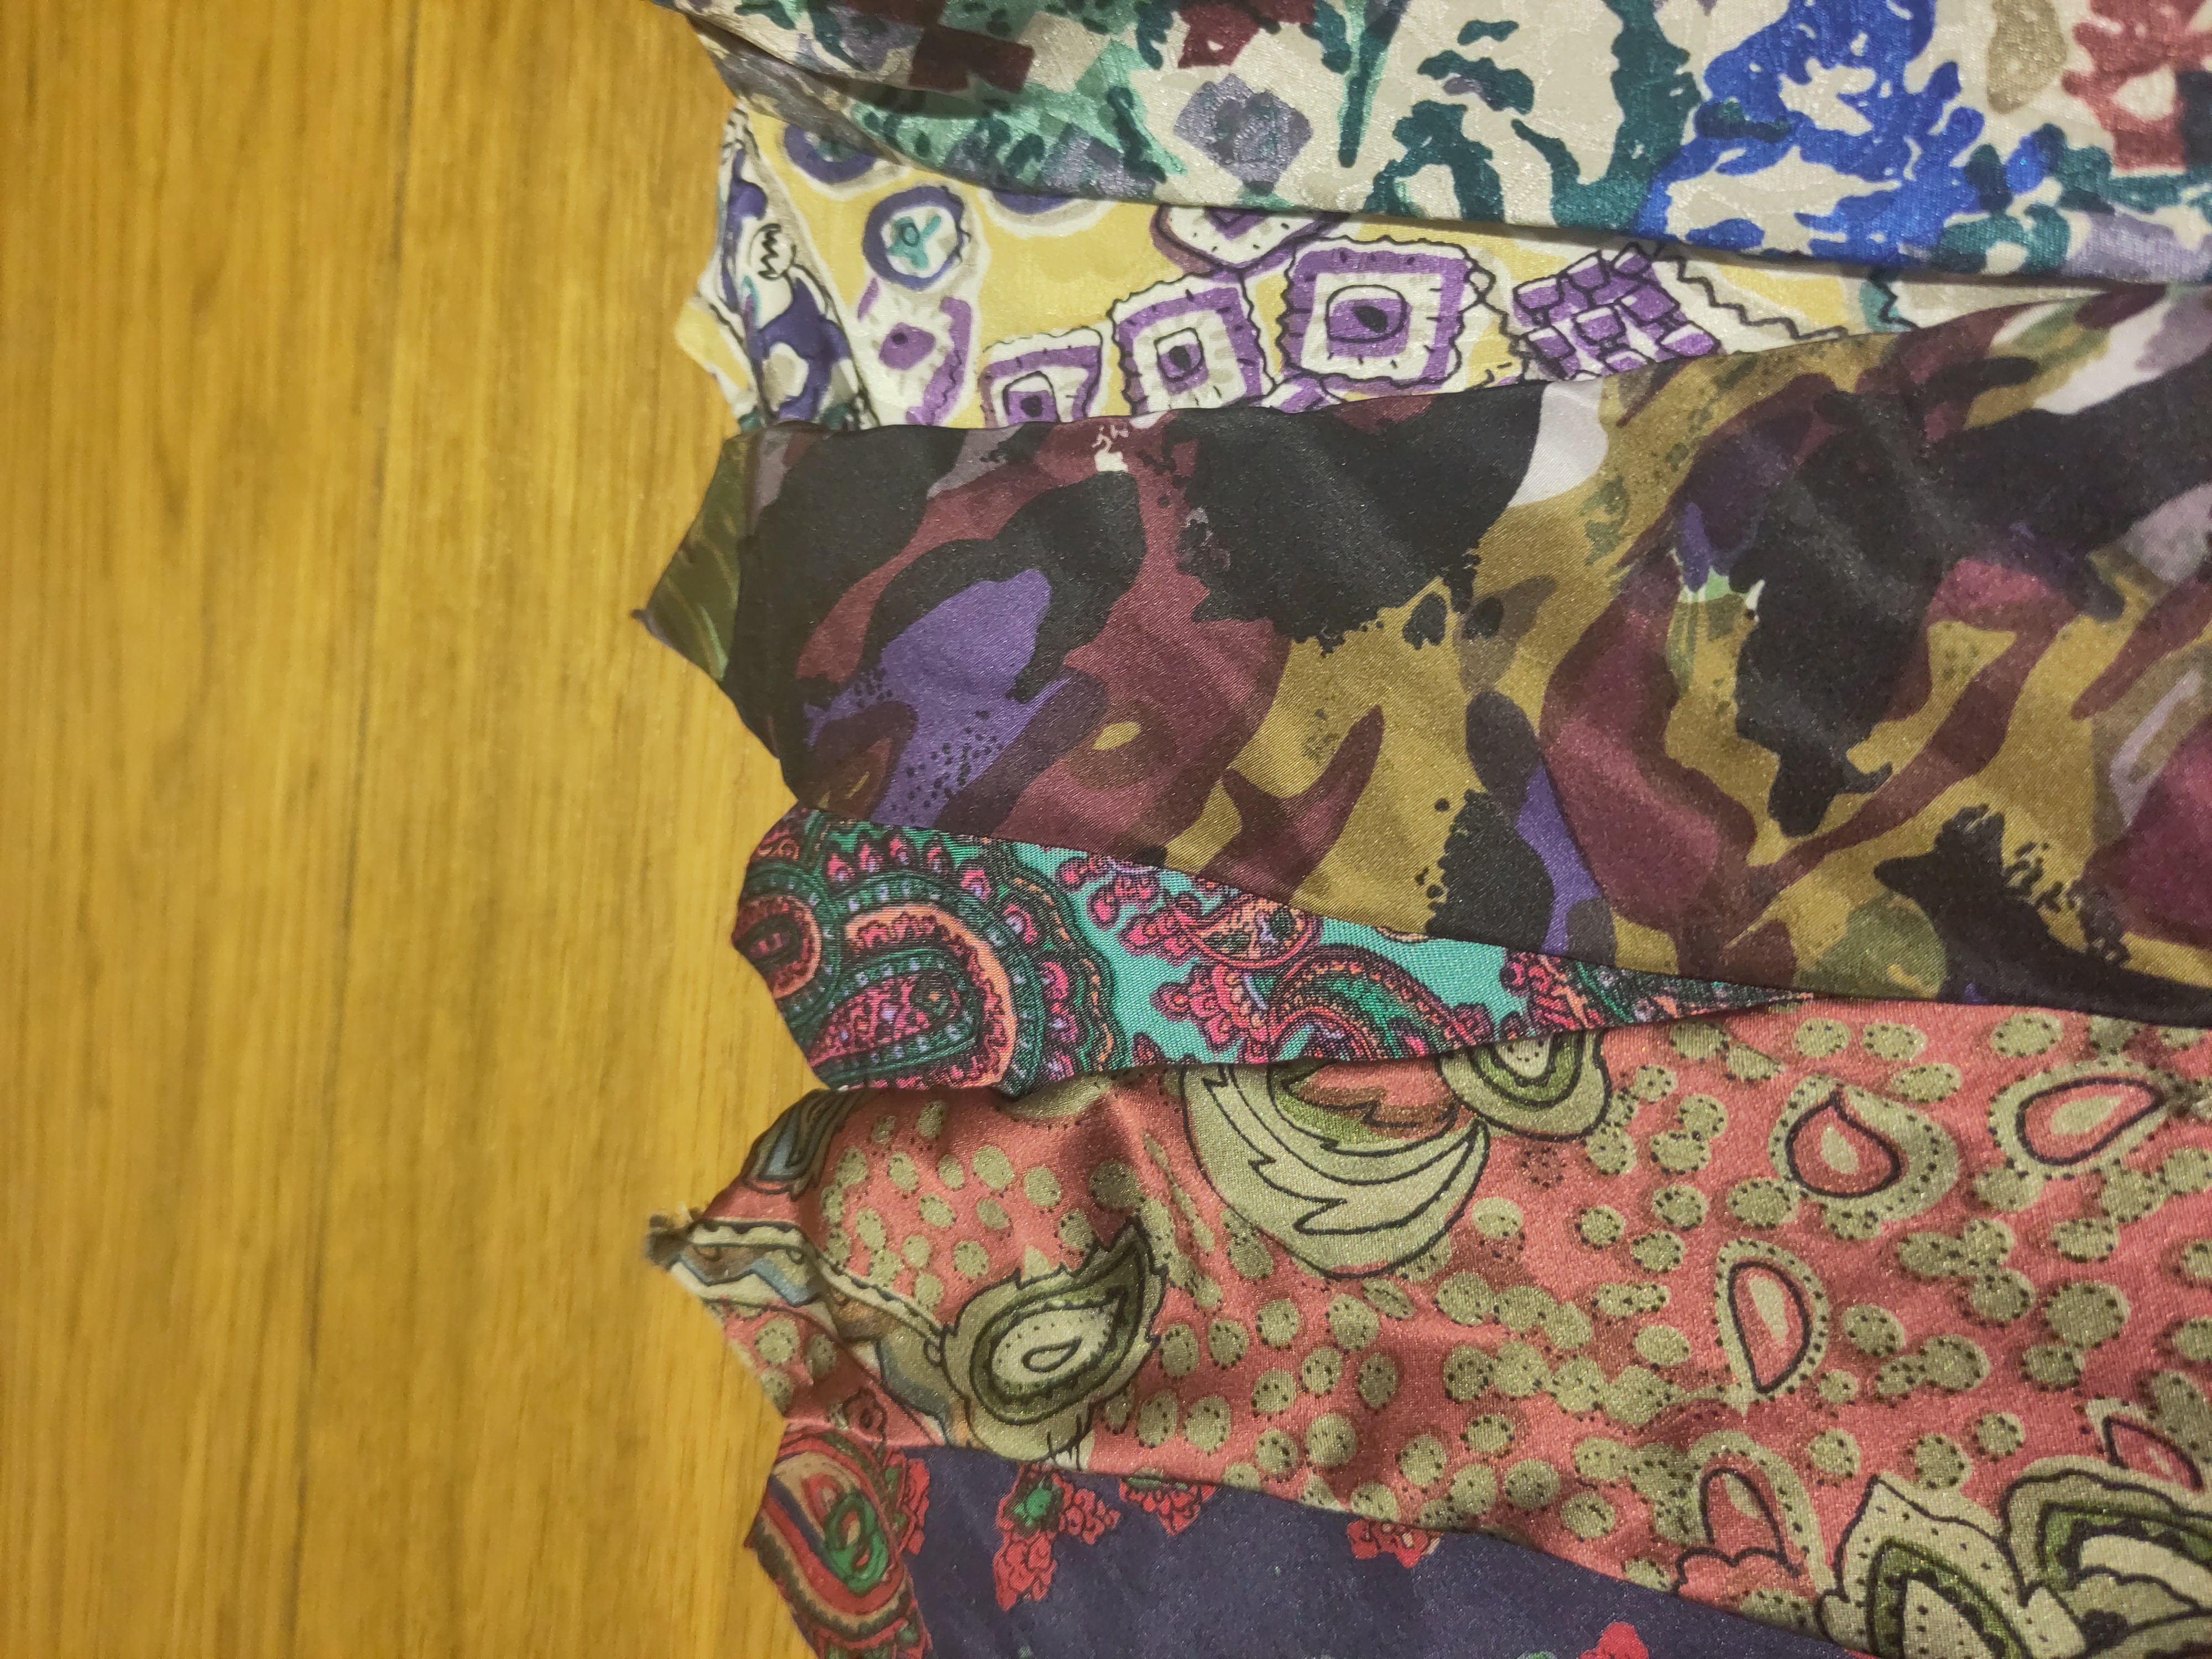
Finally, I need to finish up the back. The thin part of the ties start lower down than I want the back of the waistcoat to be, so I filled in the gaps with the thin ends of the ties that form the front of the waistcoat. Then I cut and finished the back ties to make a nice zigzag top.
|
|
|
View from the inside |
View from the outside |
The final step is a button. I have a collection of nice buttons and nice threads and I make a simple loop and couched it on to hold the button in place.
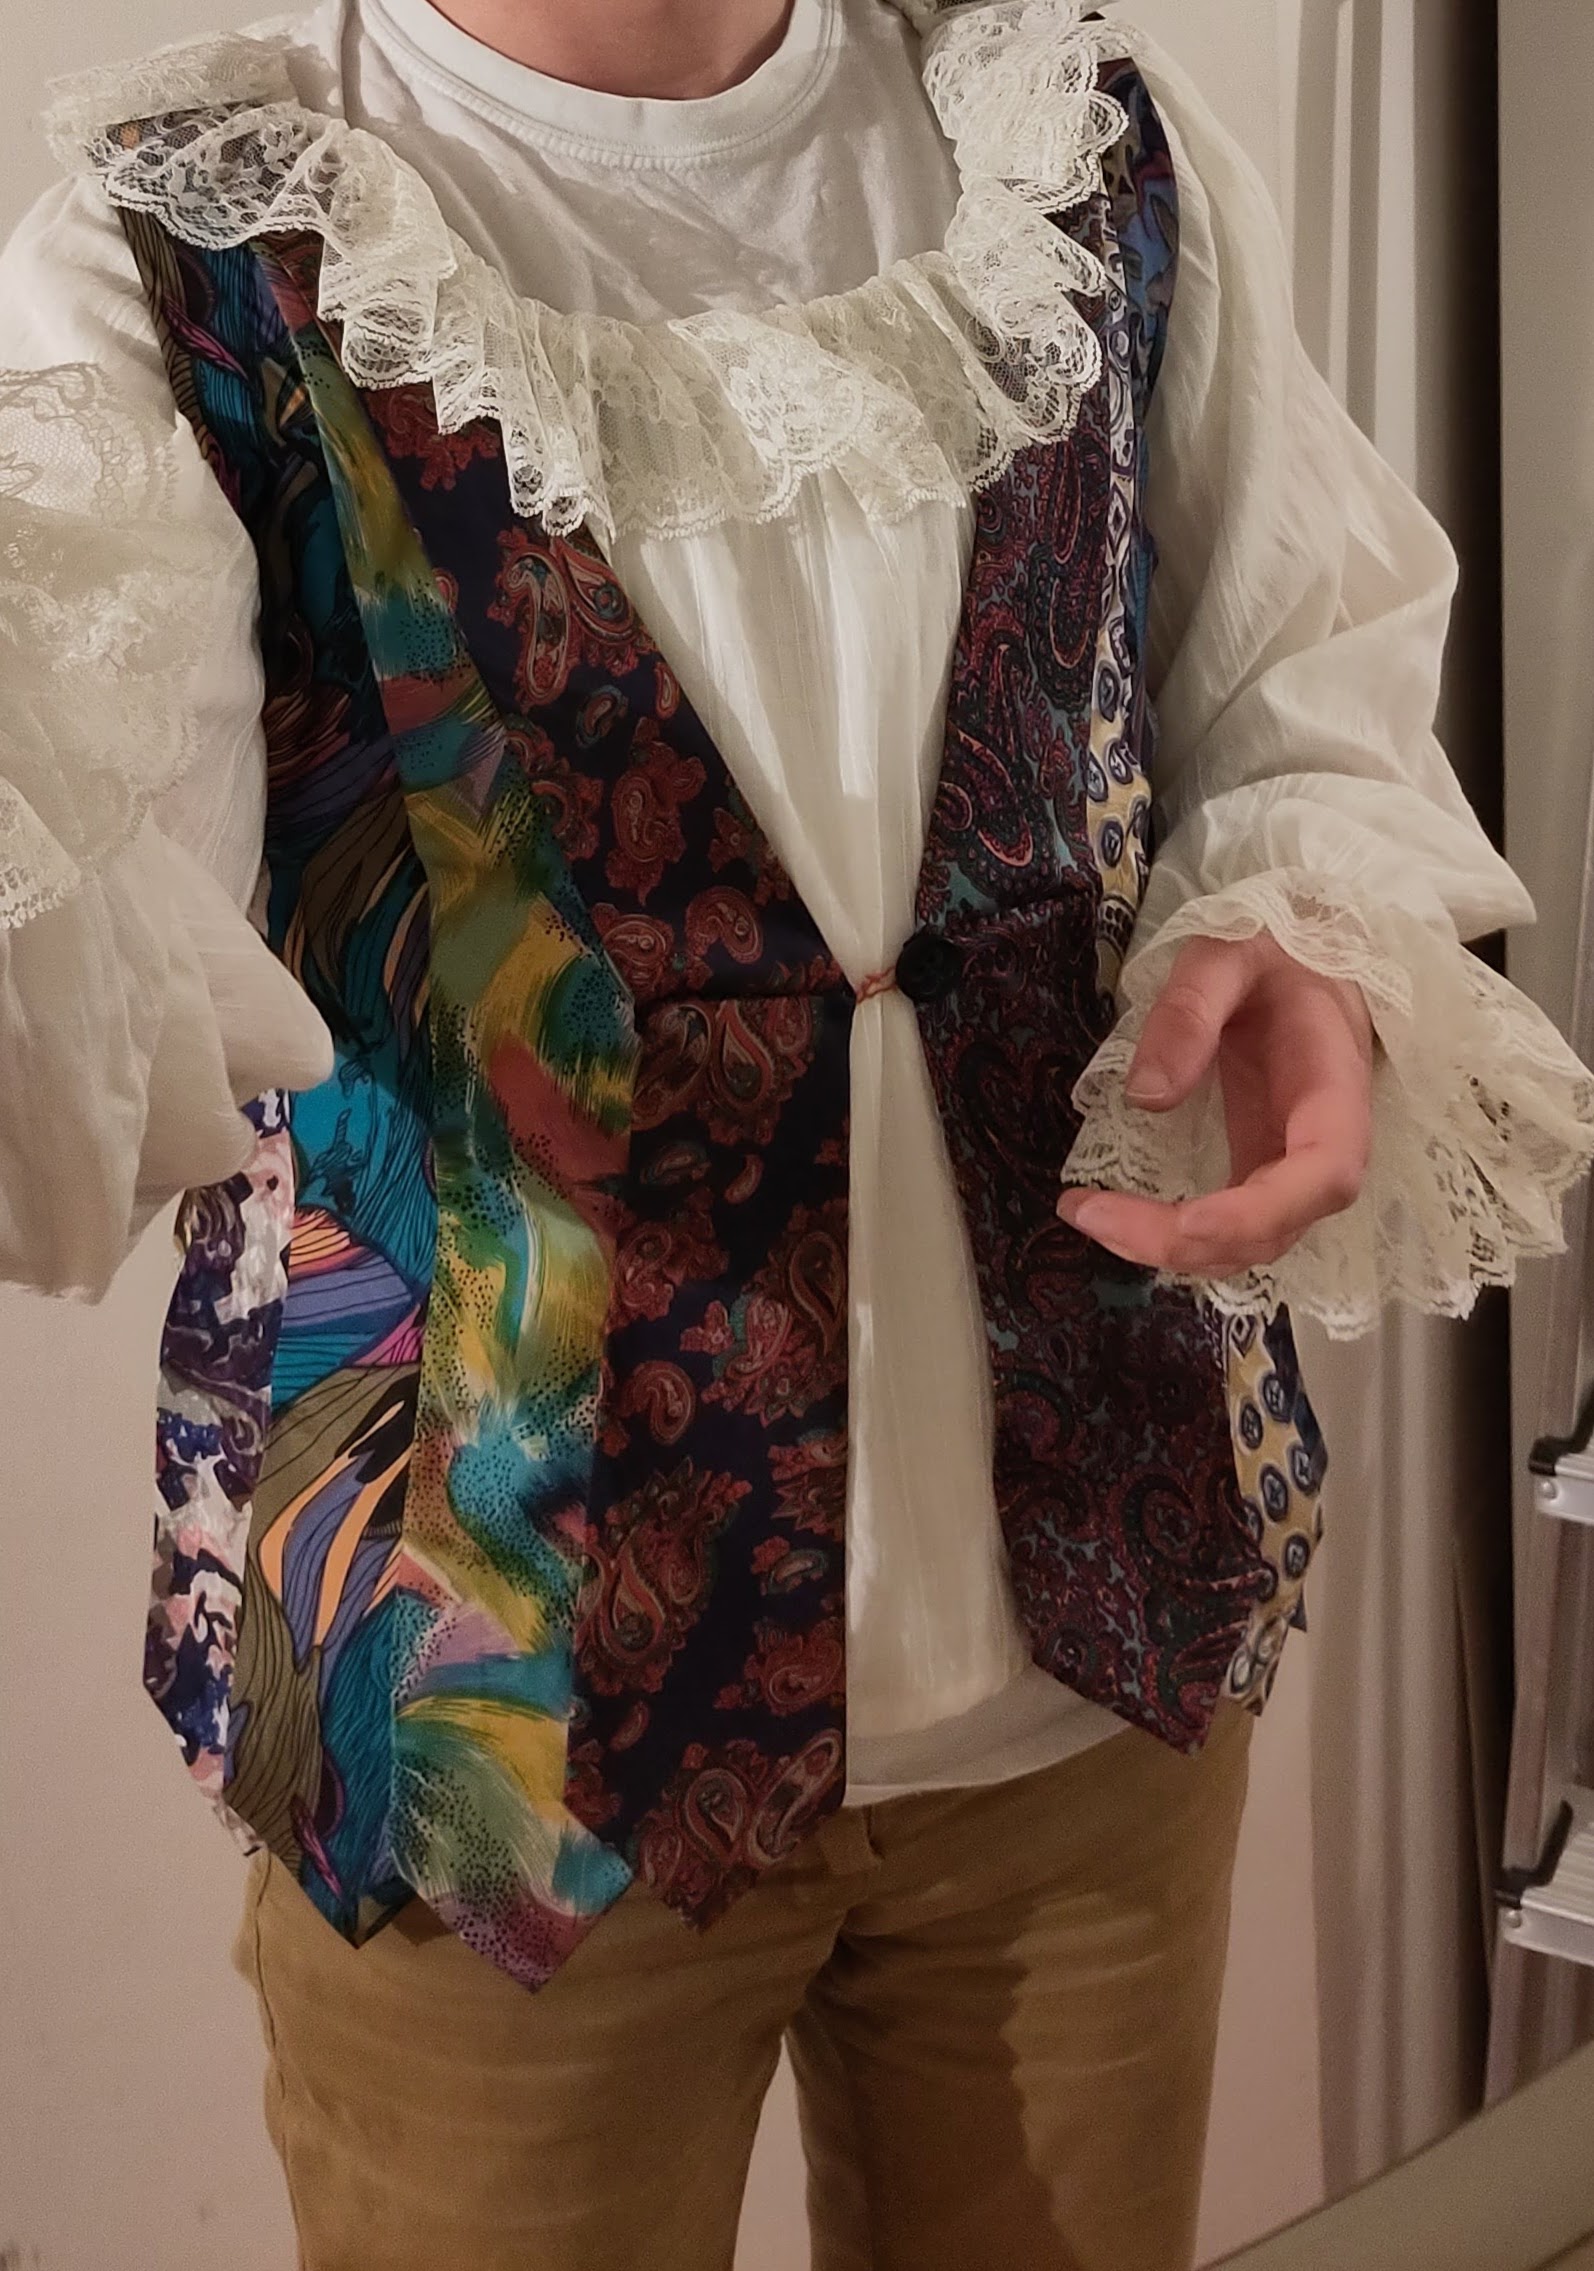
Tada!
_ Likes