Mad Hats
First published: 25th January 2025
Note, the events described in this post took place between February and March 2023
I once had occasion to dress up as a Mad Hatter. Well what would a Mat Hatter costume without a Mad Hat be?
It turns out, hats are hard. Possibly the hardest item of clothing to make yourself, except maybe shoes.
Designs
I like to start my design process by printing off lots of copies (about 6 to a page of A4) of a simple drawing, and sketching as many different ideas as possible.
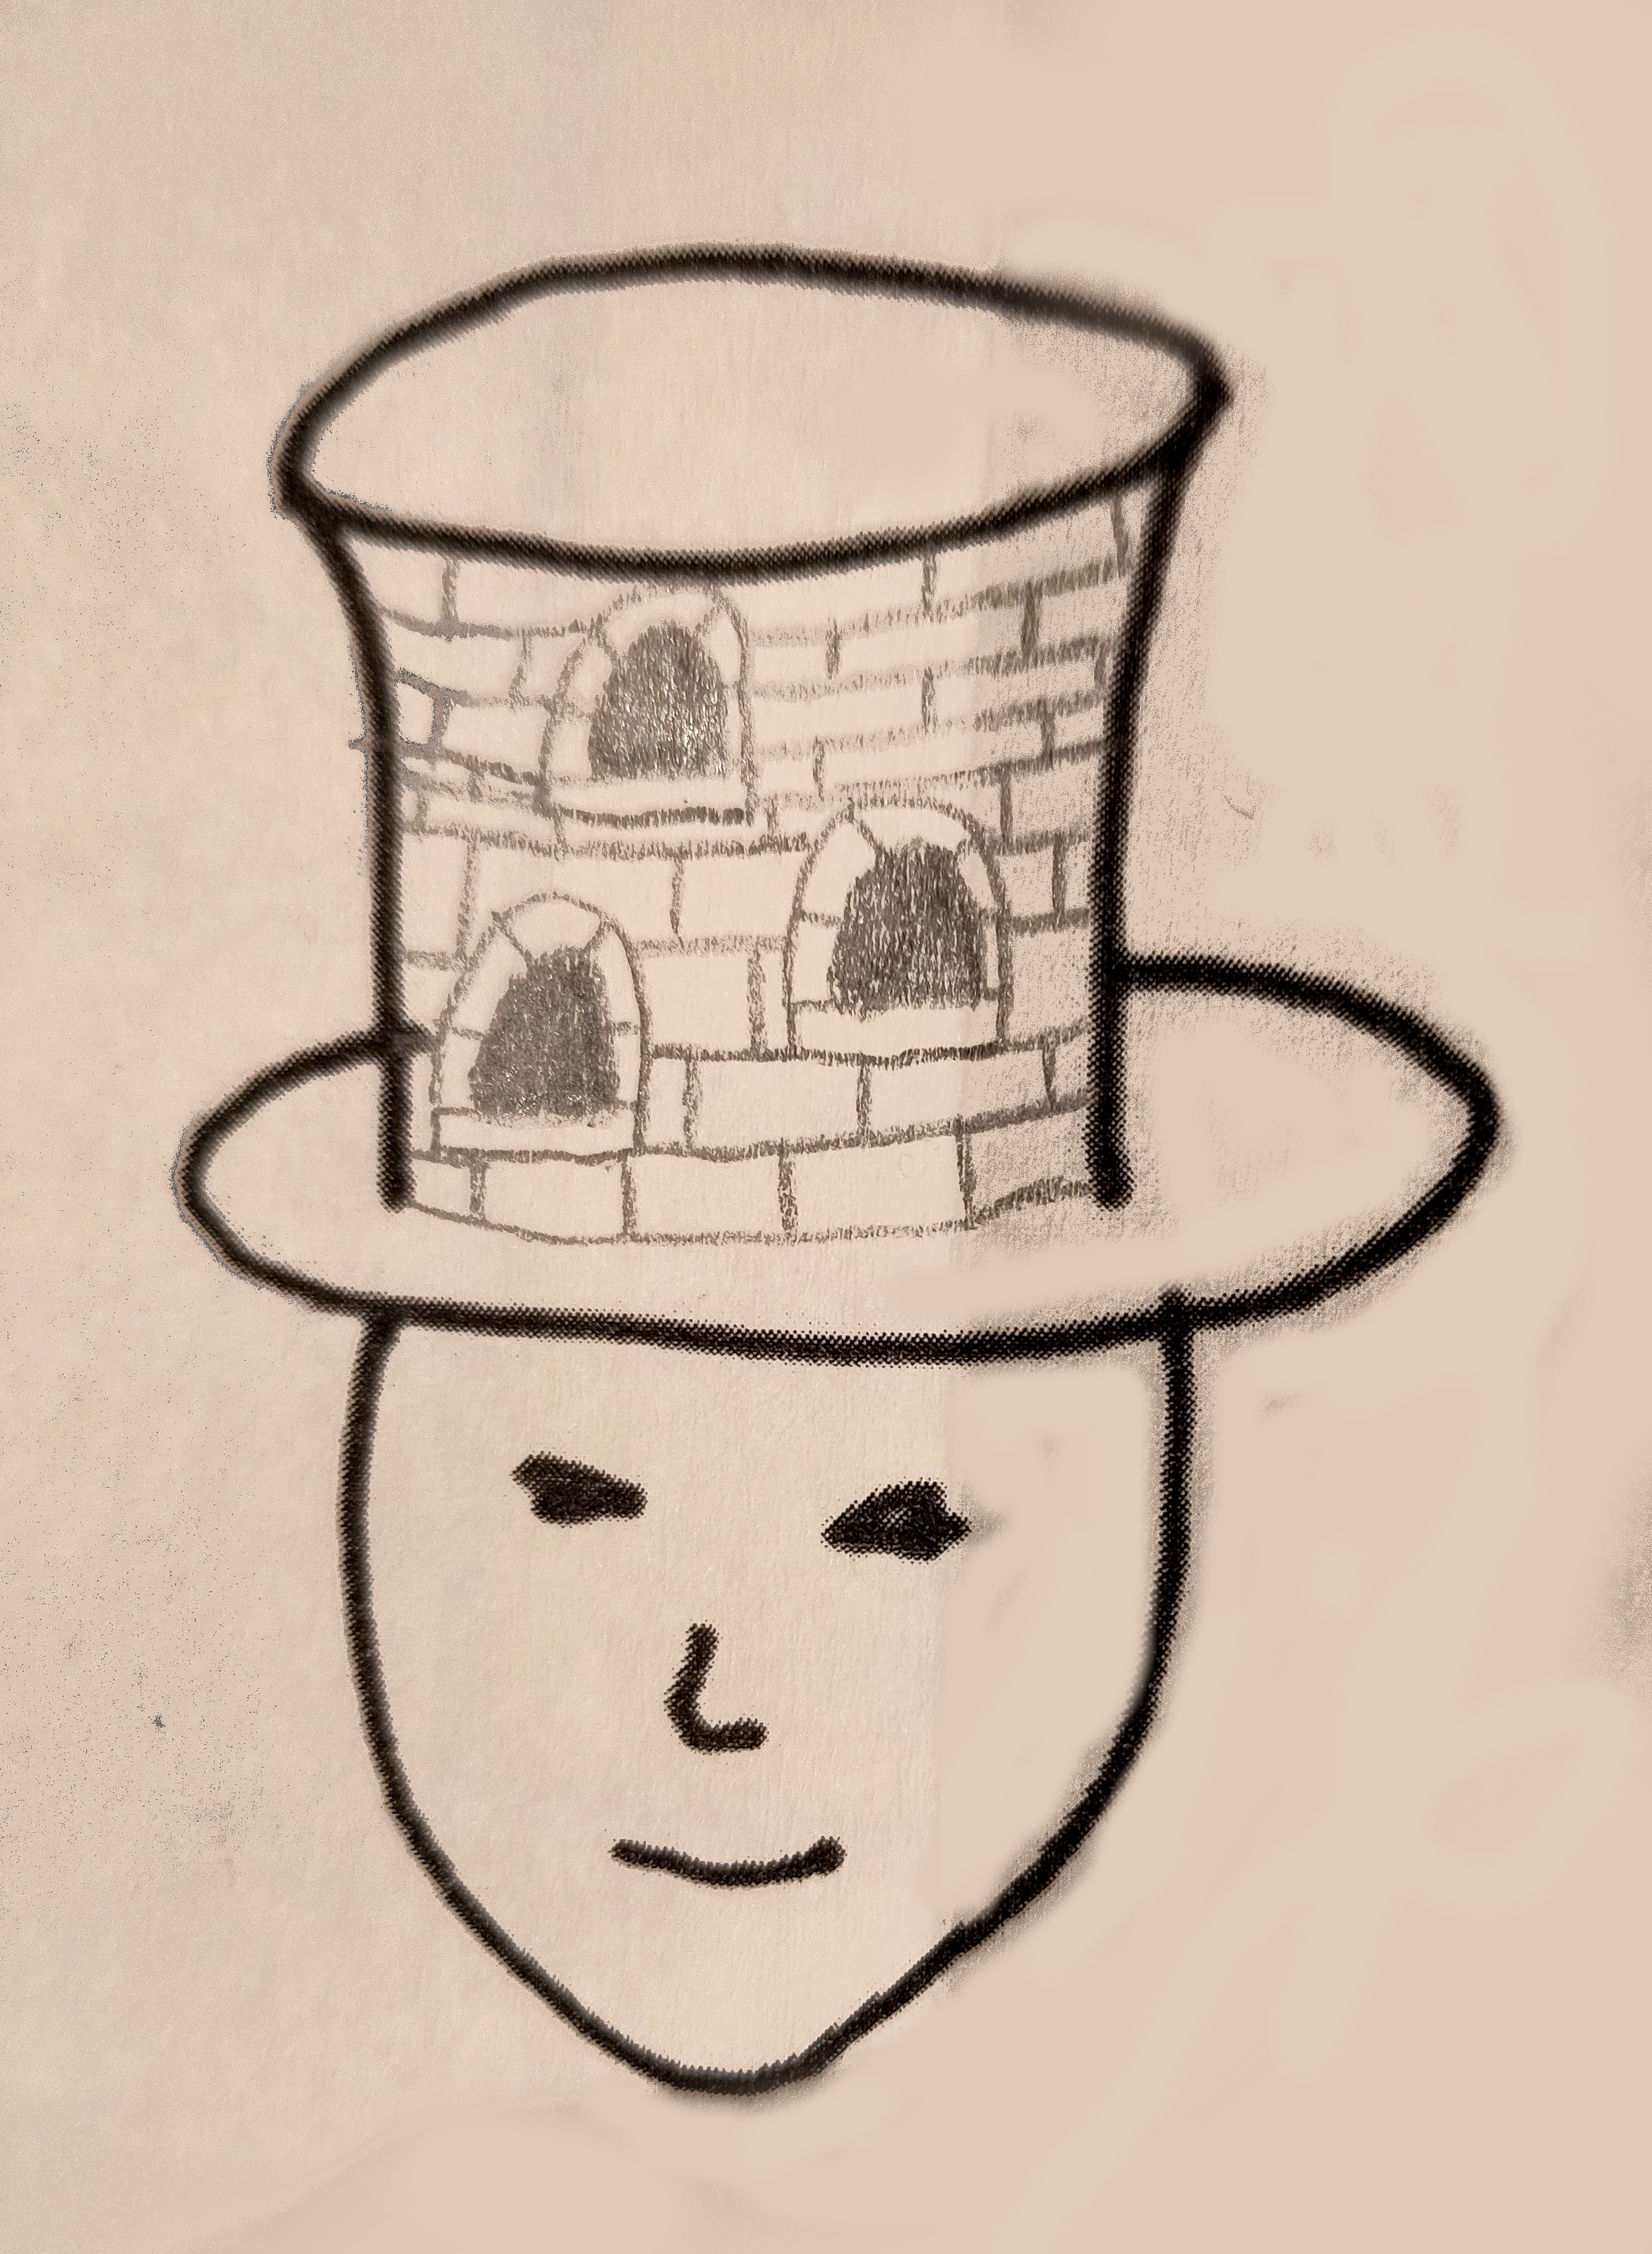
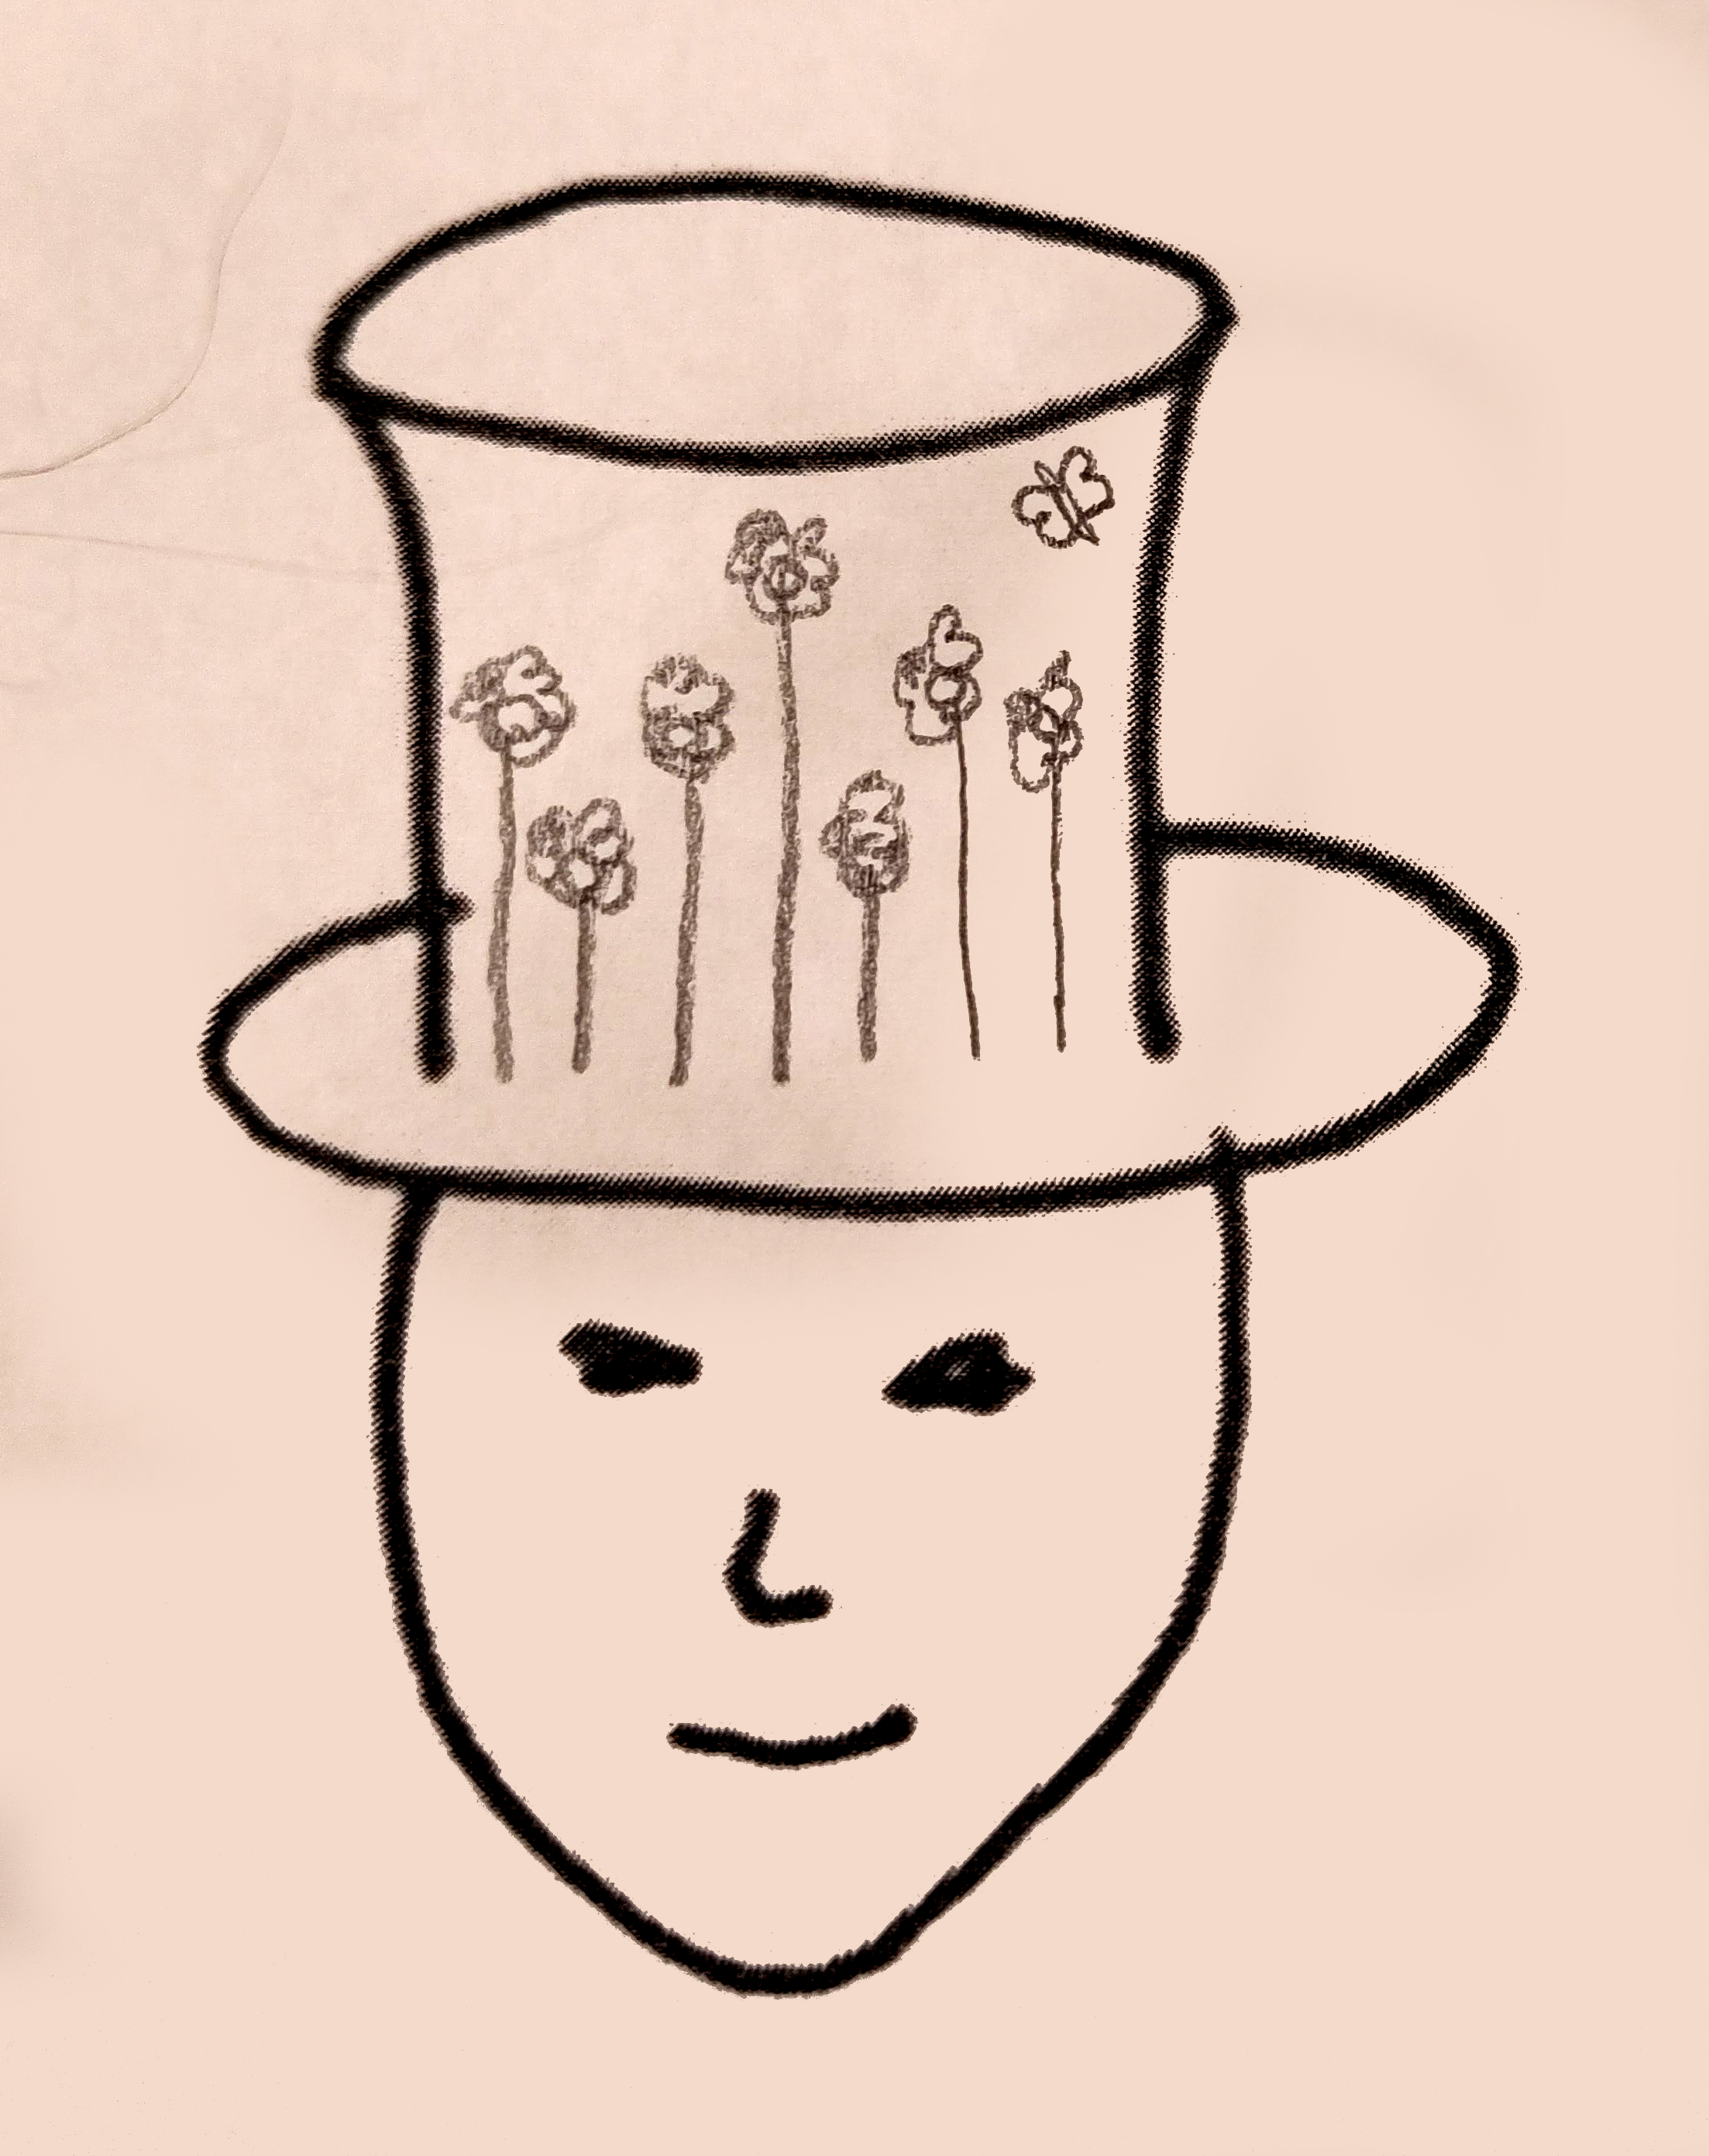
Here is my basic hat drawing:
Then, I secretly pick my favourite ones and spend a week or two asking everyone I meet which ones are their favourites. It isn't a democracy, but it's interesting to hear what other people think. I also ask them if they have any new ideas, and sometimes they do, and sometimes they are good ideas.
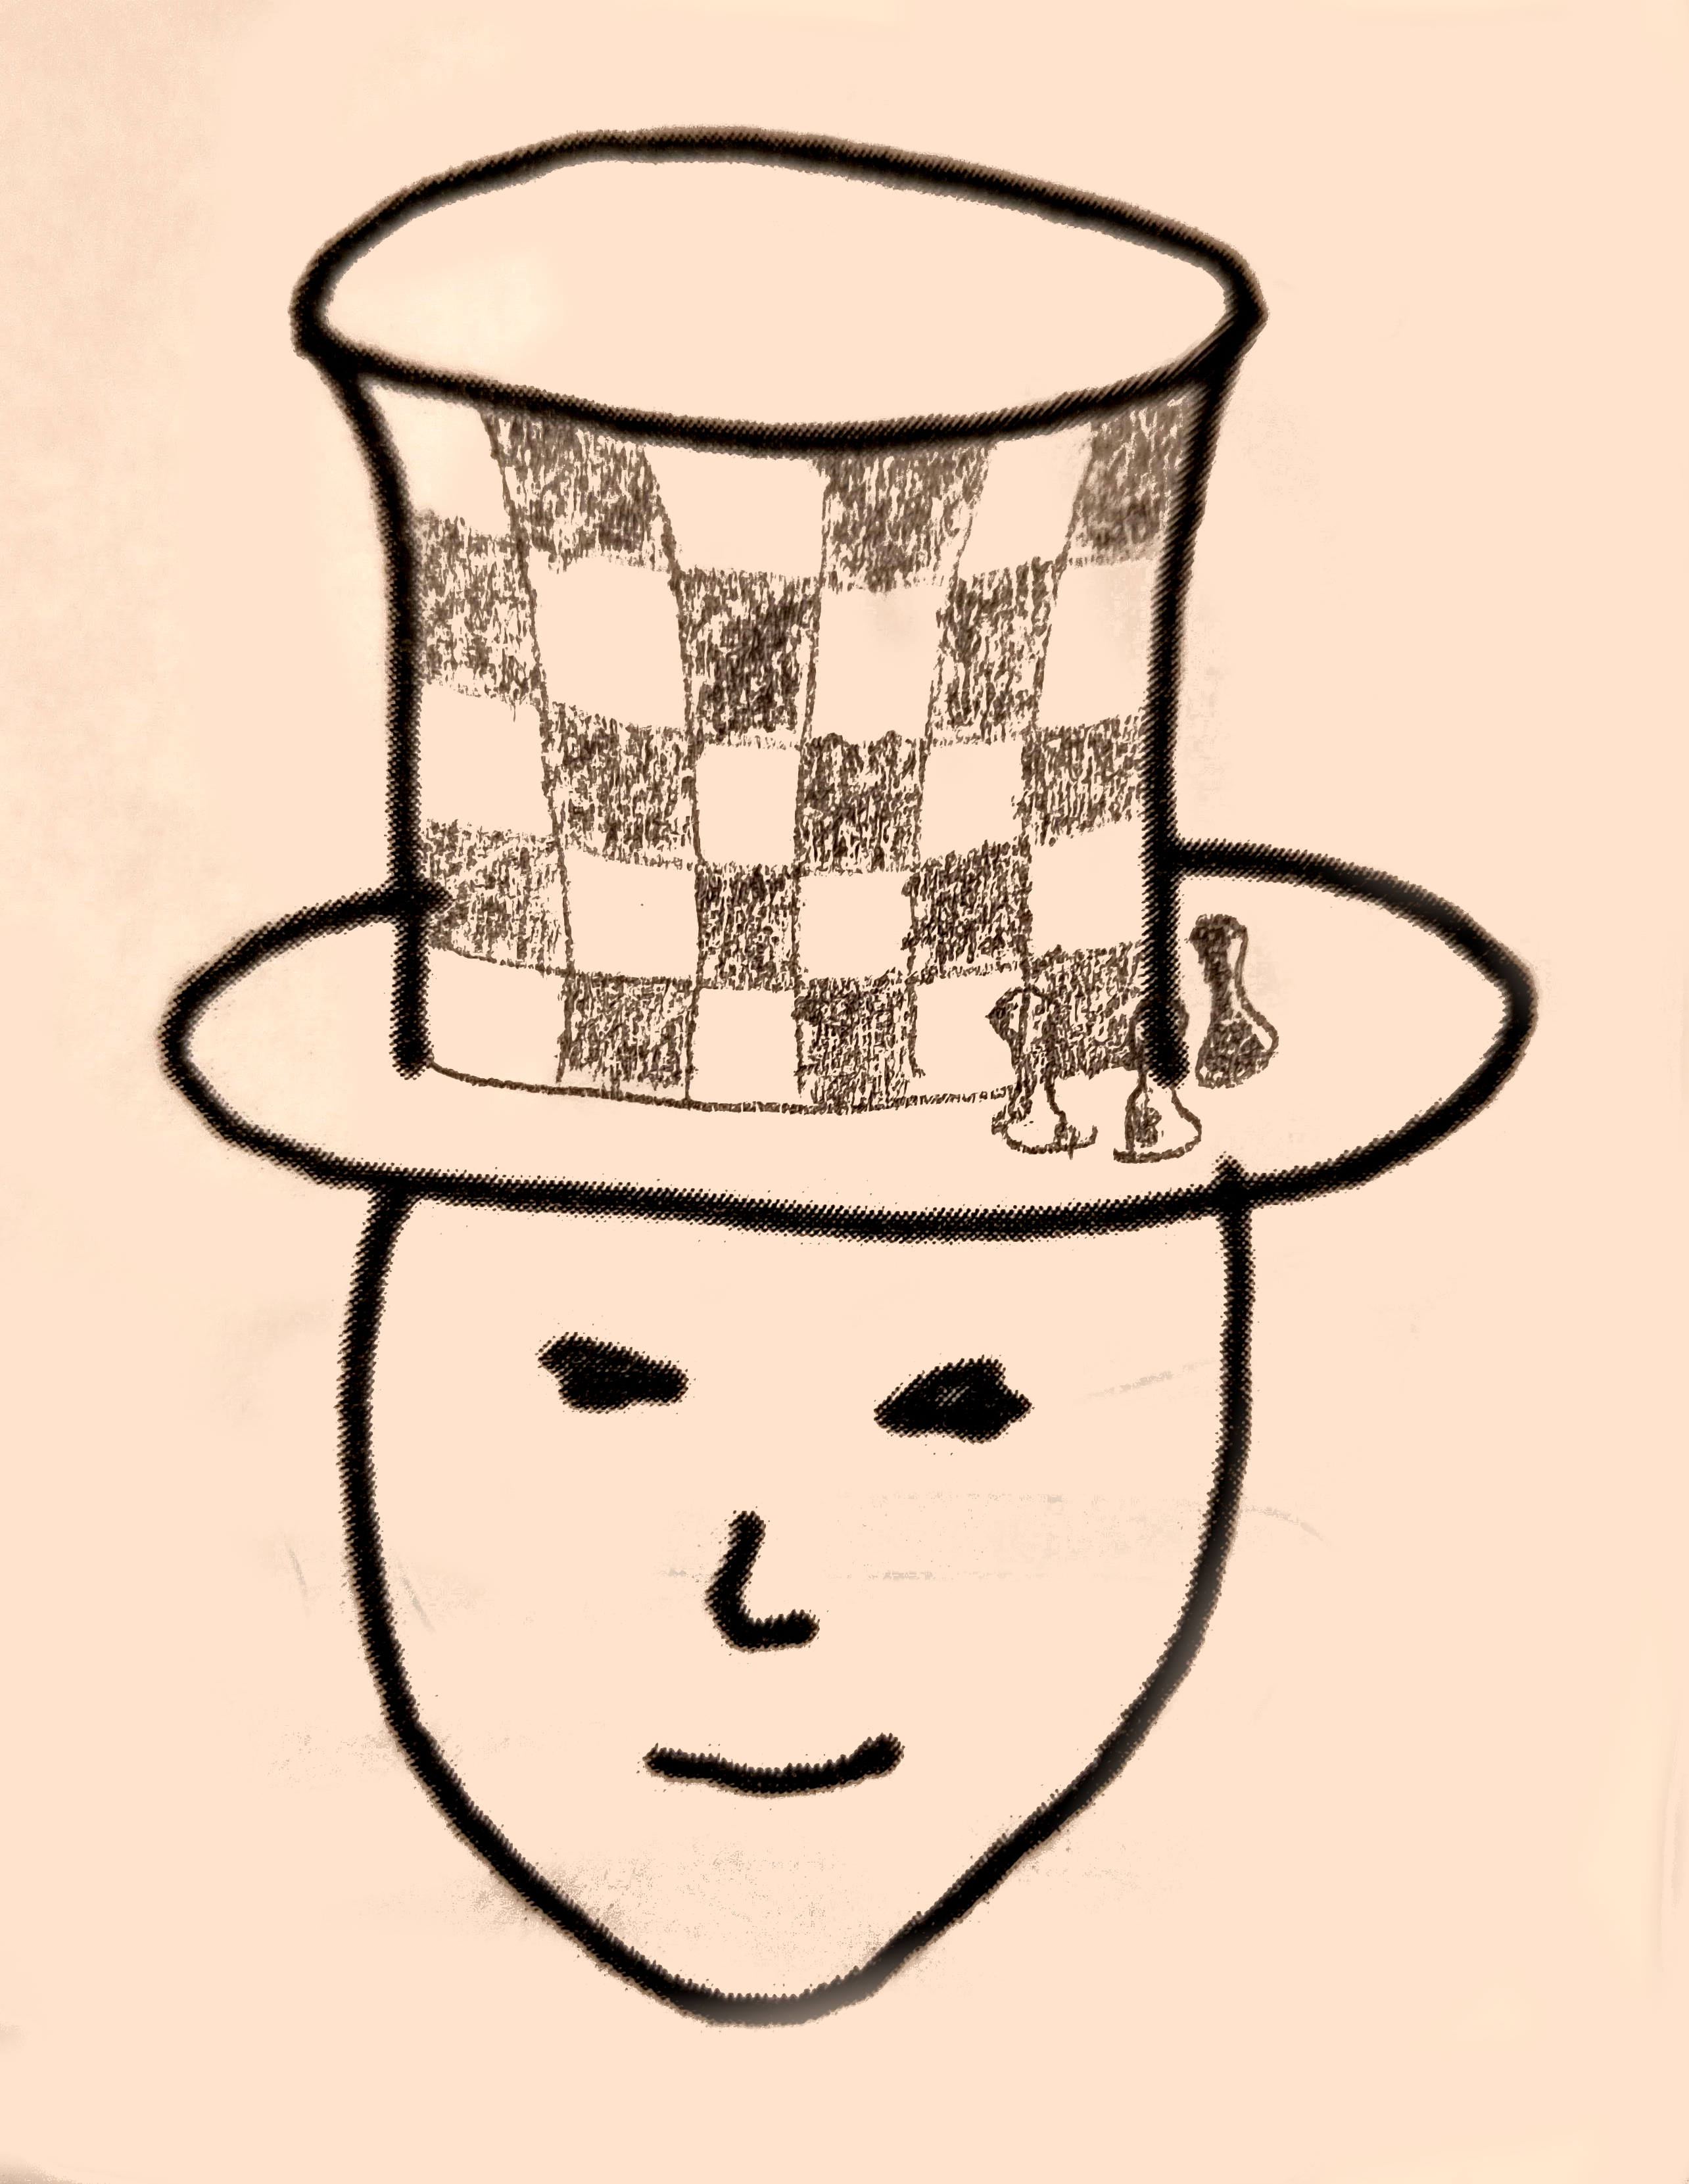
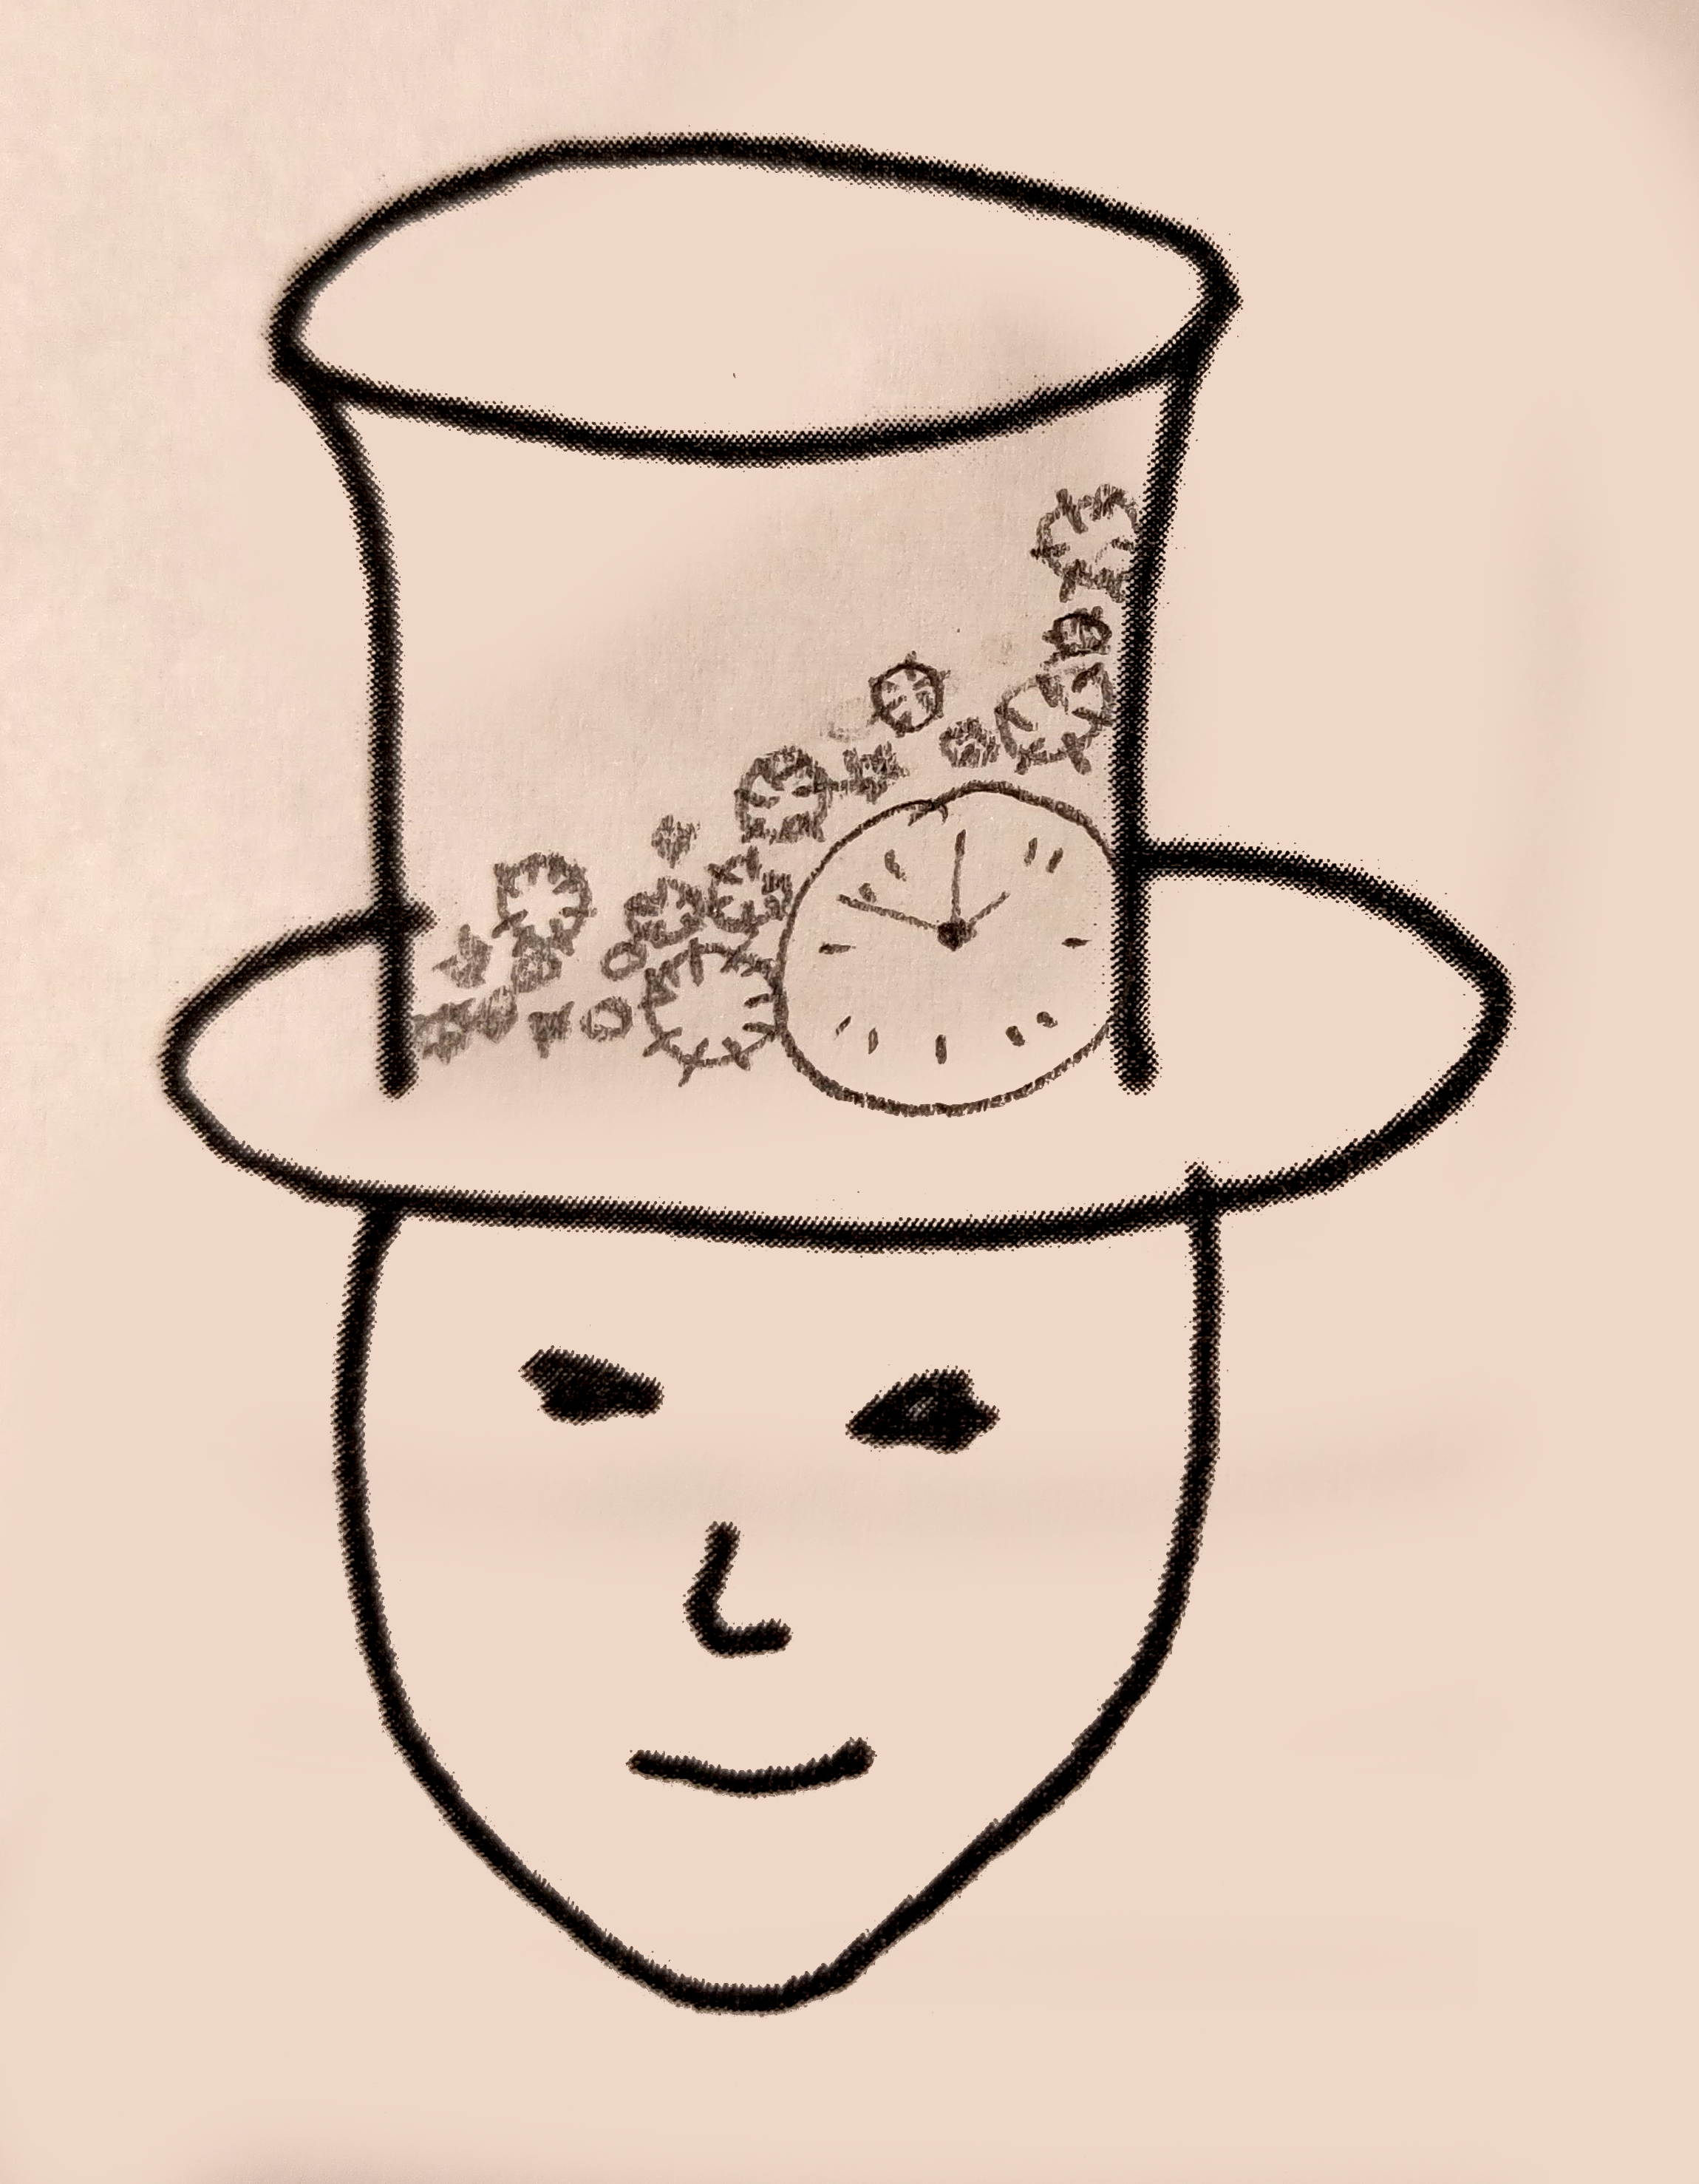
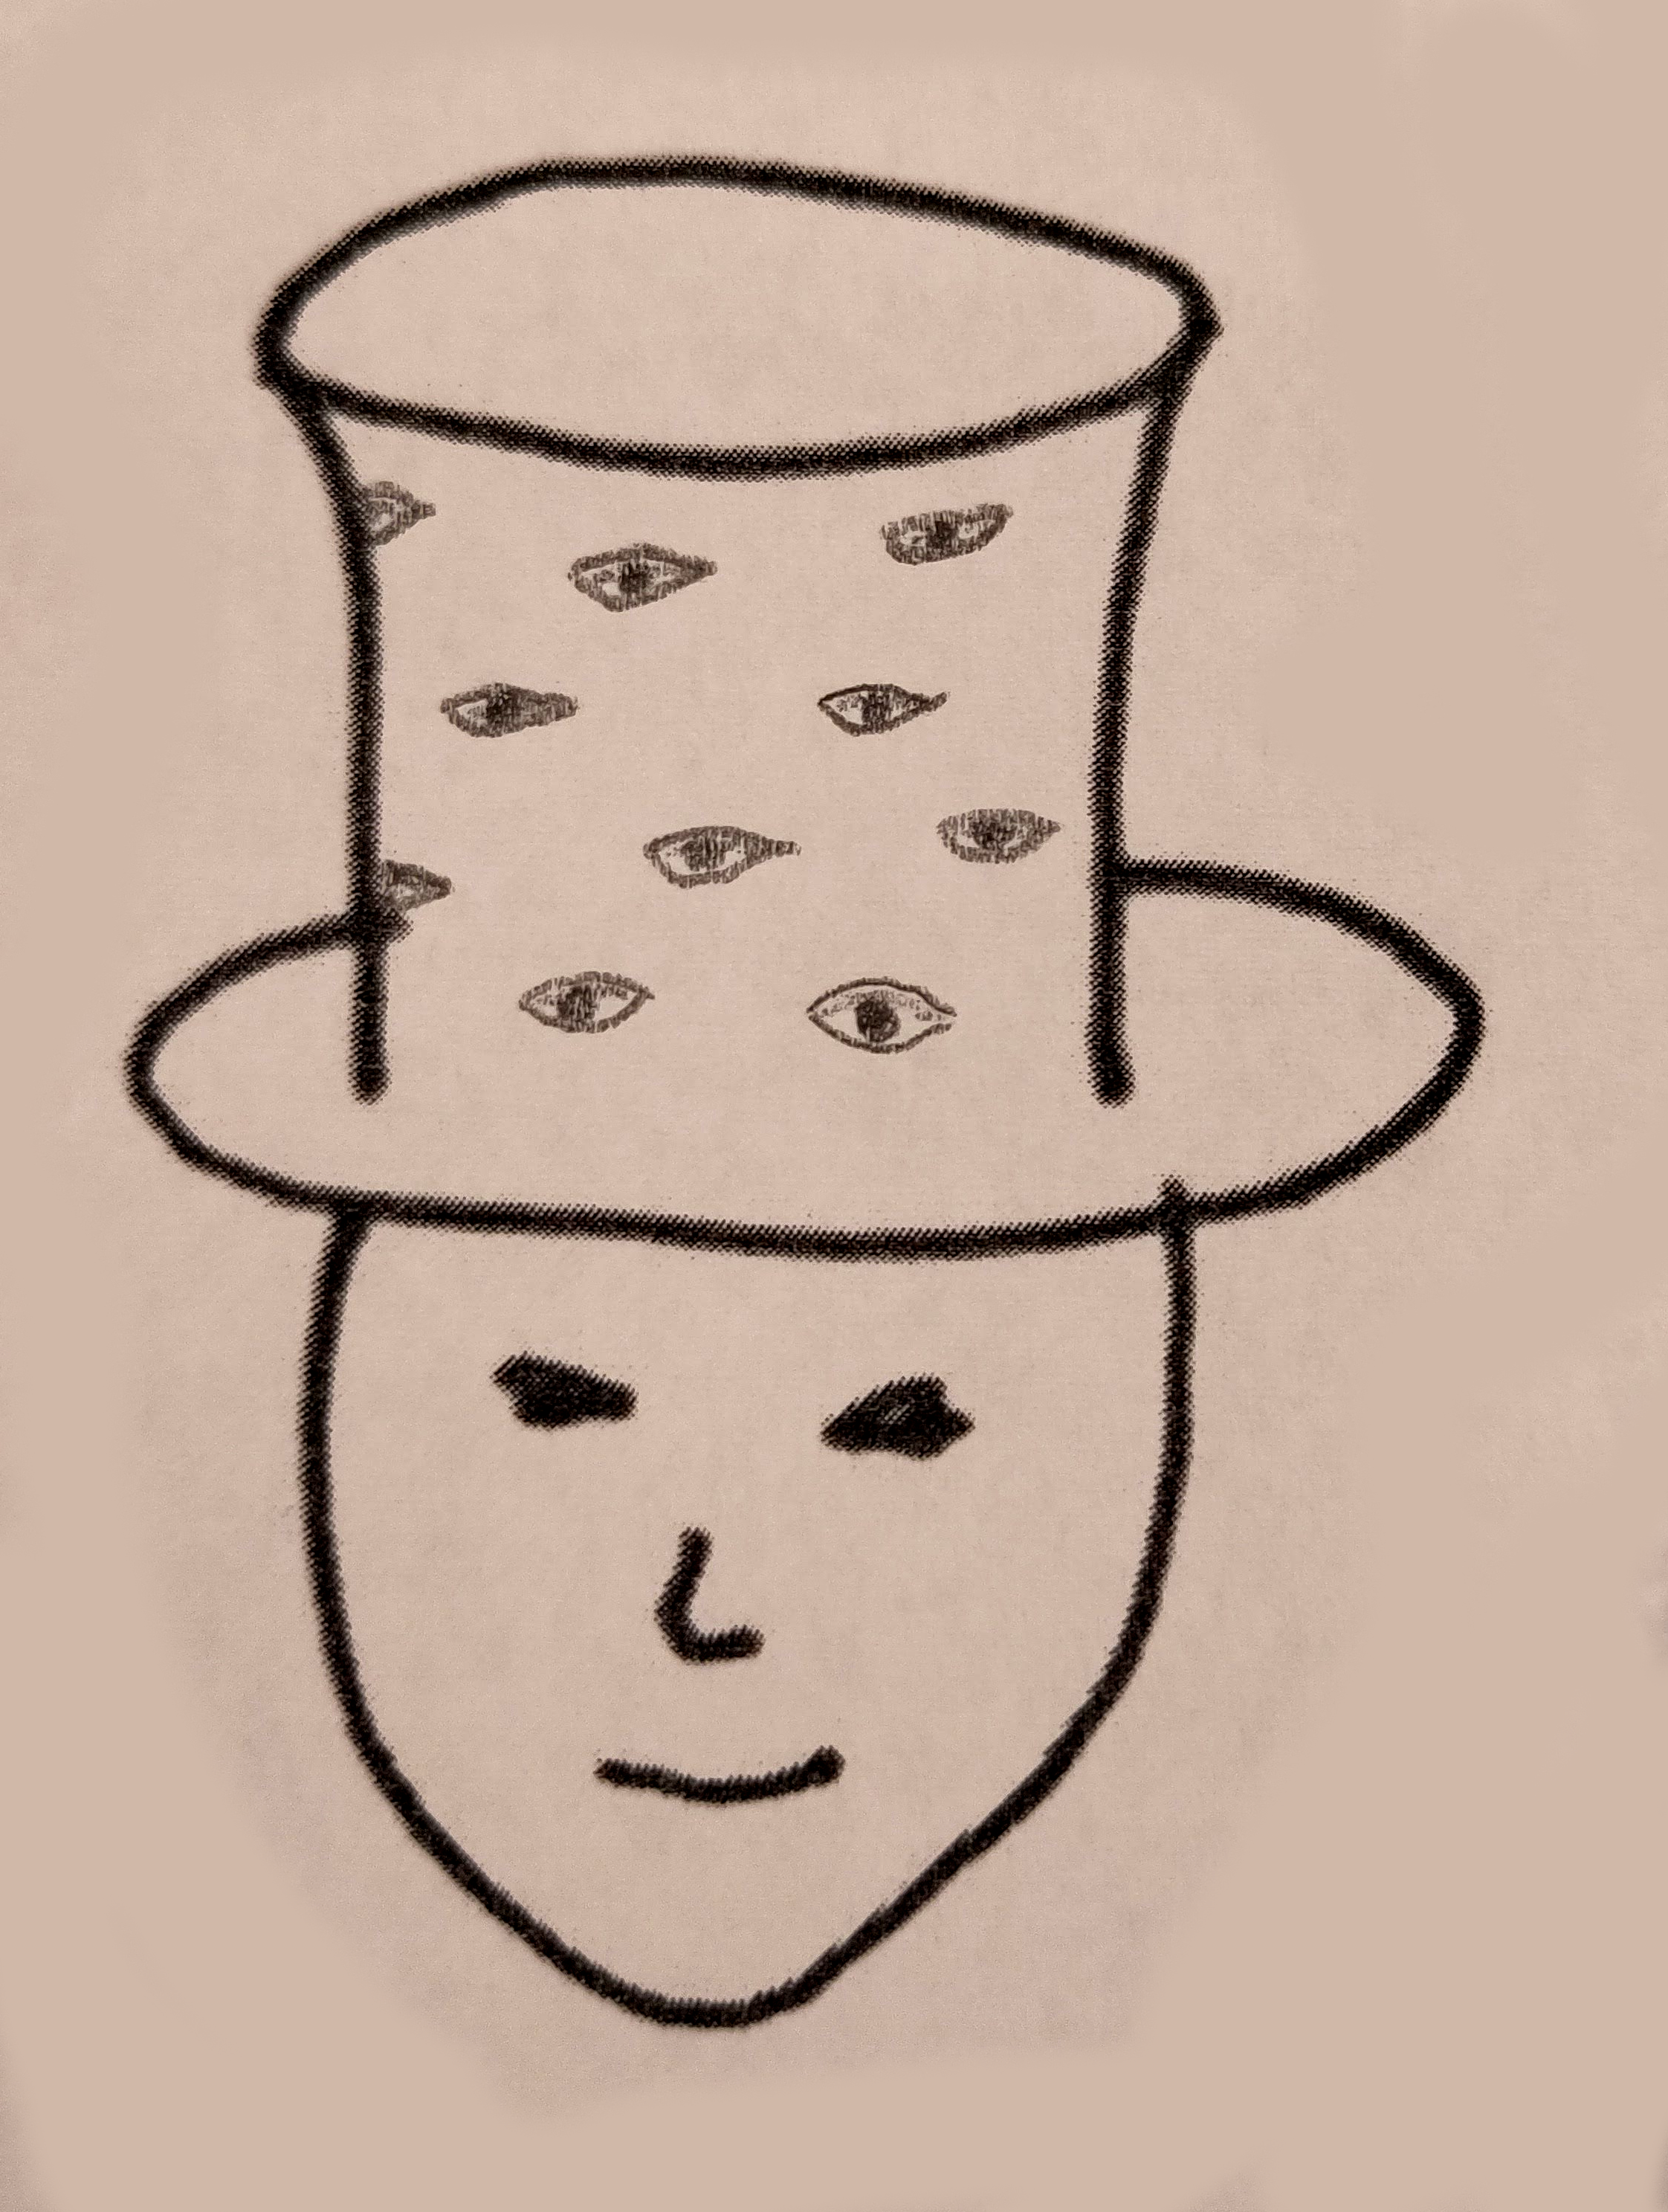
Here are some of my early hat ideas:
|
|
|
|
|
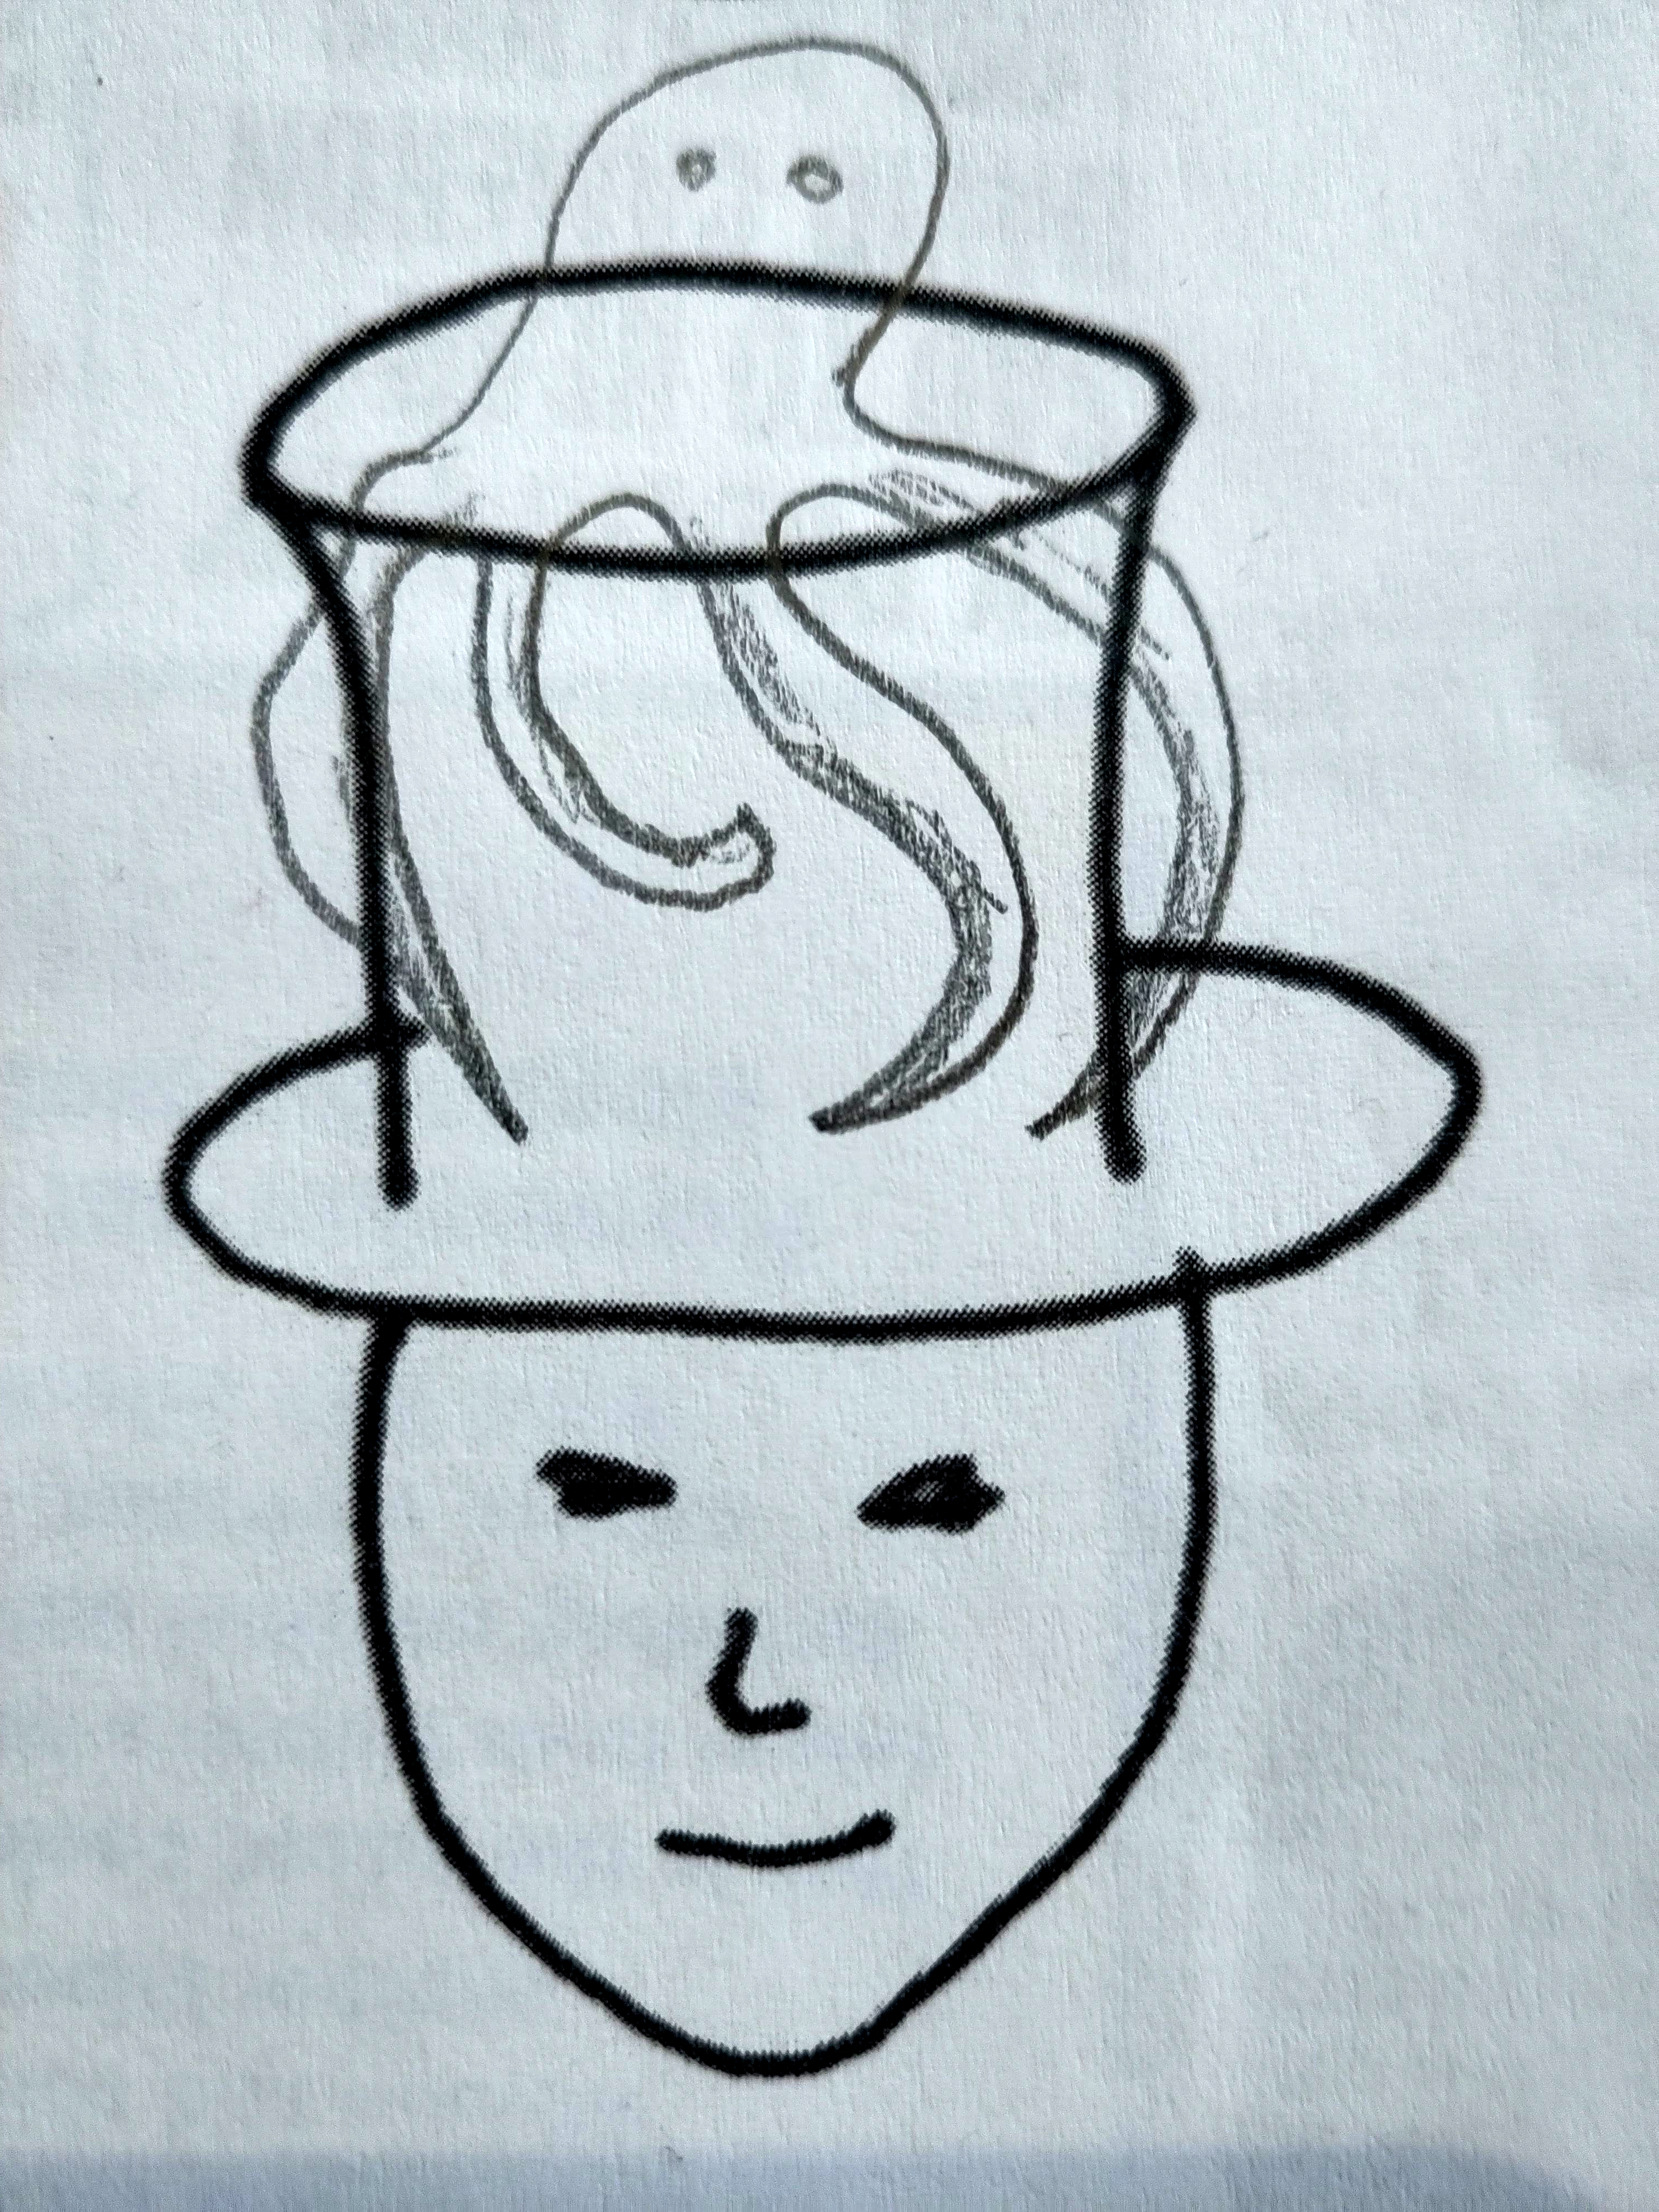
|
With an updated set of favourites, I make small prototypes of a few of them.
Prototypes
Papier-mache
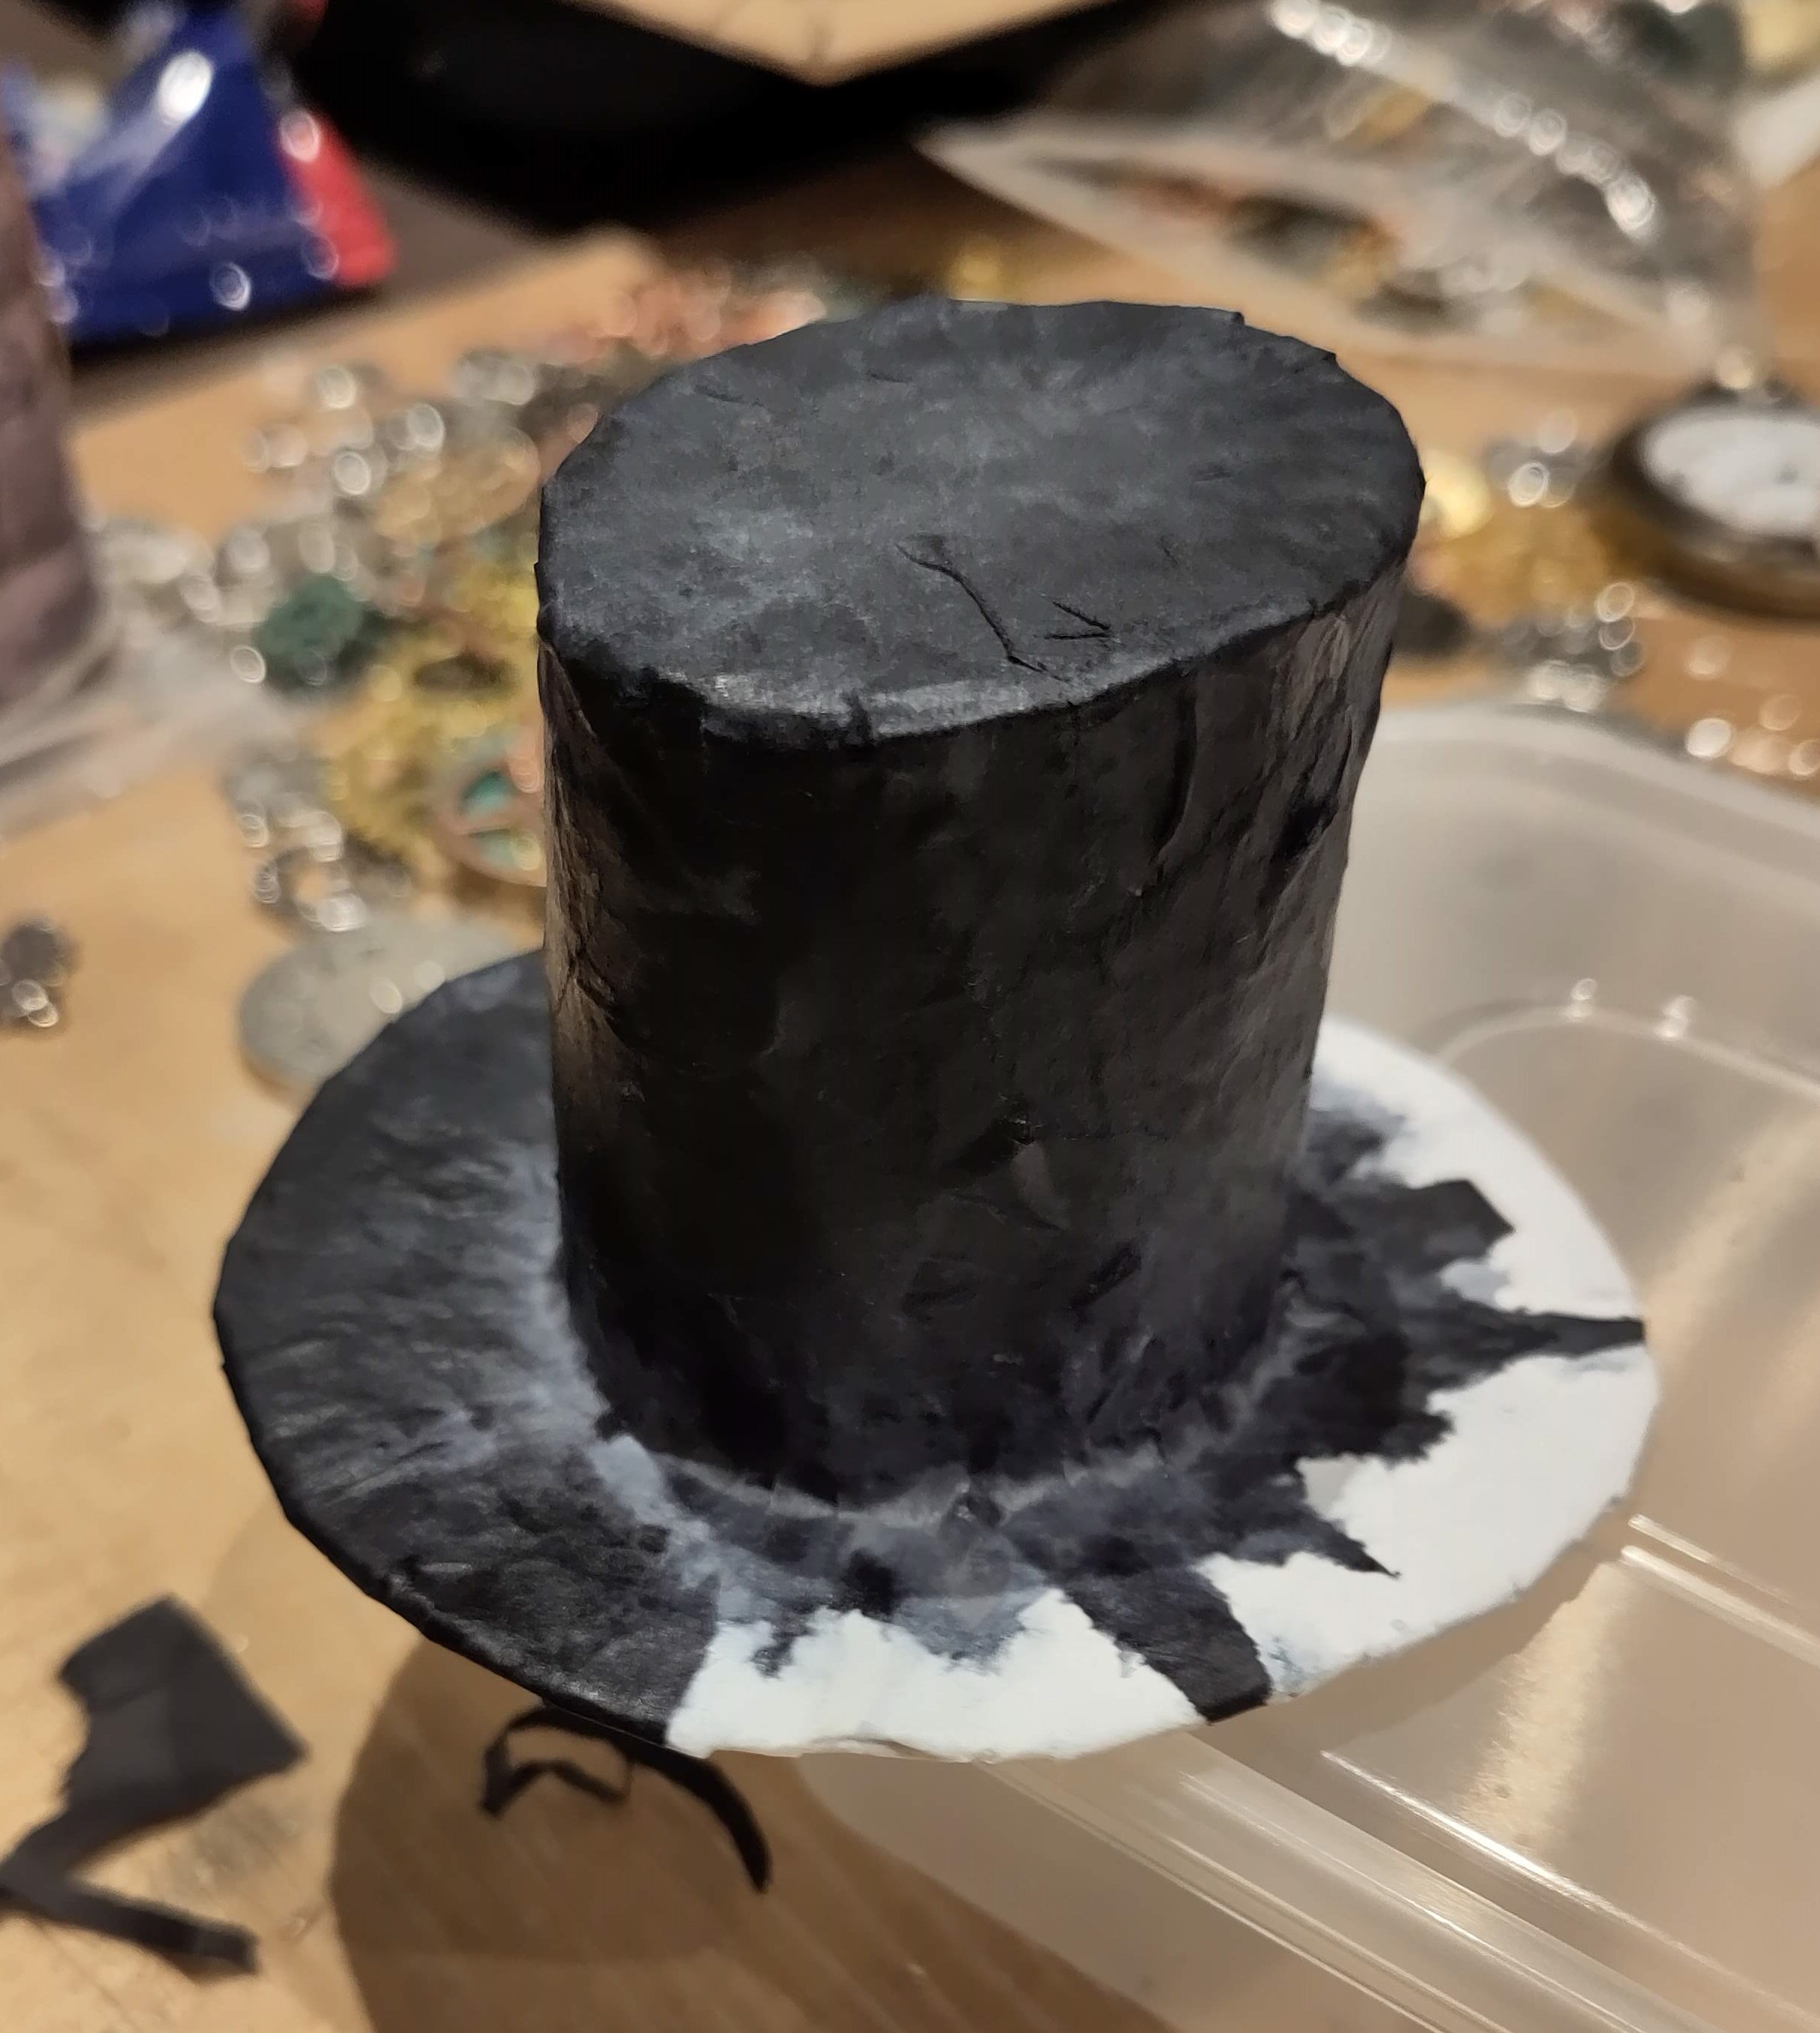
The simplest one was made of half of a toilet paper core, with a circle of Amazon box as a base. I secretly didn't bother cutting a hole in the base so it isn't a functional hat.
This was covered in a layer of basic white printer paper torn into pieces and dipped in a mixure of PVA and water:

Then two layers of the same technique with black tissue paper. My tissue paper unfortunately wasn't waterproof and the colour ran and stained my fingers. Sometimes you can get really cool effects by doing this with different colours, but I just wanted plain black so that was a bit of a shame.
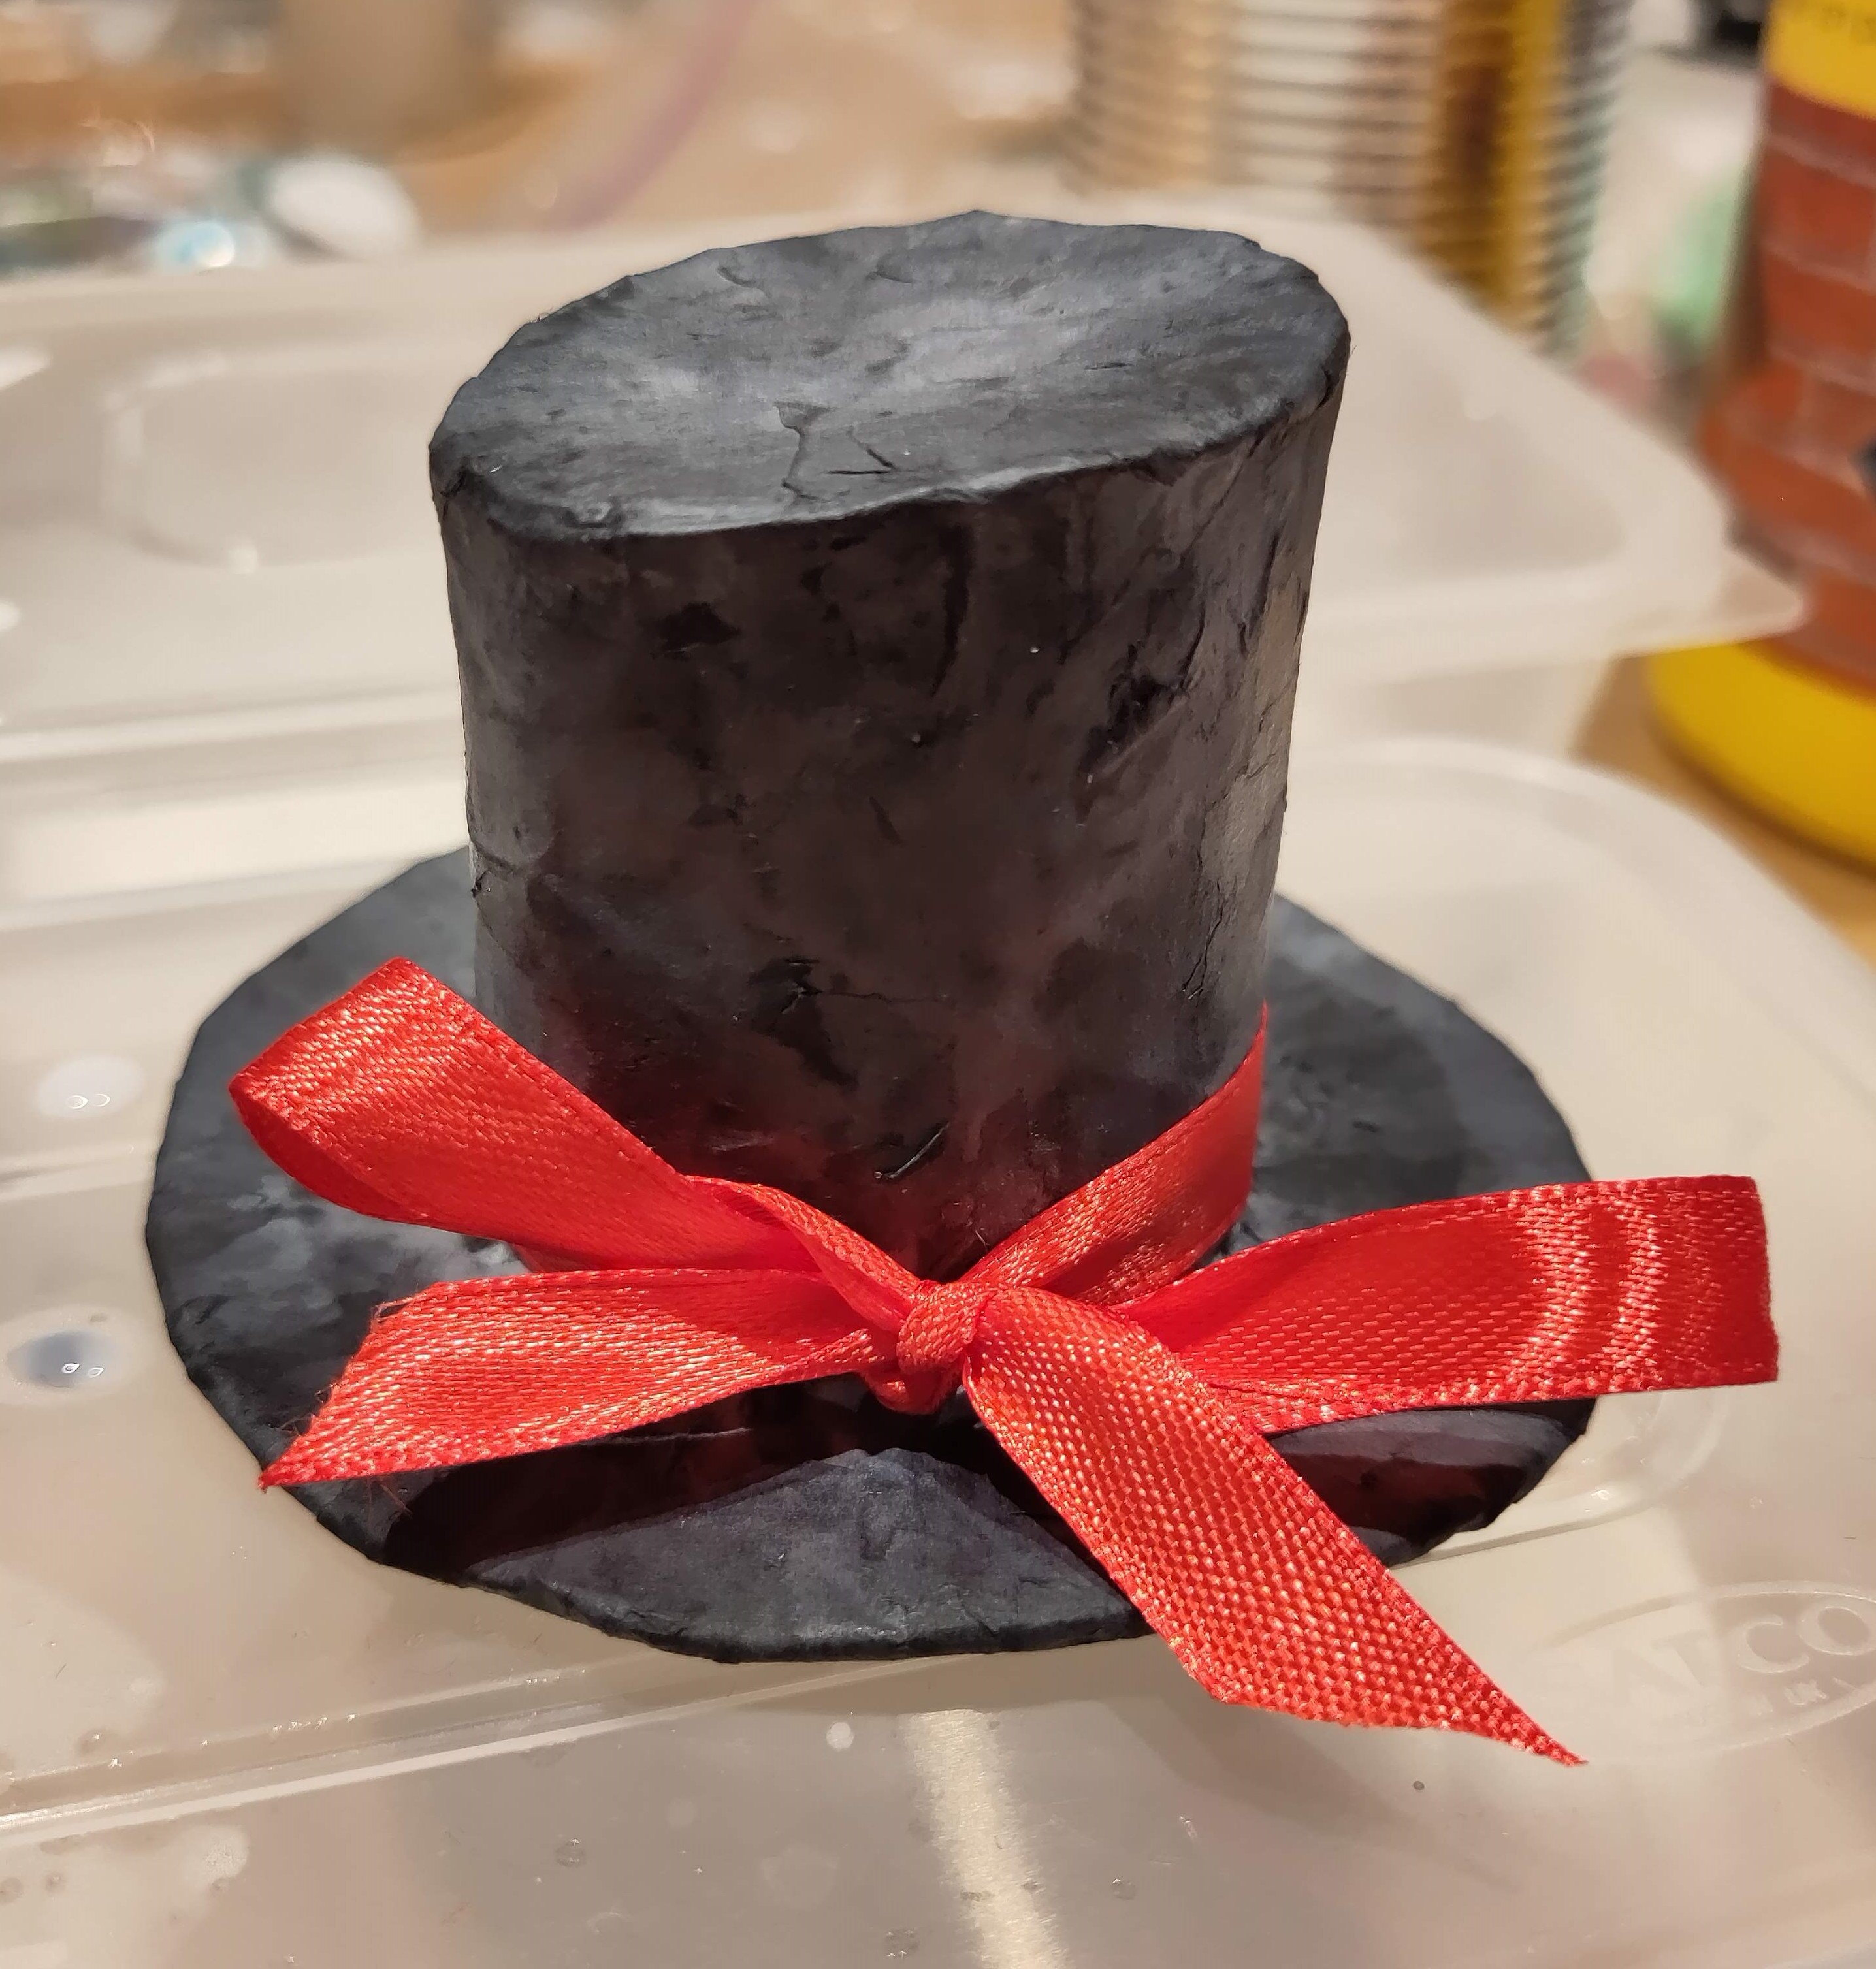
Here it is finished with a pretty ribbon:
Clay Octopus
This adorable little character has a body made of crumpled up aluminion foil and legs made of beading wire, all covered in some fimo. He is sitting on the hat shown above, minus red ribbon.
Give us a twirl!
A hat that is watching you
This hat was modelling clay laid over a frame made of beading wire. There was a little pocket to put a marble in. I have a fine collection of marbles:
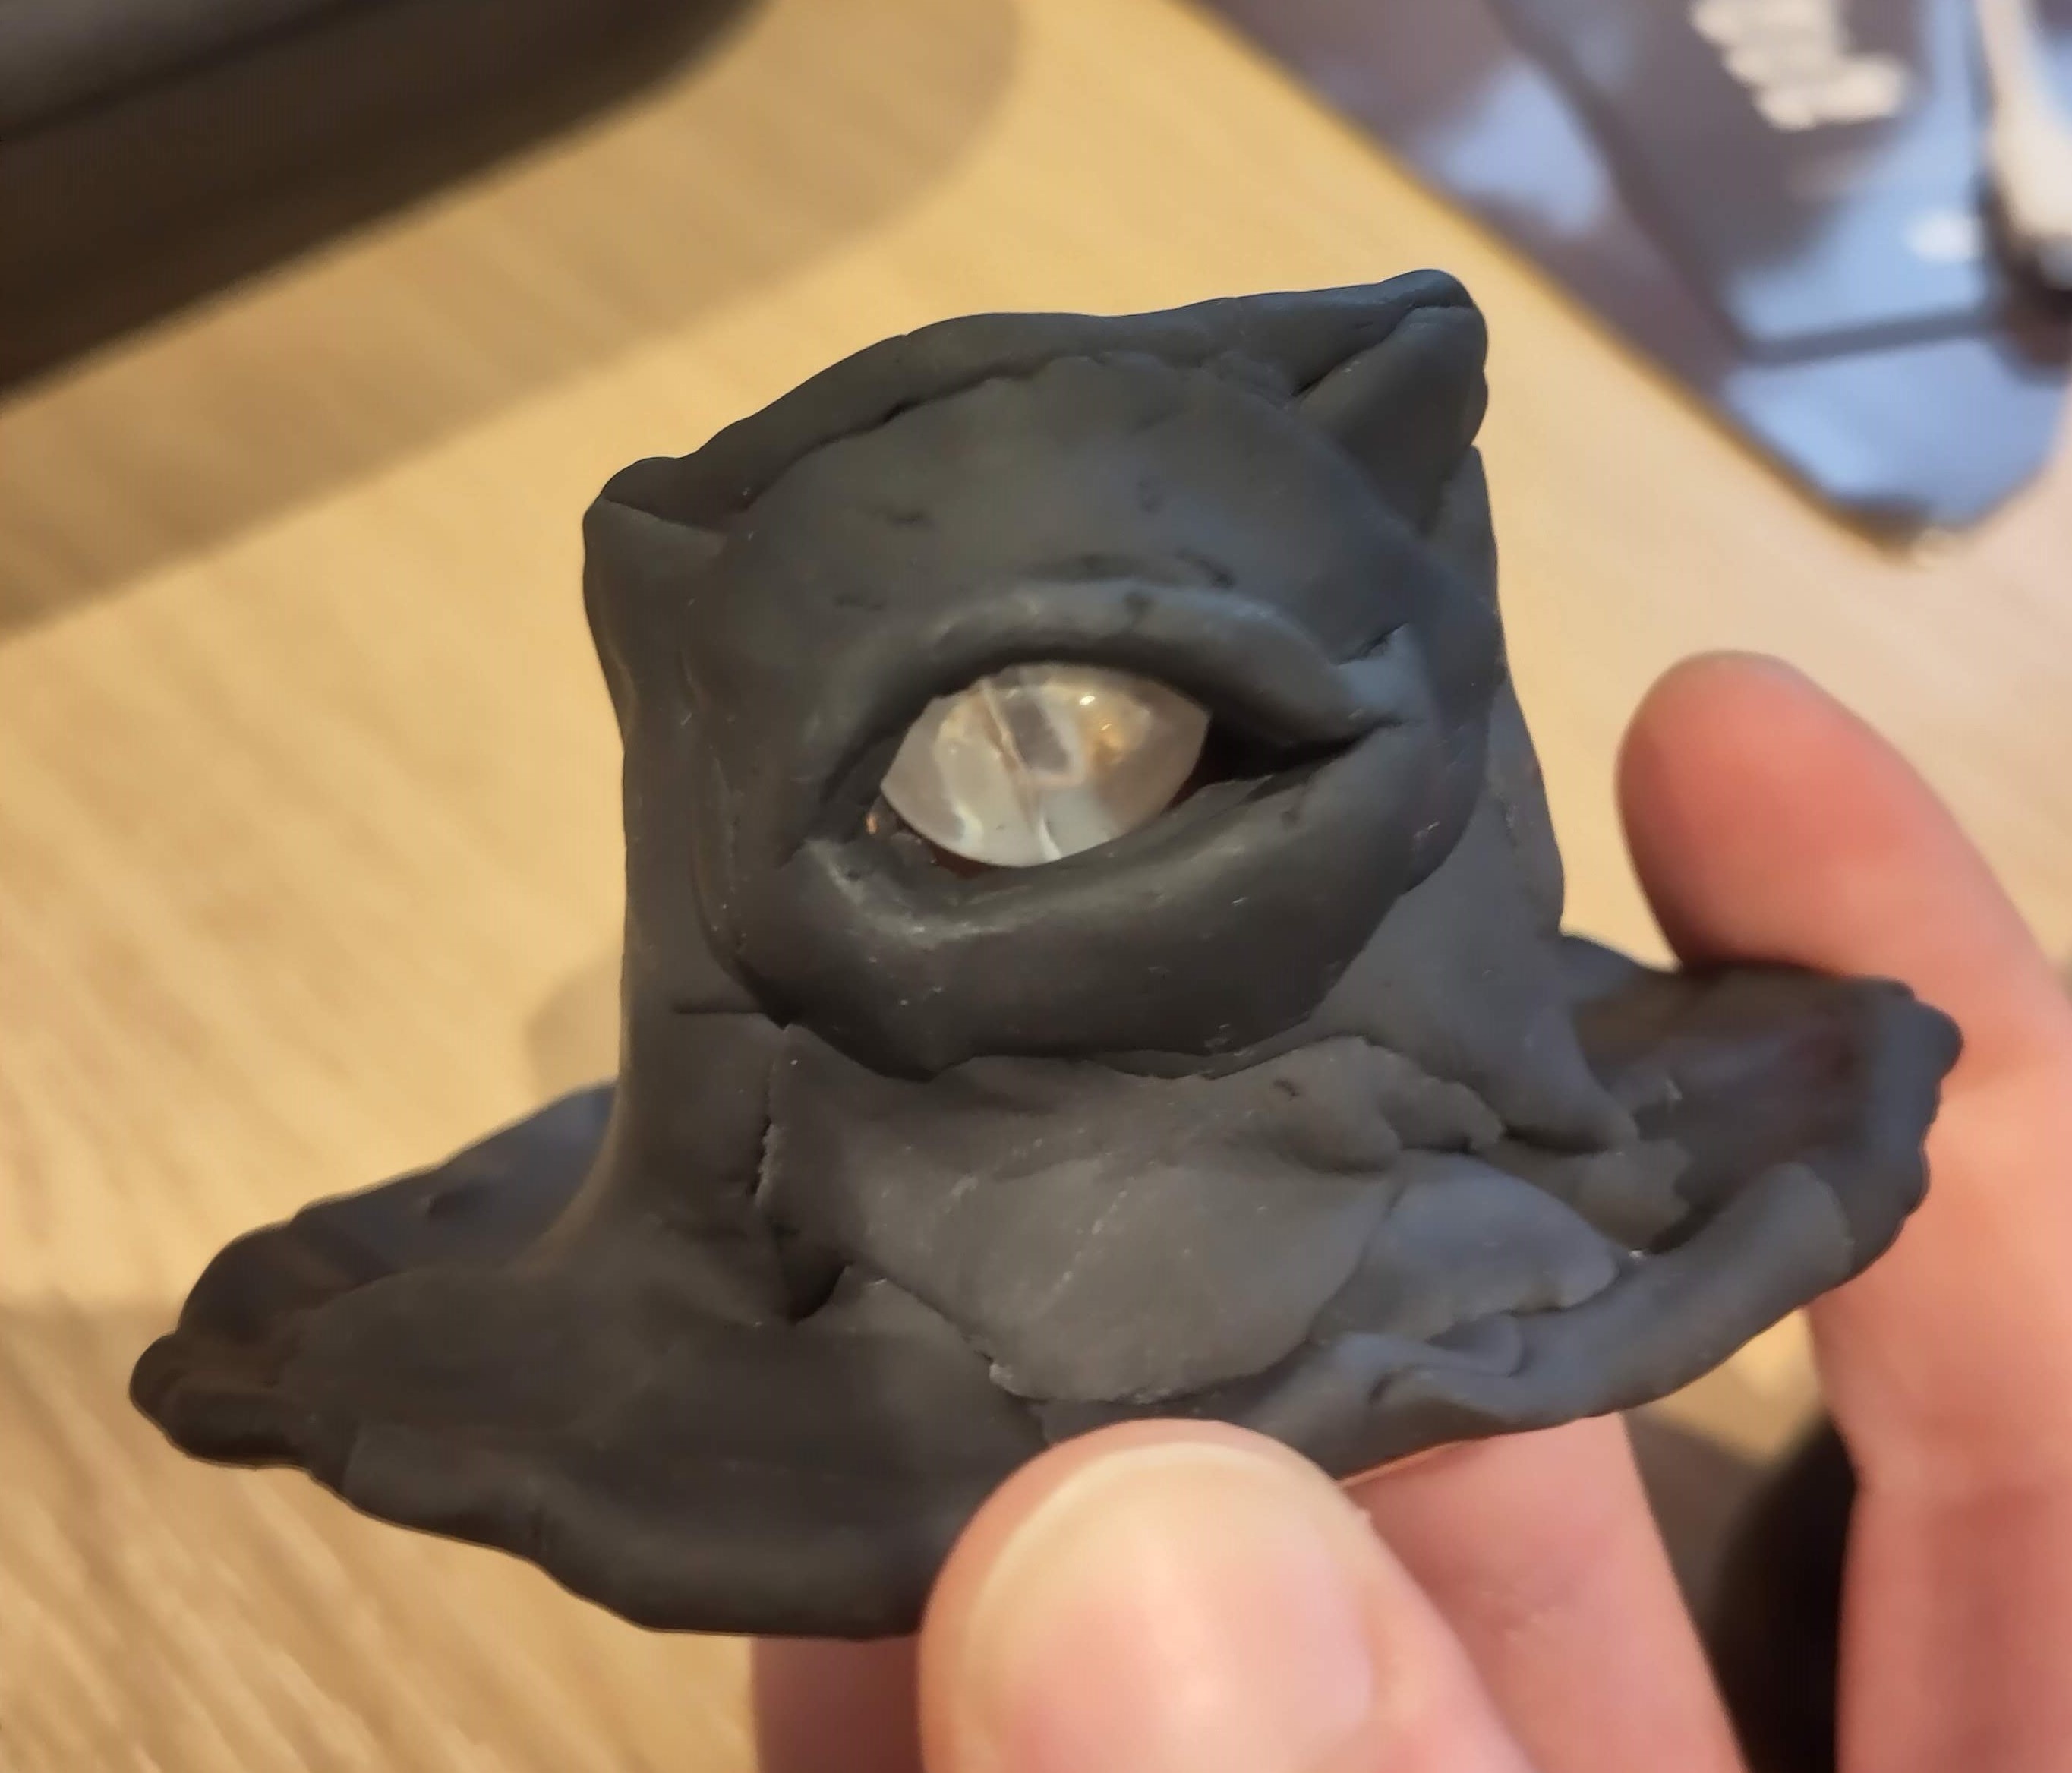
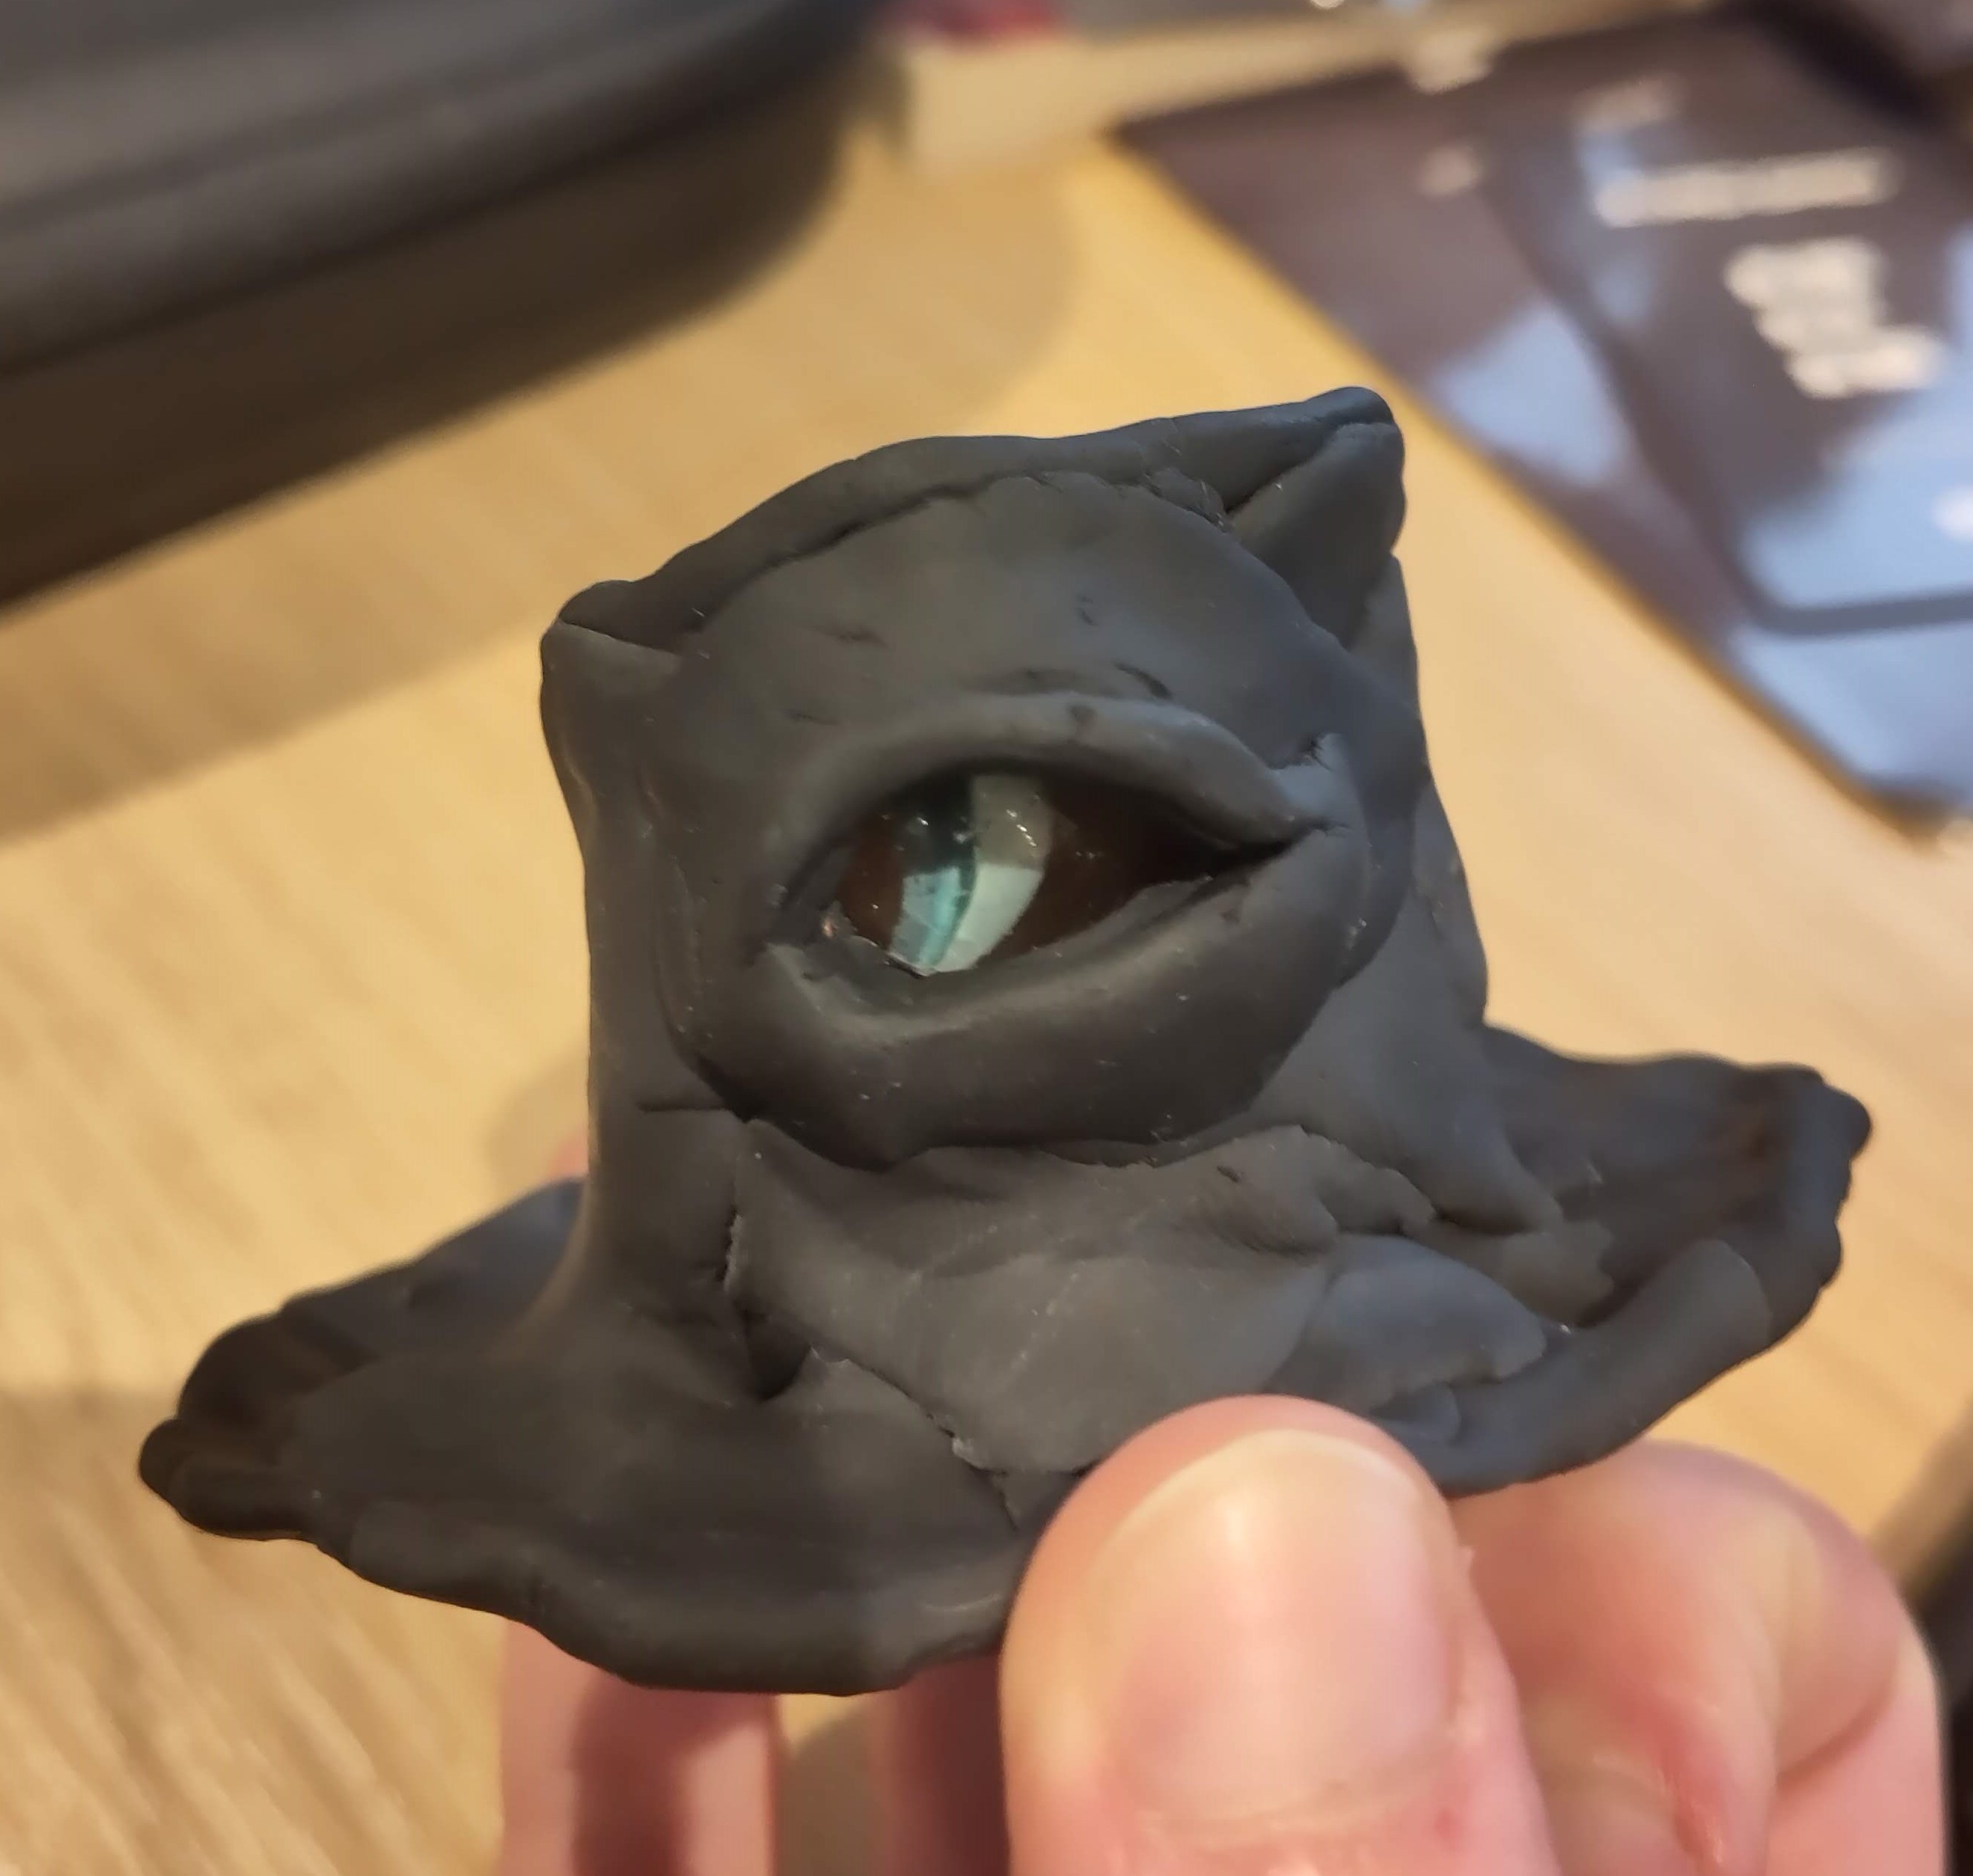
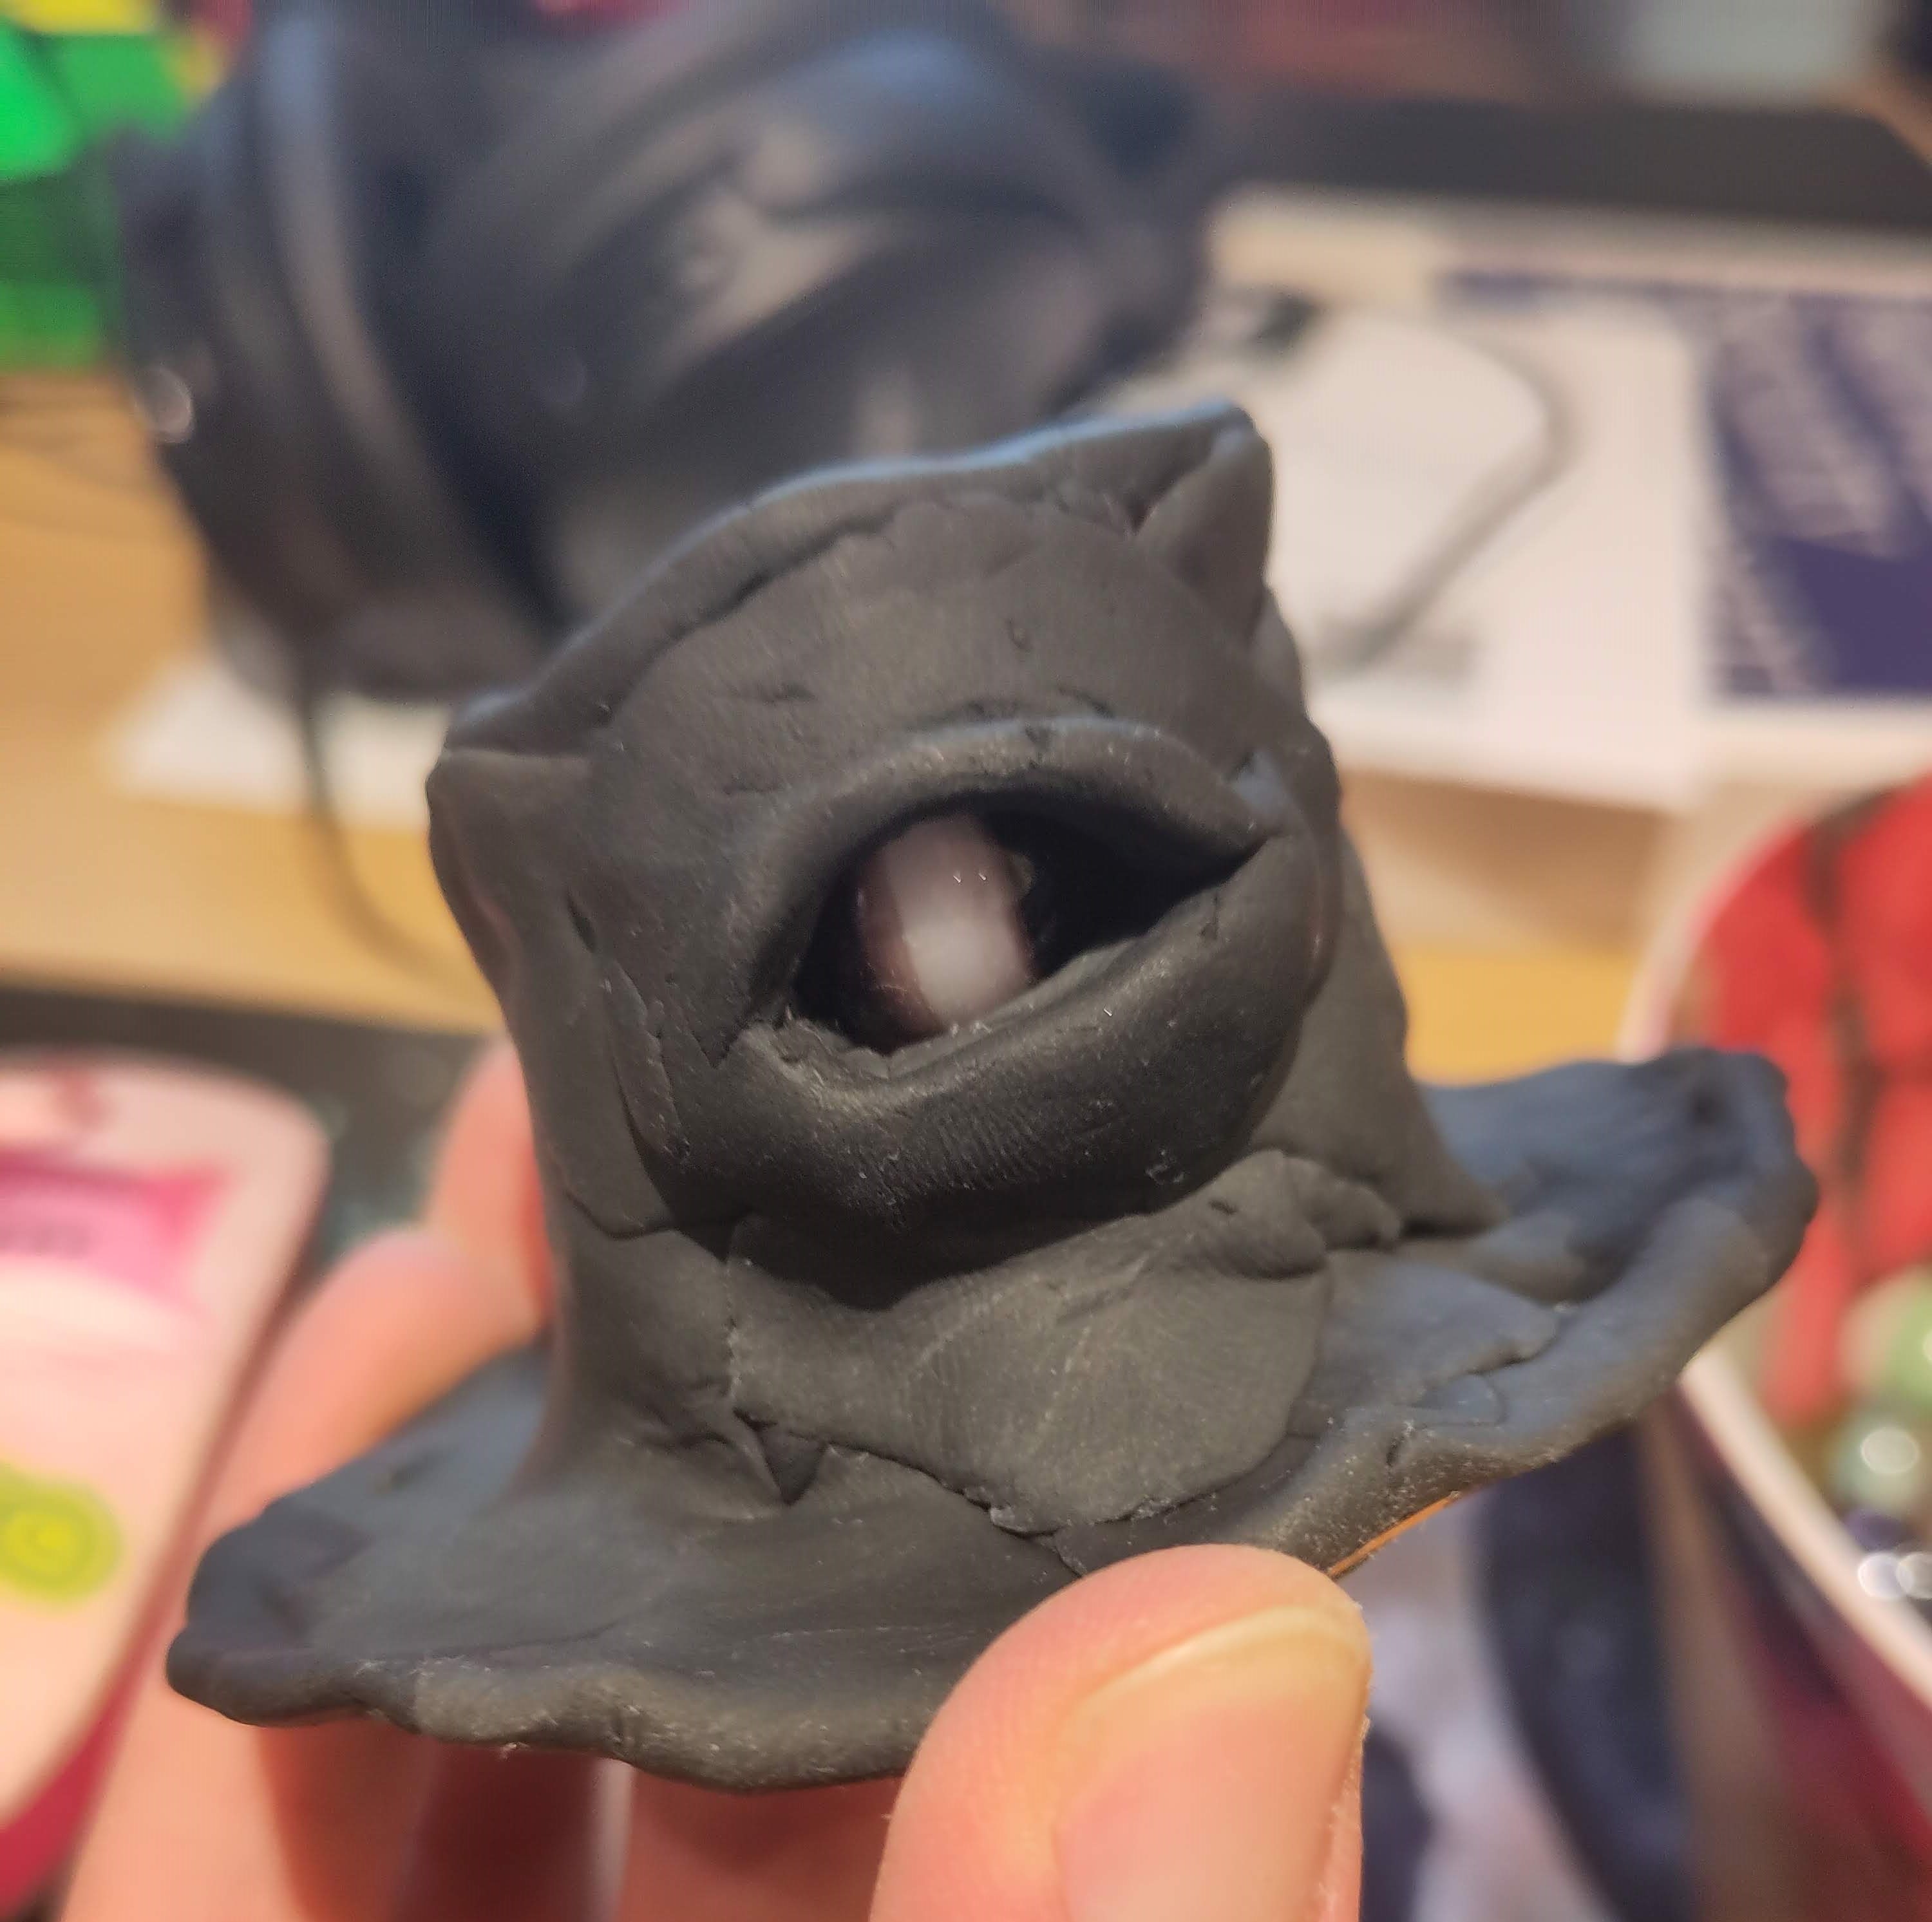
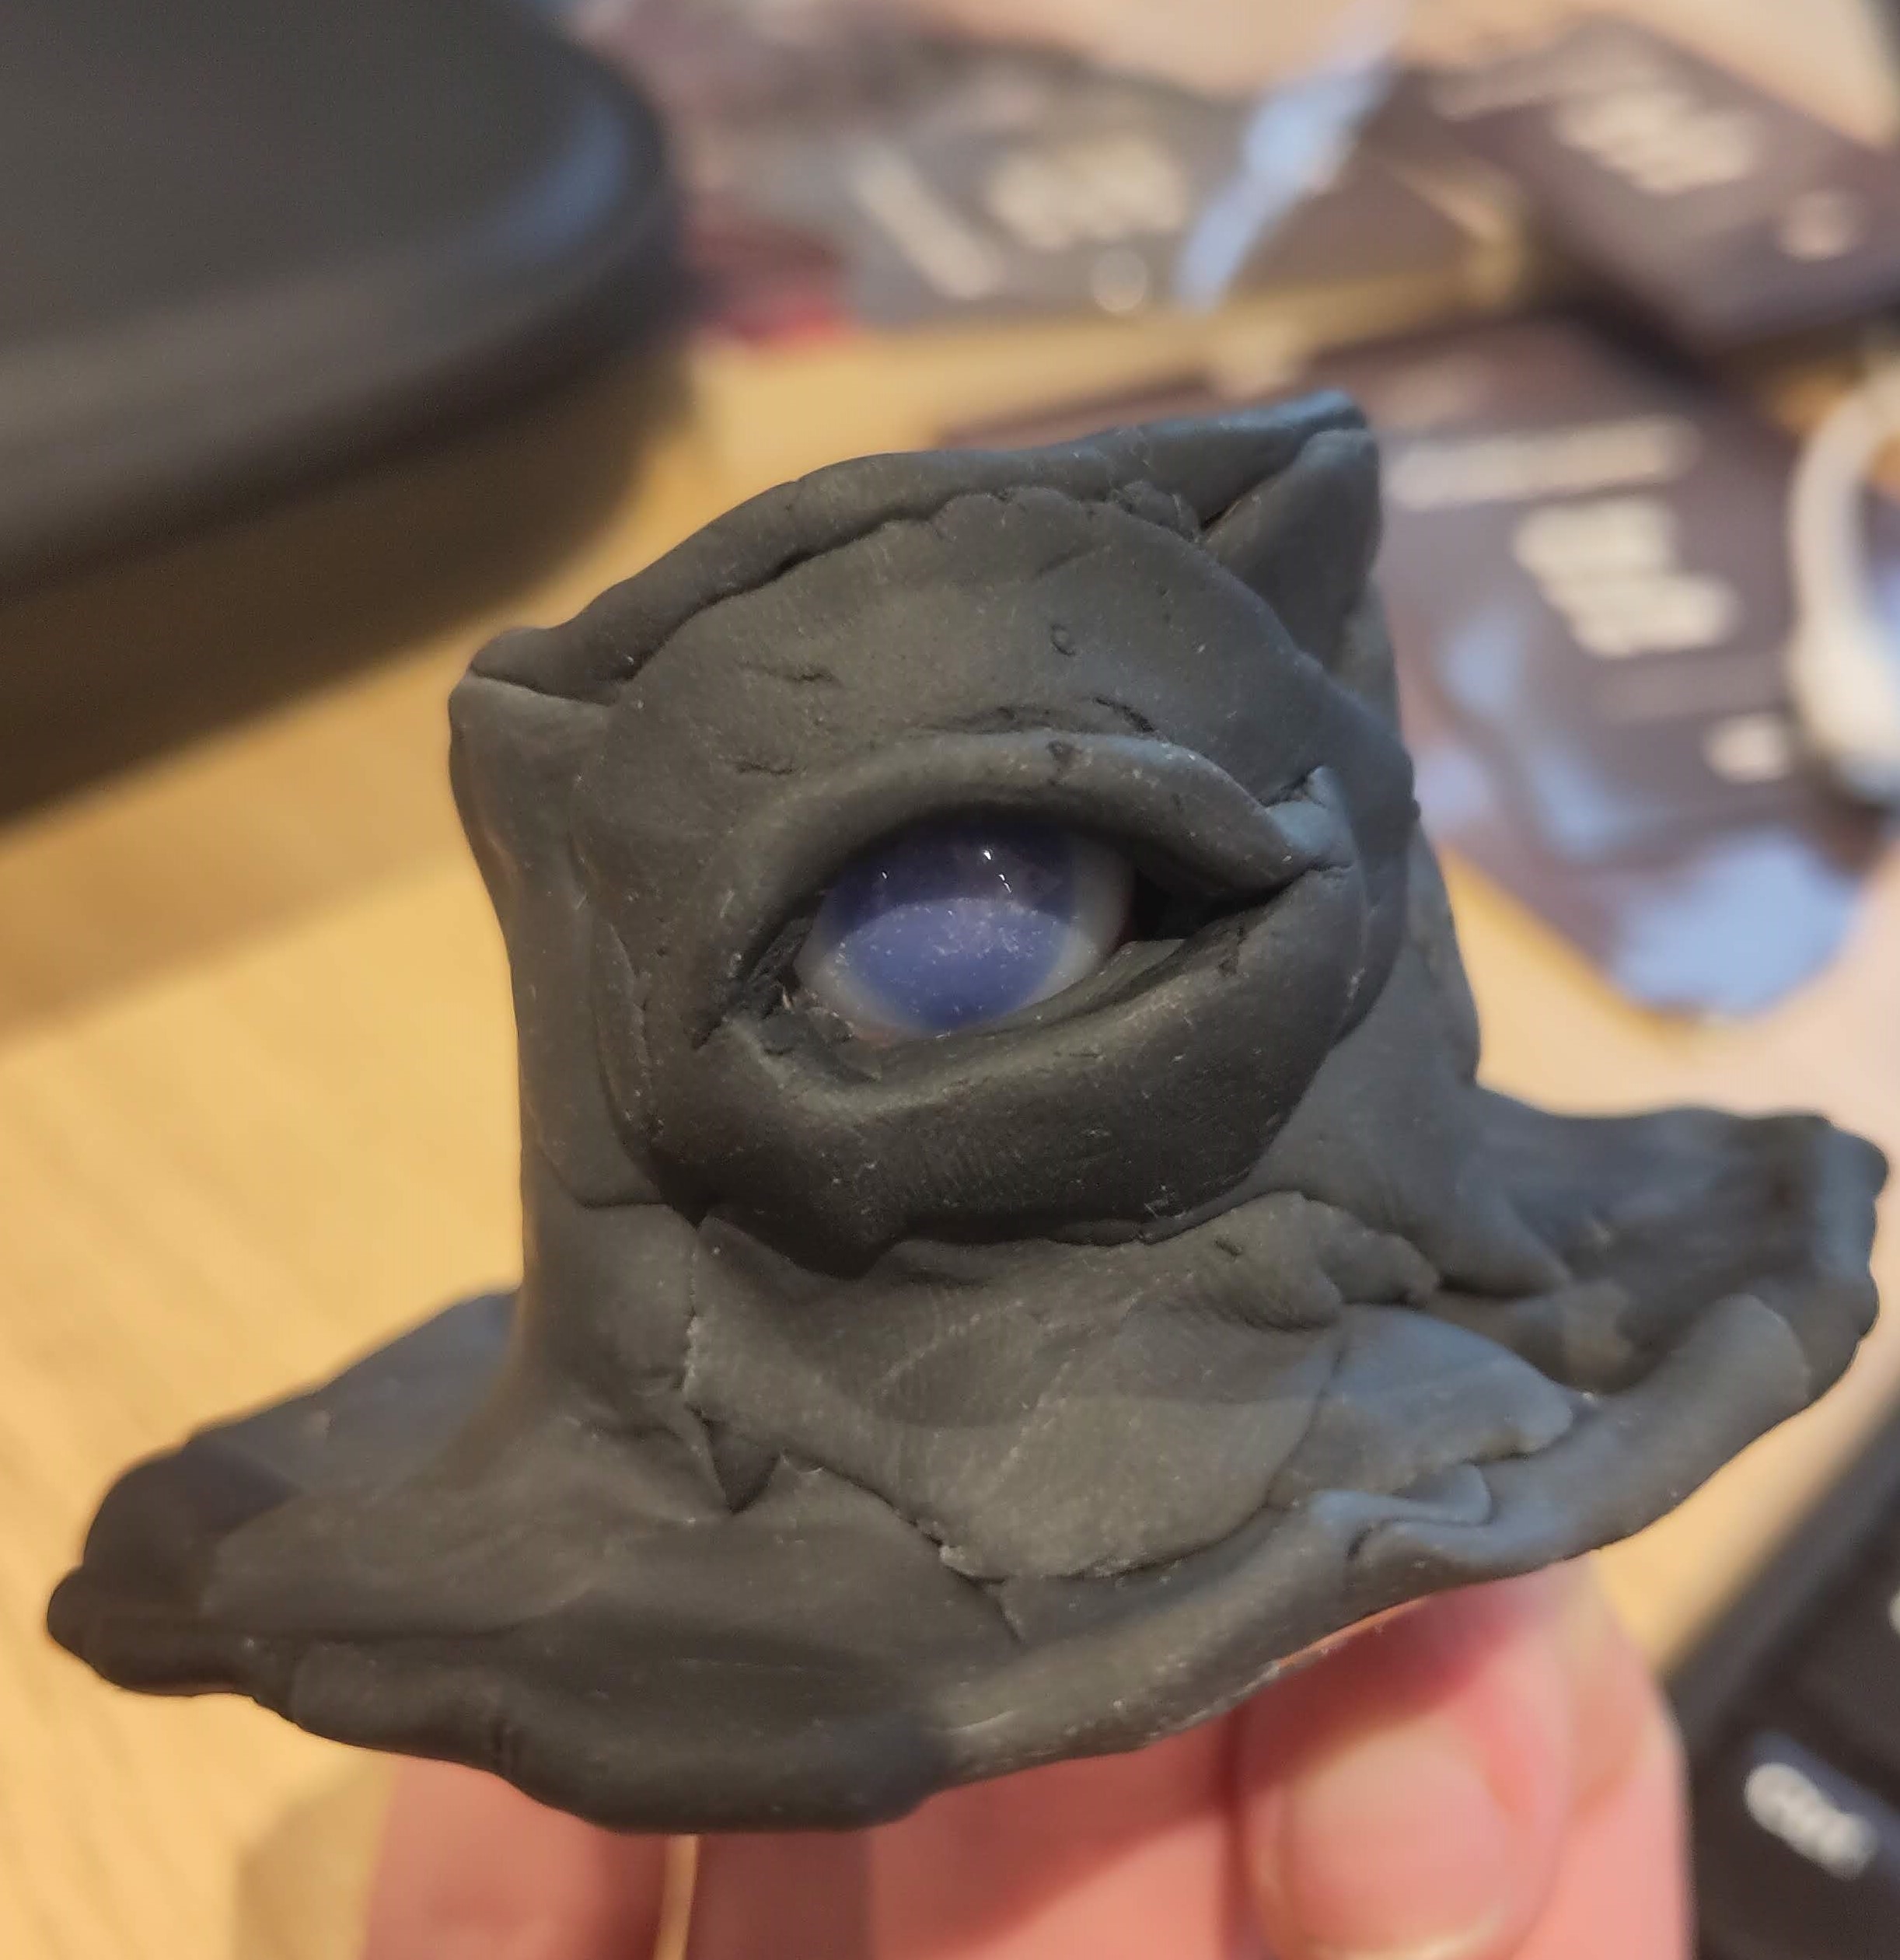

I abandoned this one for practical reasons despite it looking awesome. My original idea was for a large hat with multiple marble eyes that roll around either at random or under my control. While I still belive this would be possible and unspeakably cool, I didn't have time to figure it all out. Further resarch needed.
So instead, here is a video showing how awesome rolling eyes would look (controlled here by my fingers):
Steampunk
I also wanted to try a hat that was a quirkier shape than a cylinder with a flat rim.
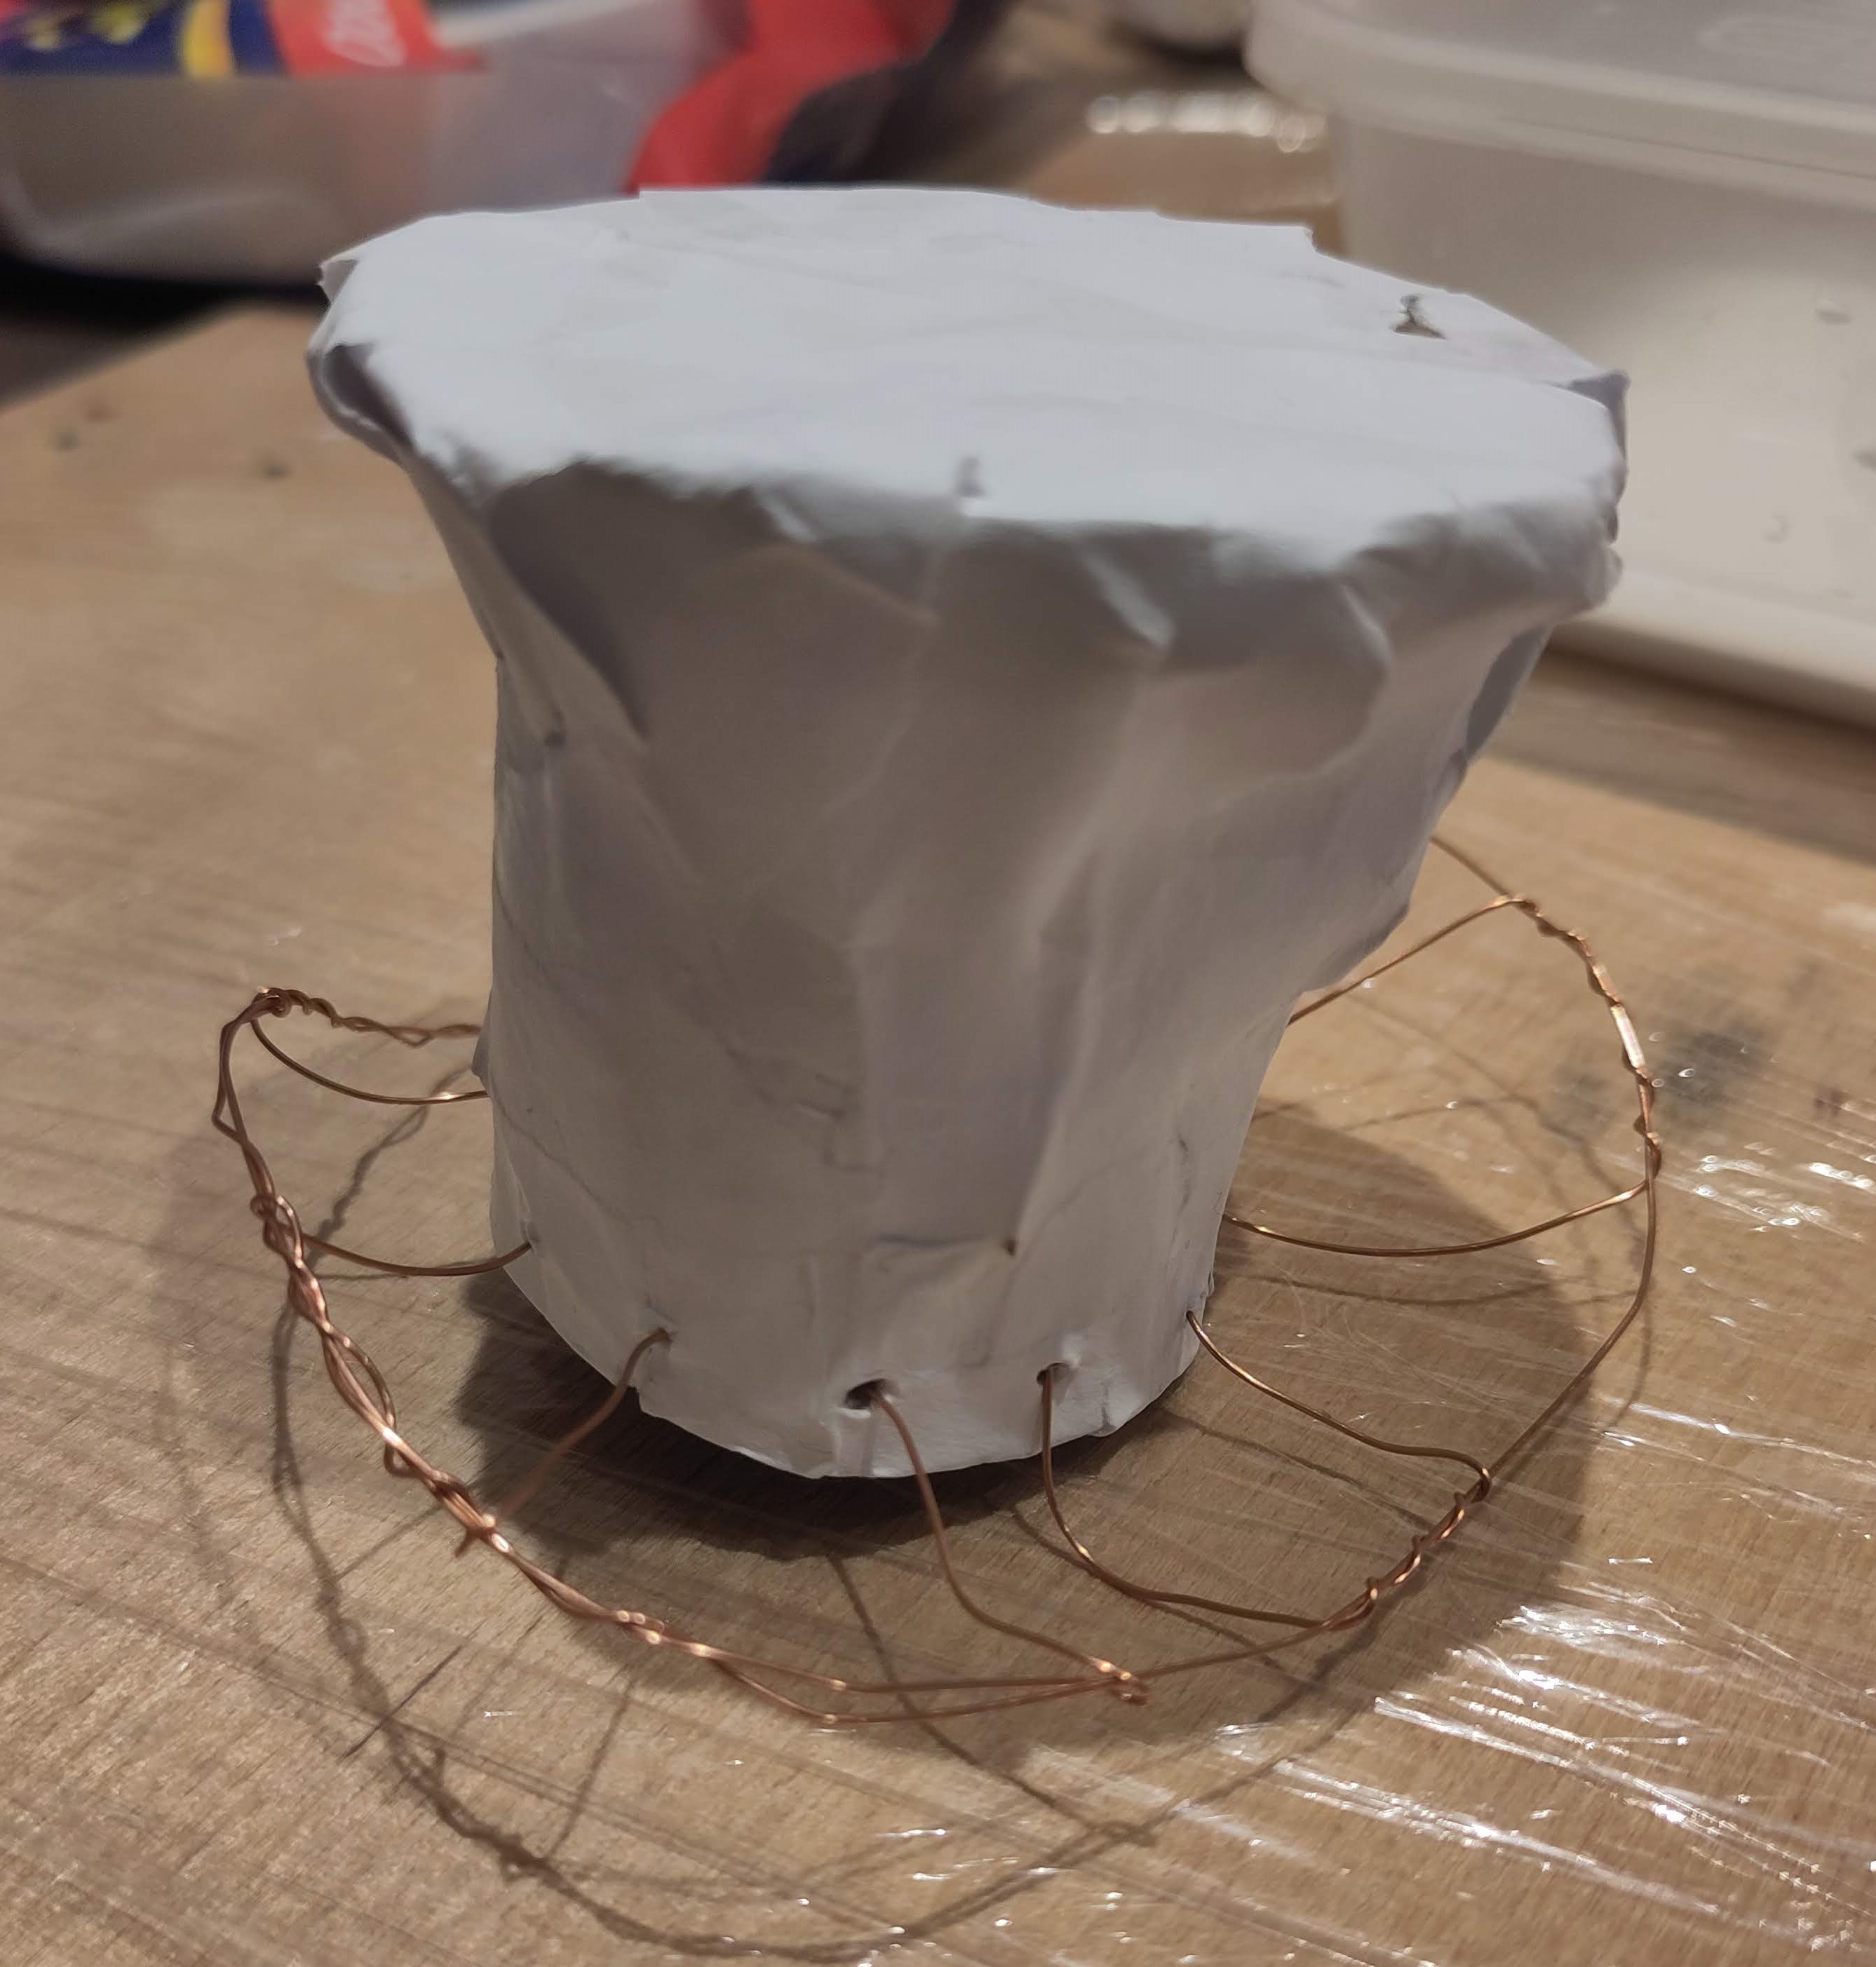
The flared top is achieved by adding a large cardboard circle and then smoothing the edges with papier mache. The rim is beading wire again. Let's cover this beauty in sticky-back black velvet:
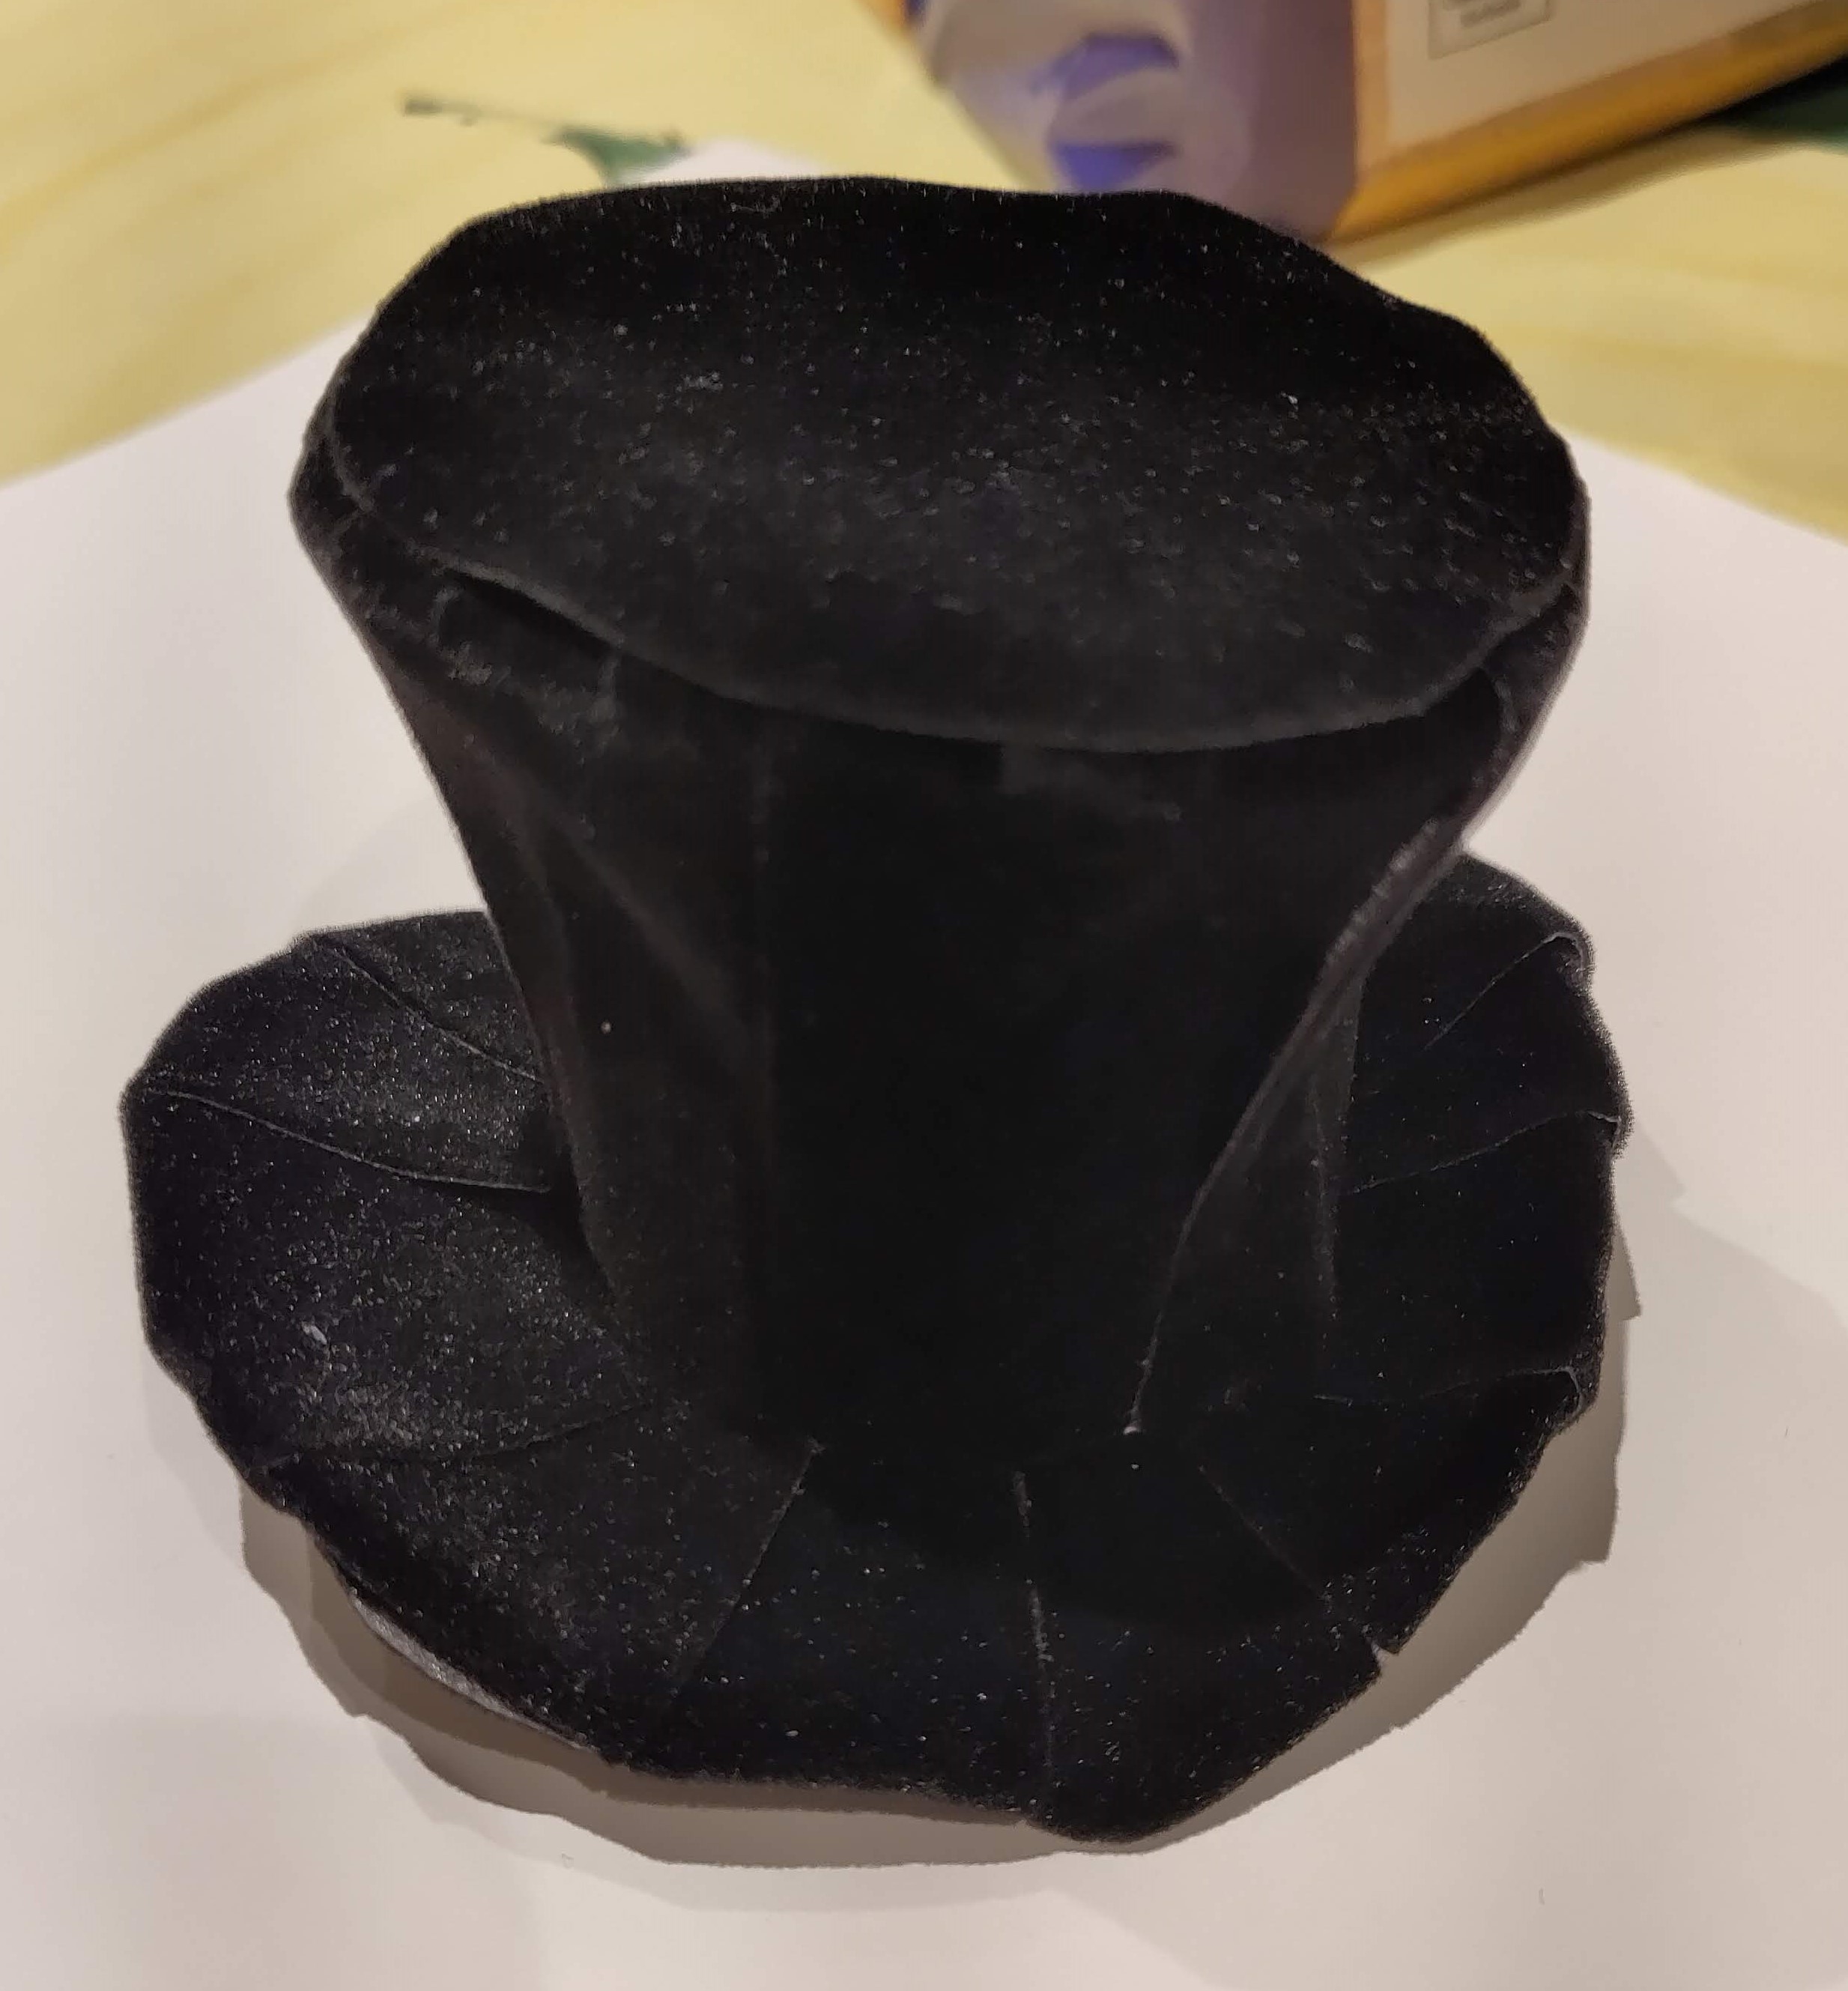
And clocks:
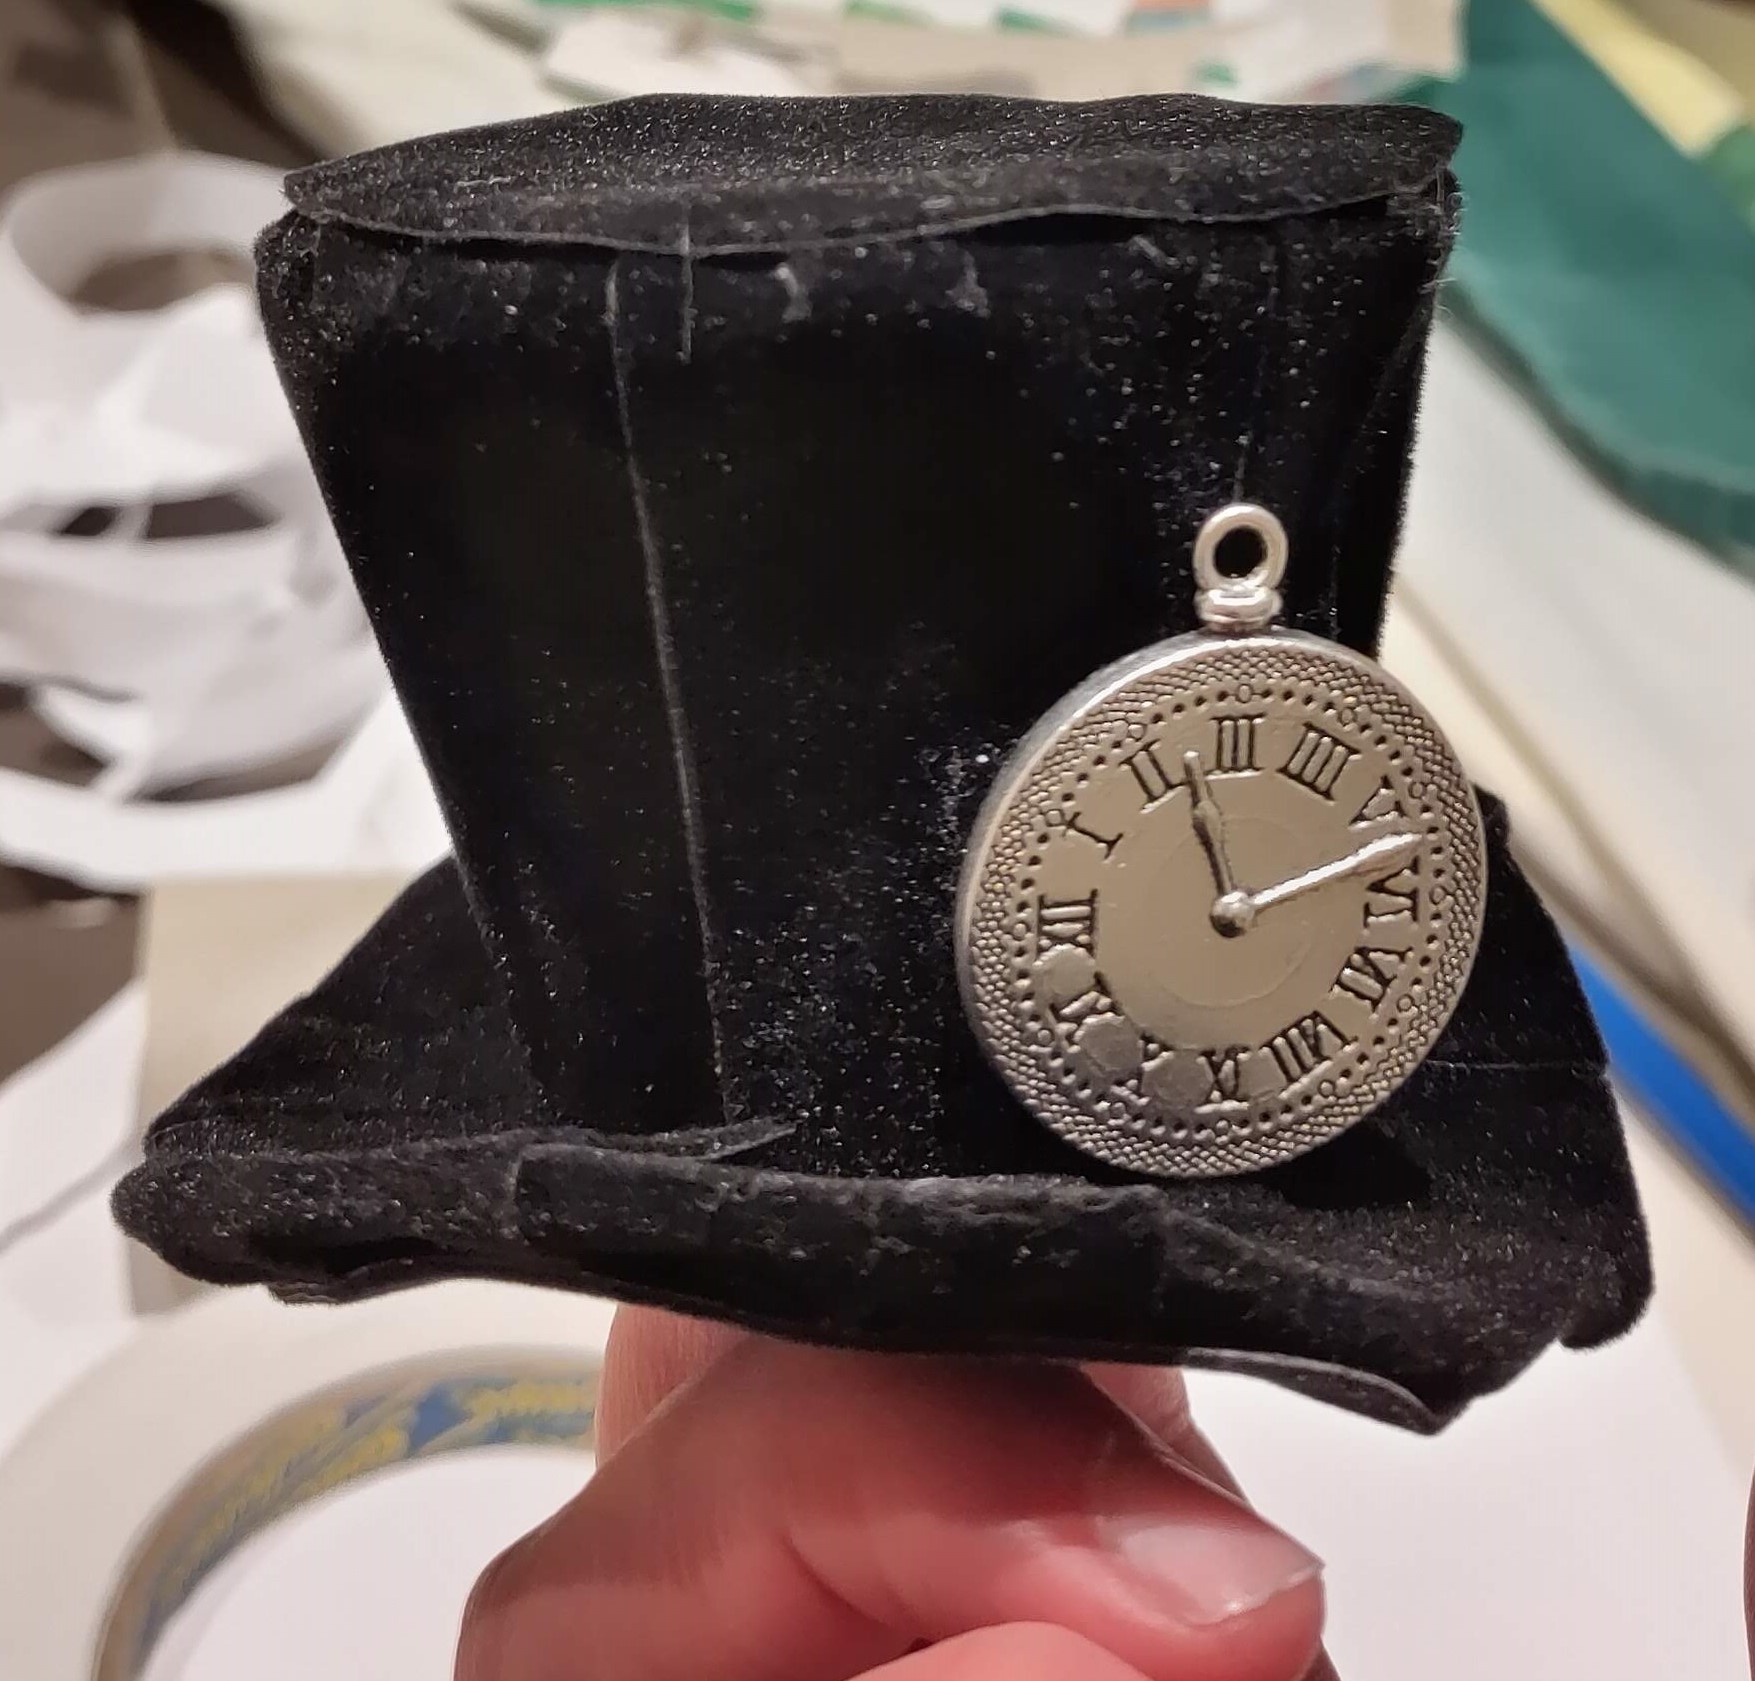
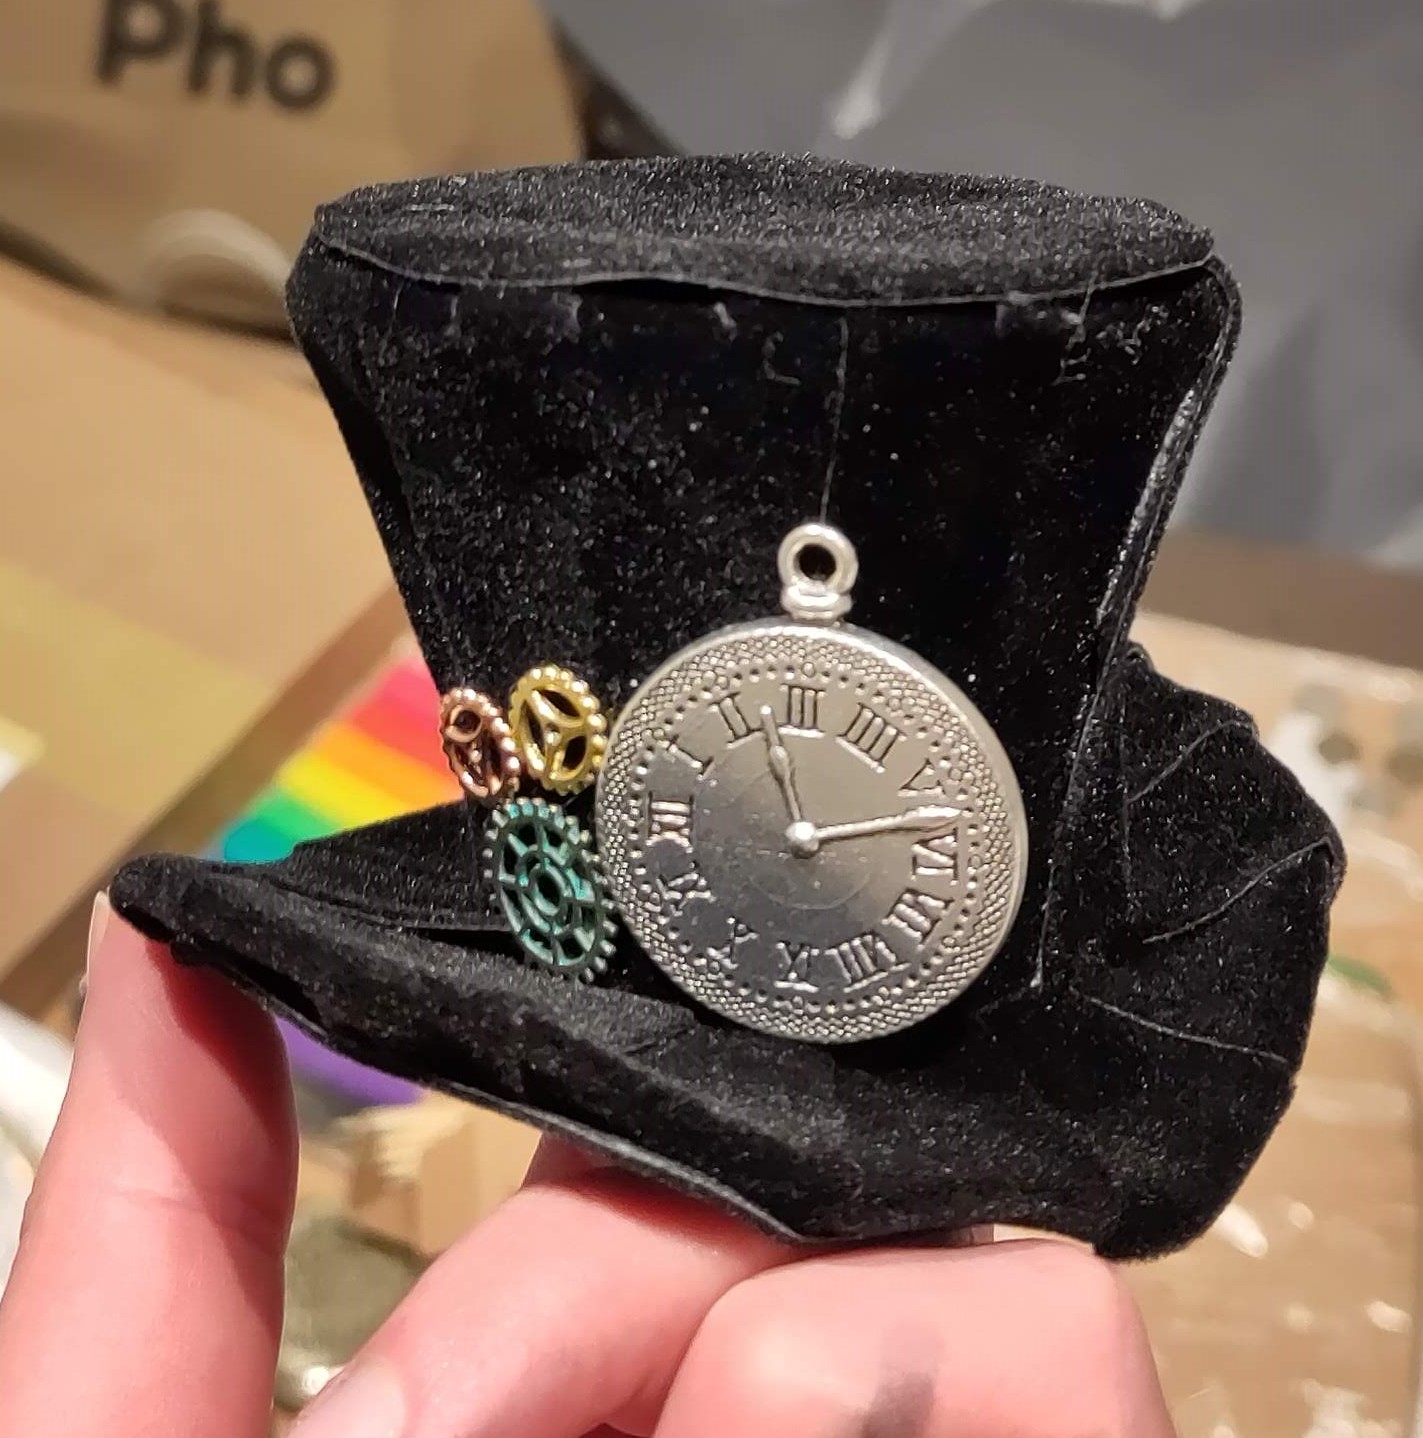
Oh yes, a very nice hat indeed!
Final Hats
Anyway, after the prototyping stage I decided on the octopus.
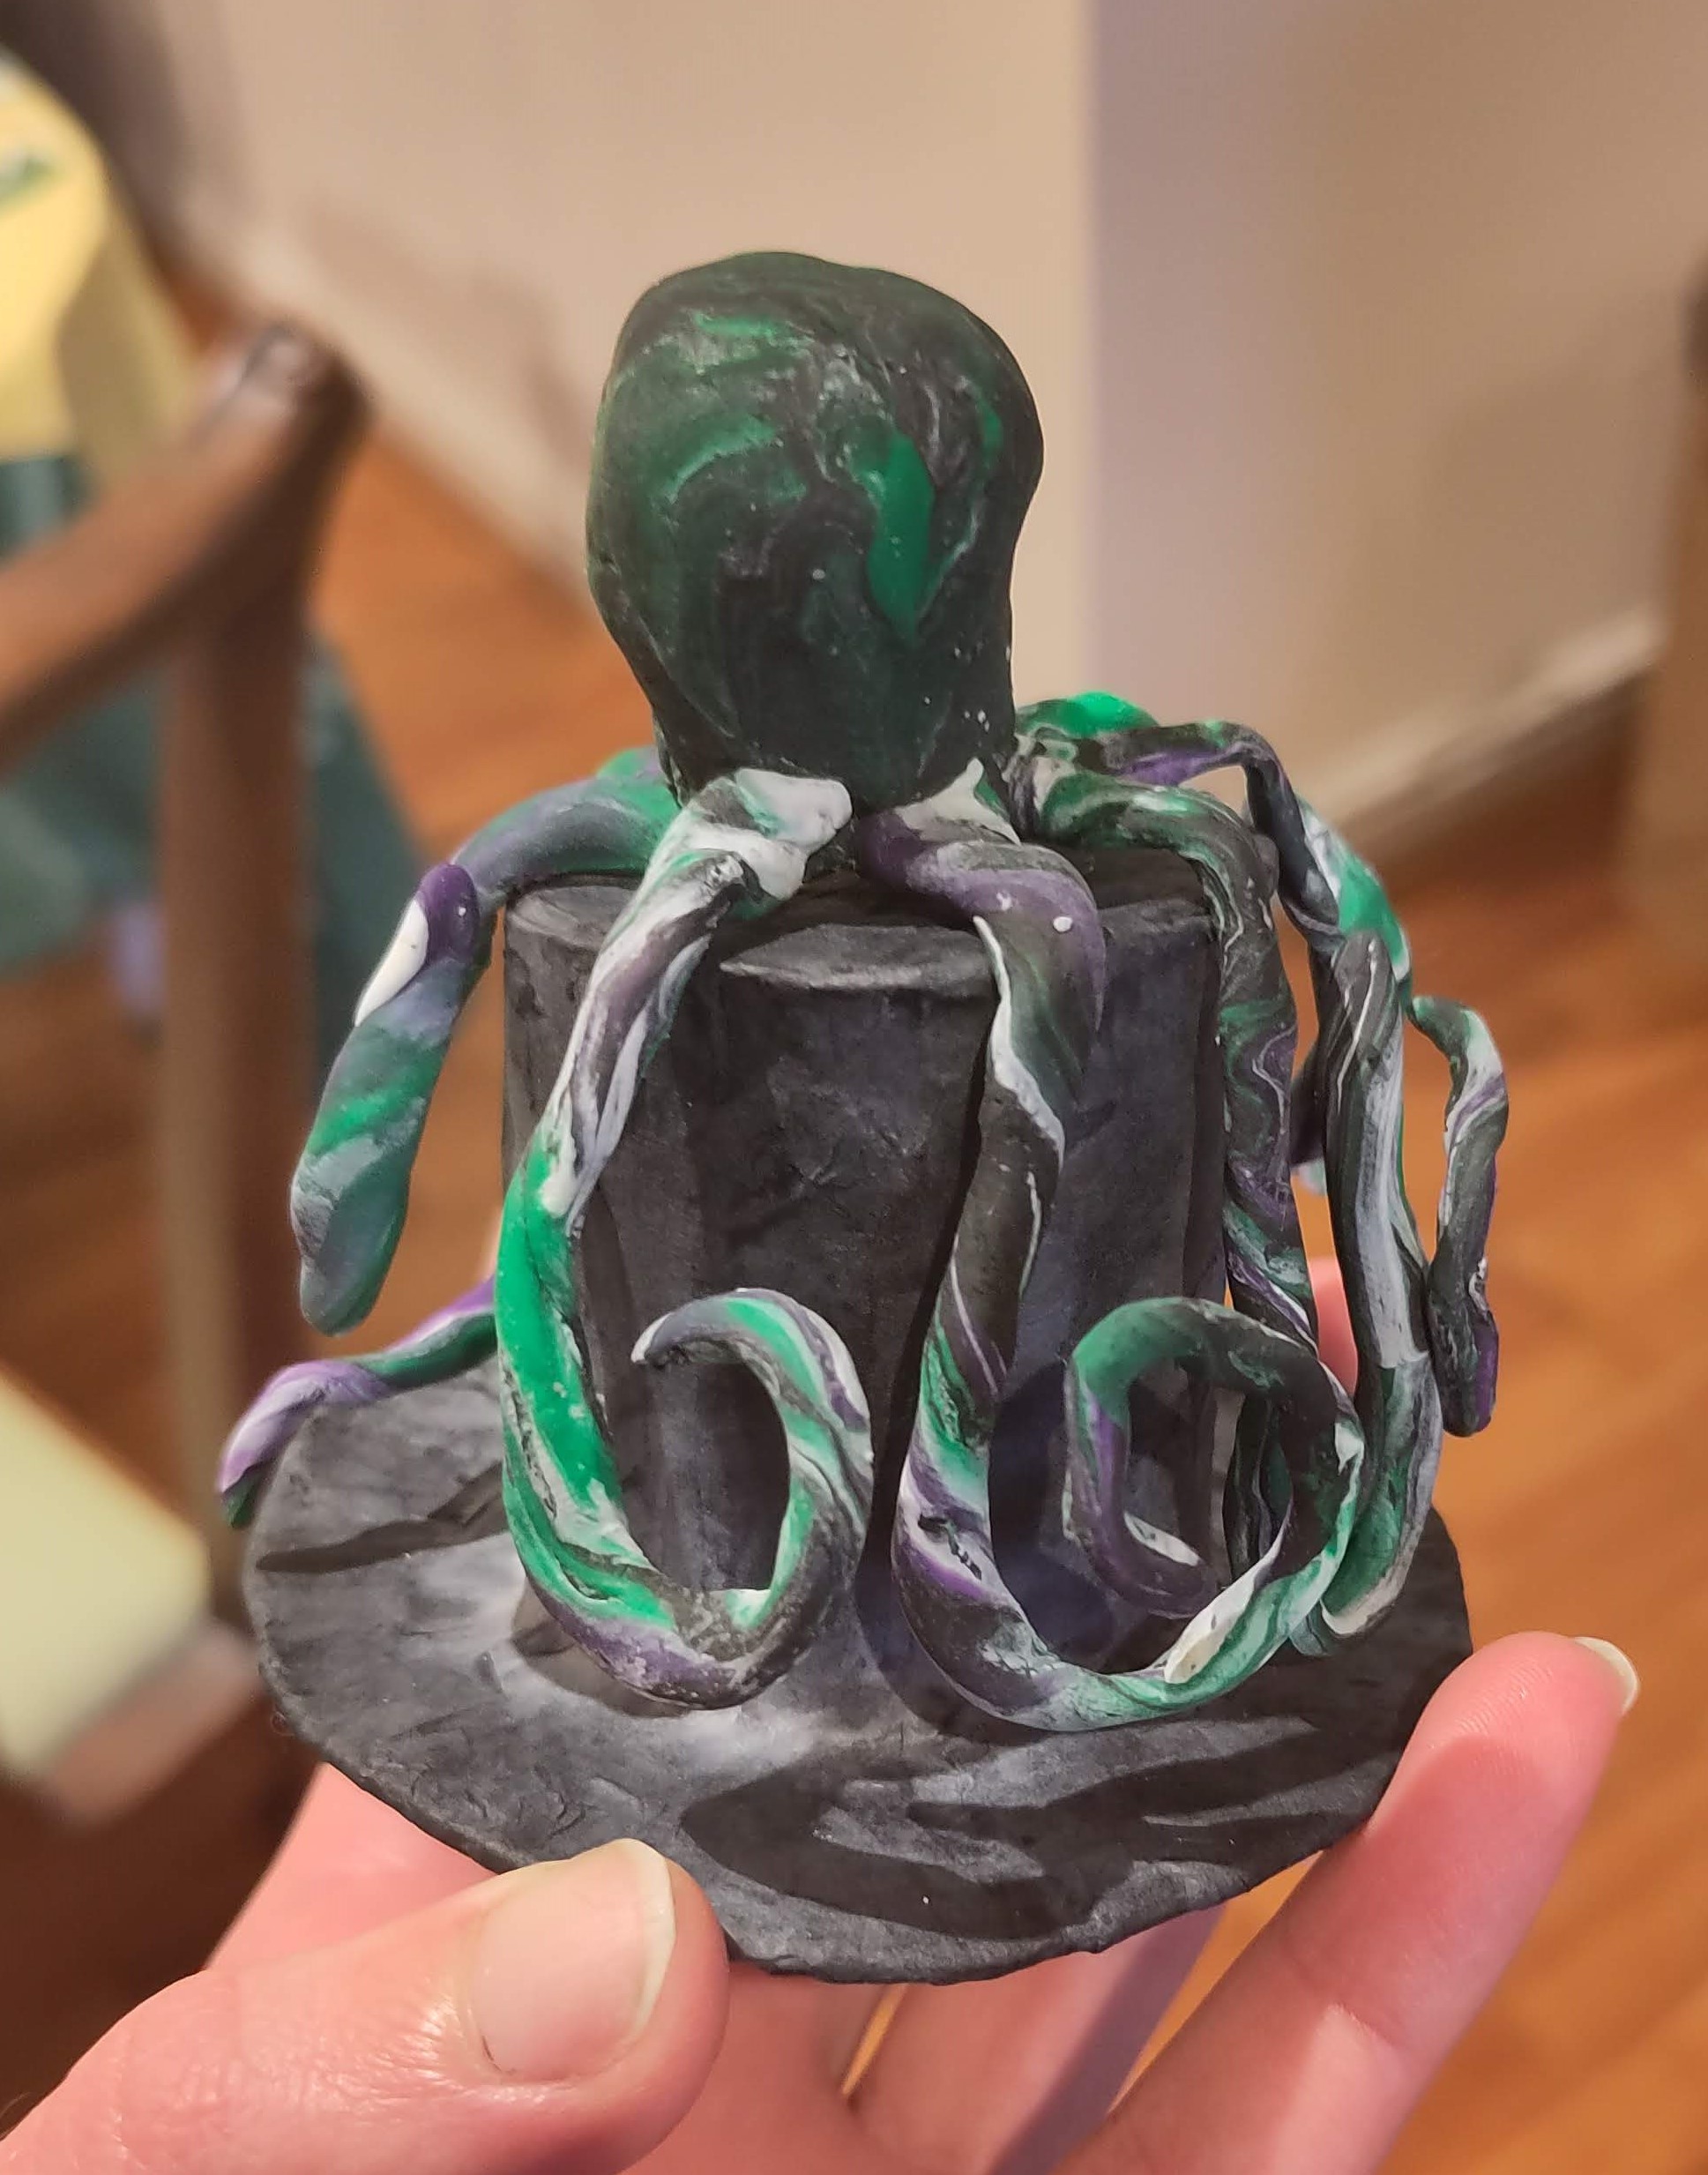
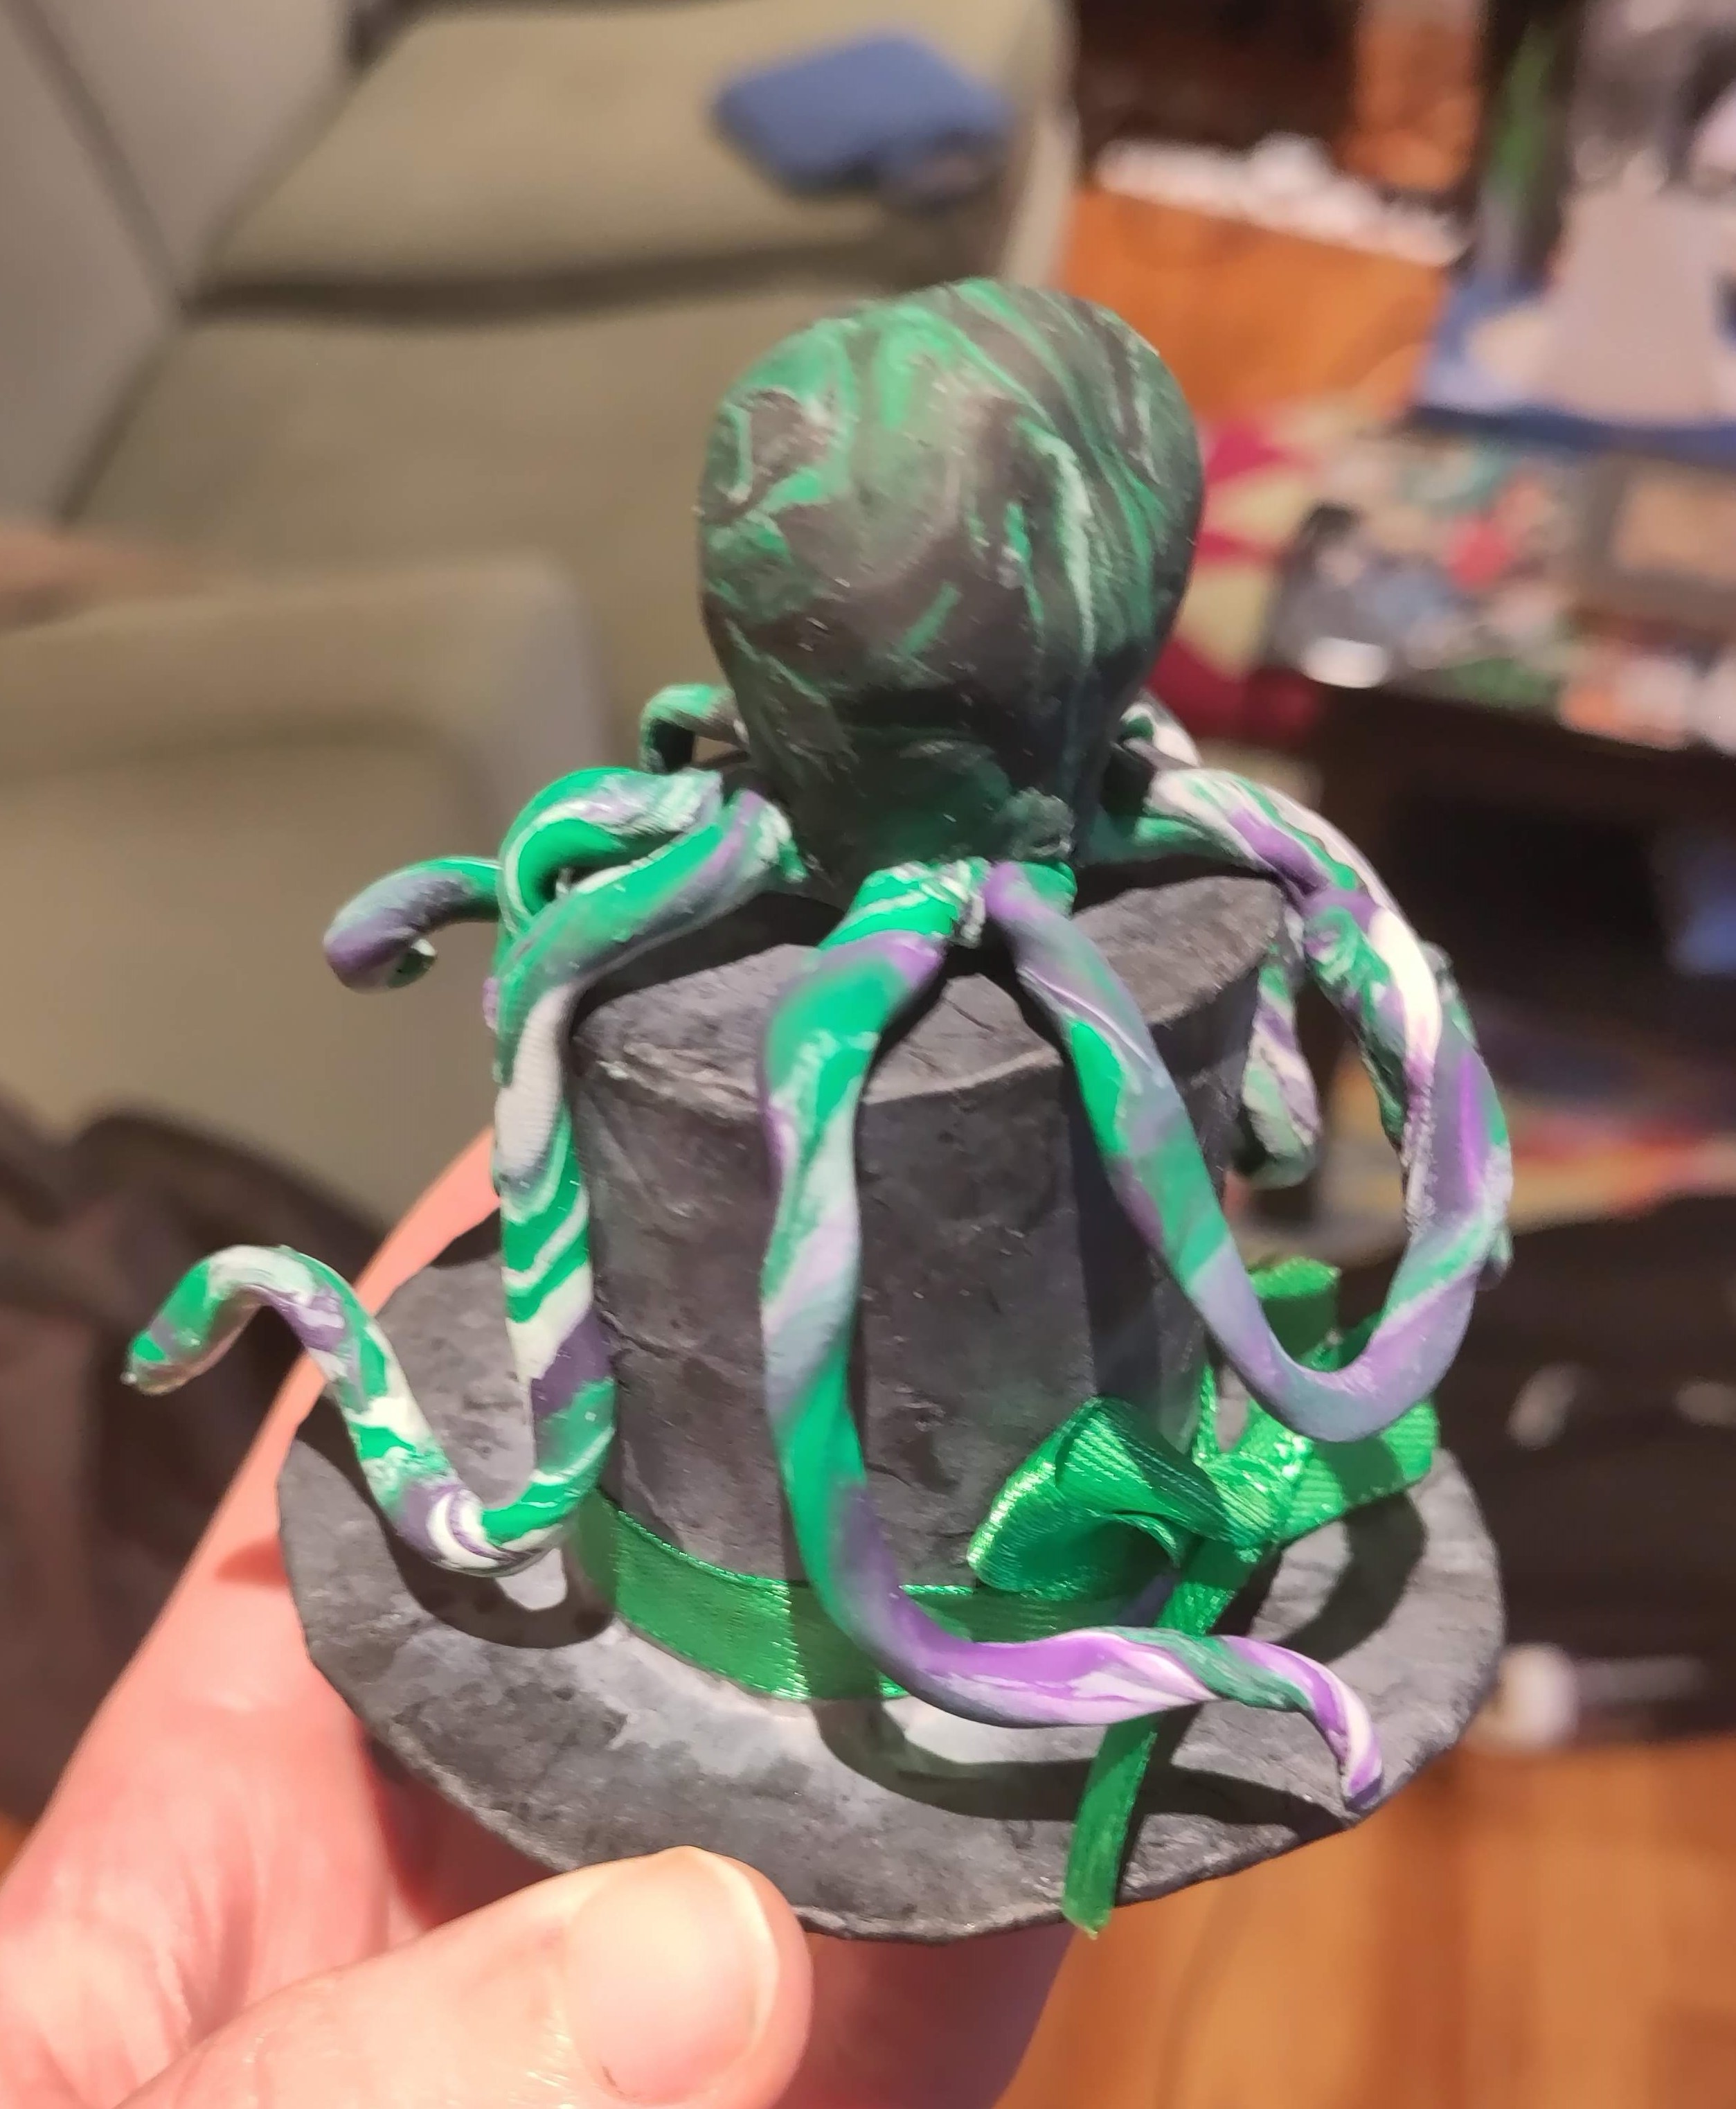
The Octopus Hat
The octopus is made of fimo. The body is made of modelling wire stapled into a roughly spherical shape. The legs are beading wire that was attached to the body. Then the whole thing was covered in aluminium foil to give it a smoother surface and add some muscle tissue to that those legs so I would require less modelling clay.
To create the marble effect, I laid out strips of various colours of clay next to each other and alternated twisting the sausage, and folding it in half. After about 3 iterations of this, I squished the clay flat and layed it over the octopus's body.
All this time, I worked with the legs pointing straight out. Once all the clay was on, it was time to arrange the legs in artistic writhing, grasping curlicues.
Then I made a big mistake. I put the hat in the oven with the octopus on it. The octopus baked exactly as it should, but the hat shrunk and became wrinkled and much too small for my head. Learn from my mistake: do not bake your hat.
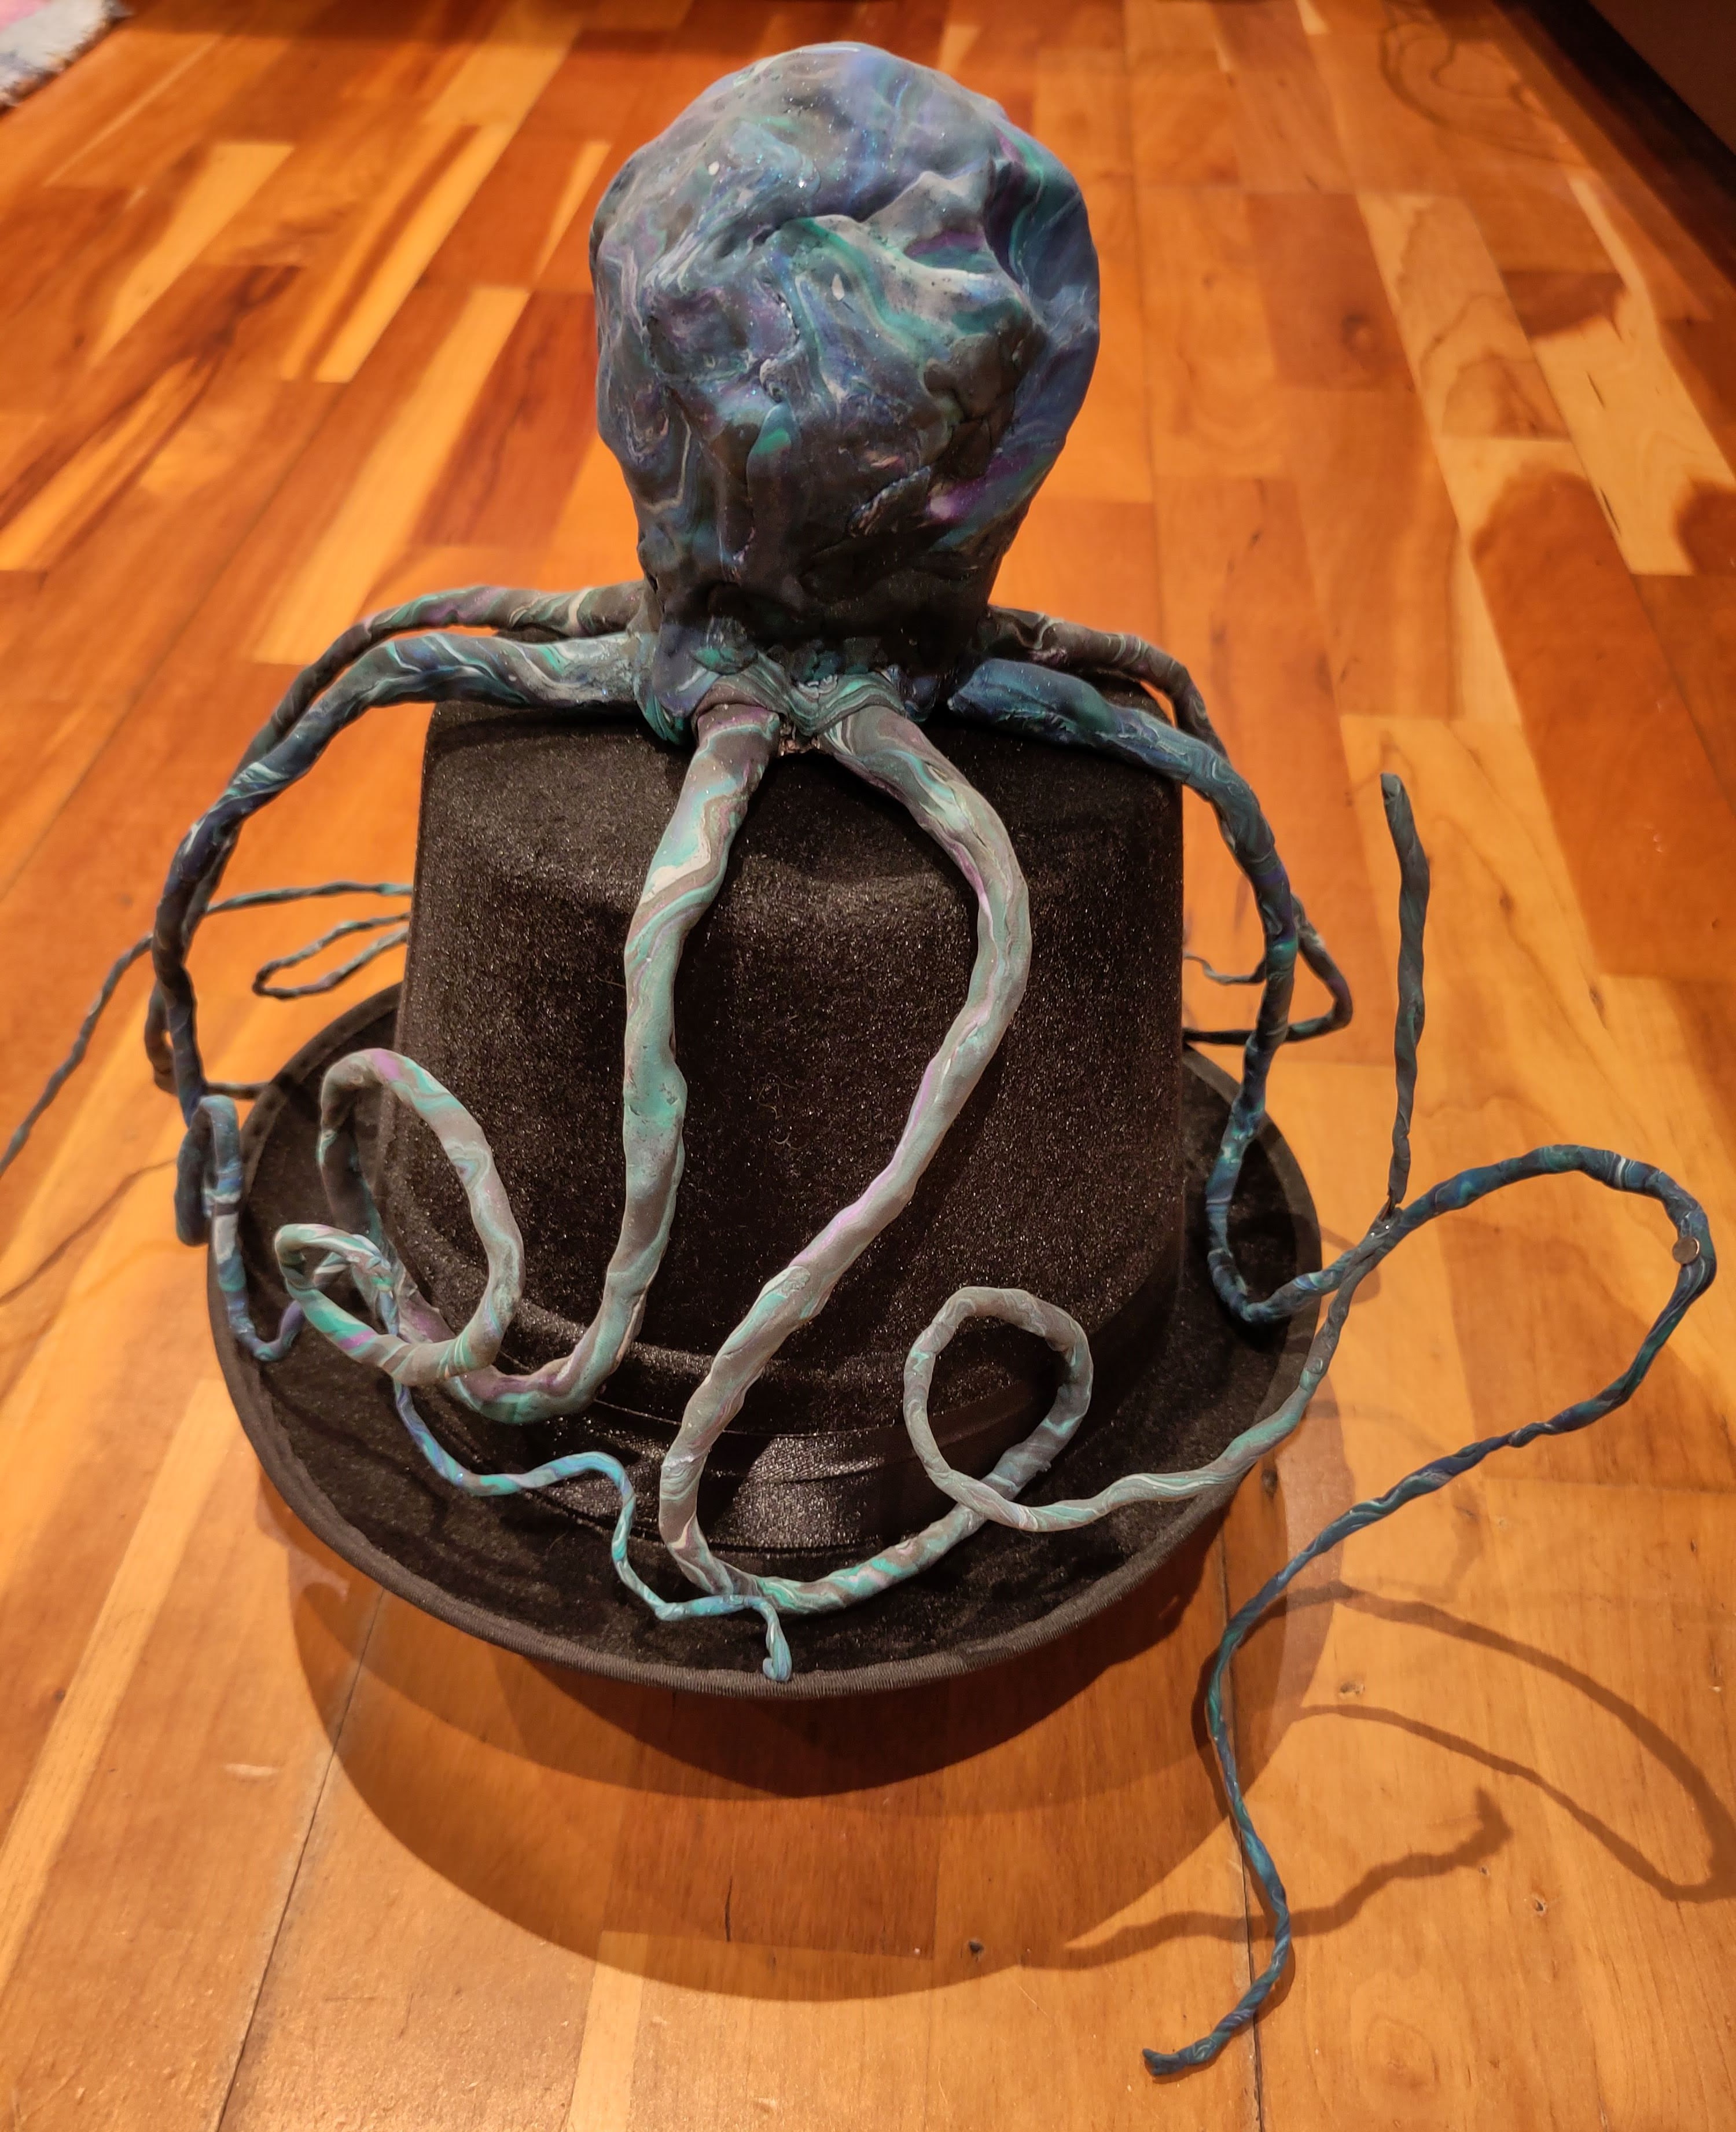
A resplendent octopus atop a shriveled hulk of a top hat.
The Steampunk Hat
I wanted the steampunk hat to be very tall, asymmetric, and flared. I experimented with paper and cardboard, before realising the solution lay in my octopus: Modelling wire.
The base is modelling wire secured with staples. There is also a cardboard circle at the top. Then everything is covered in a layer of papier mache, although I think if I did this again, I could skip the paper.
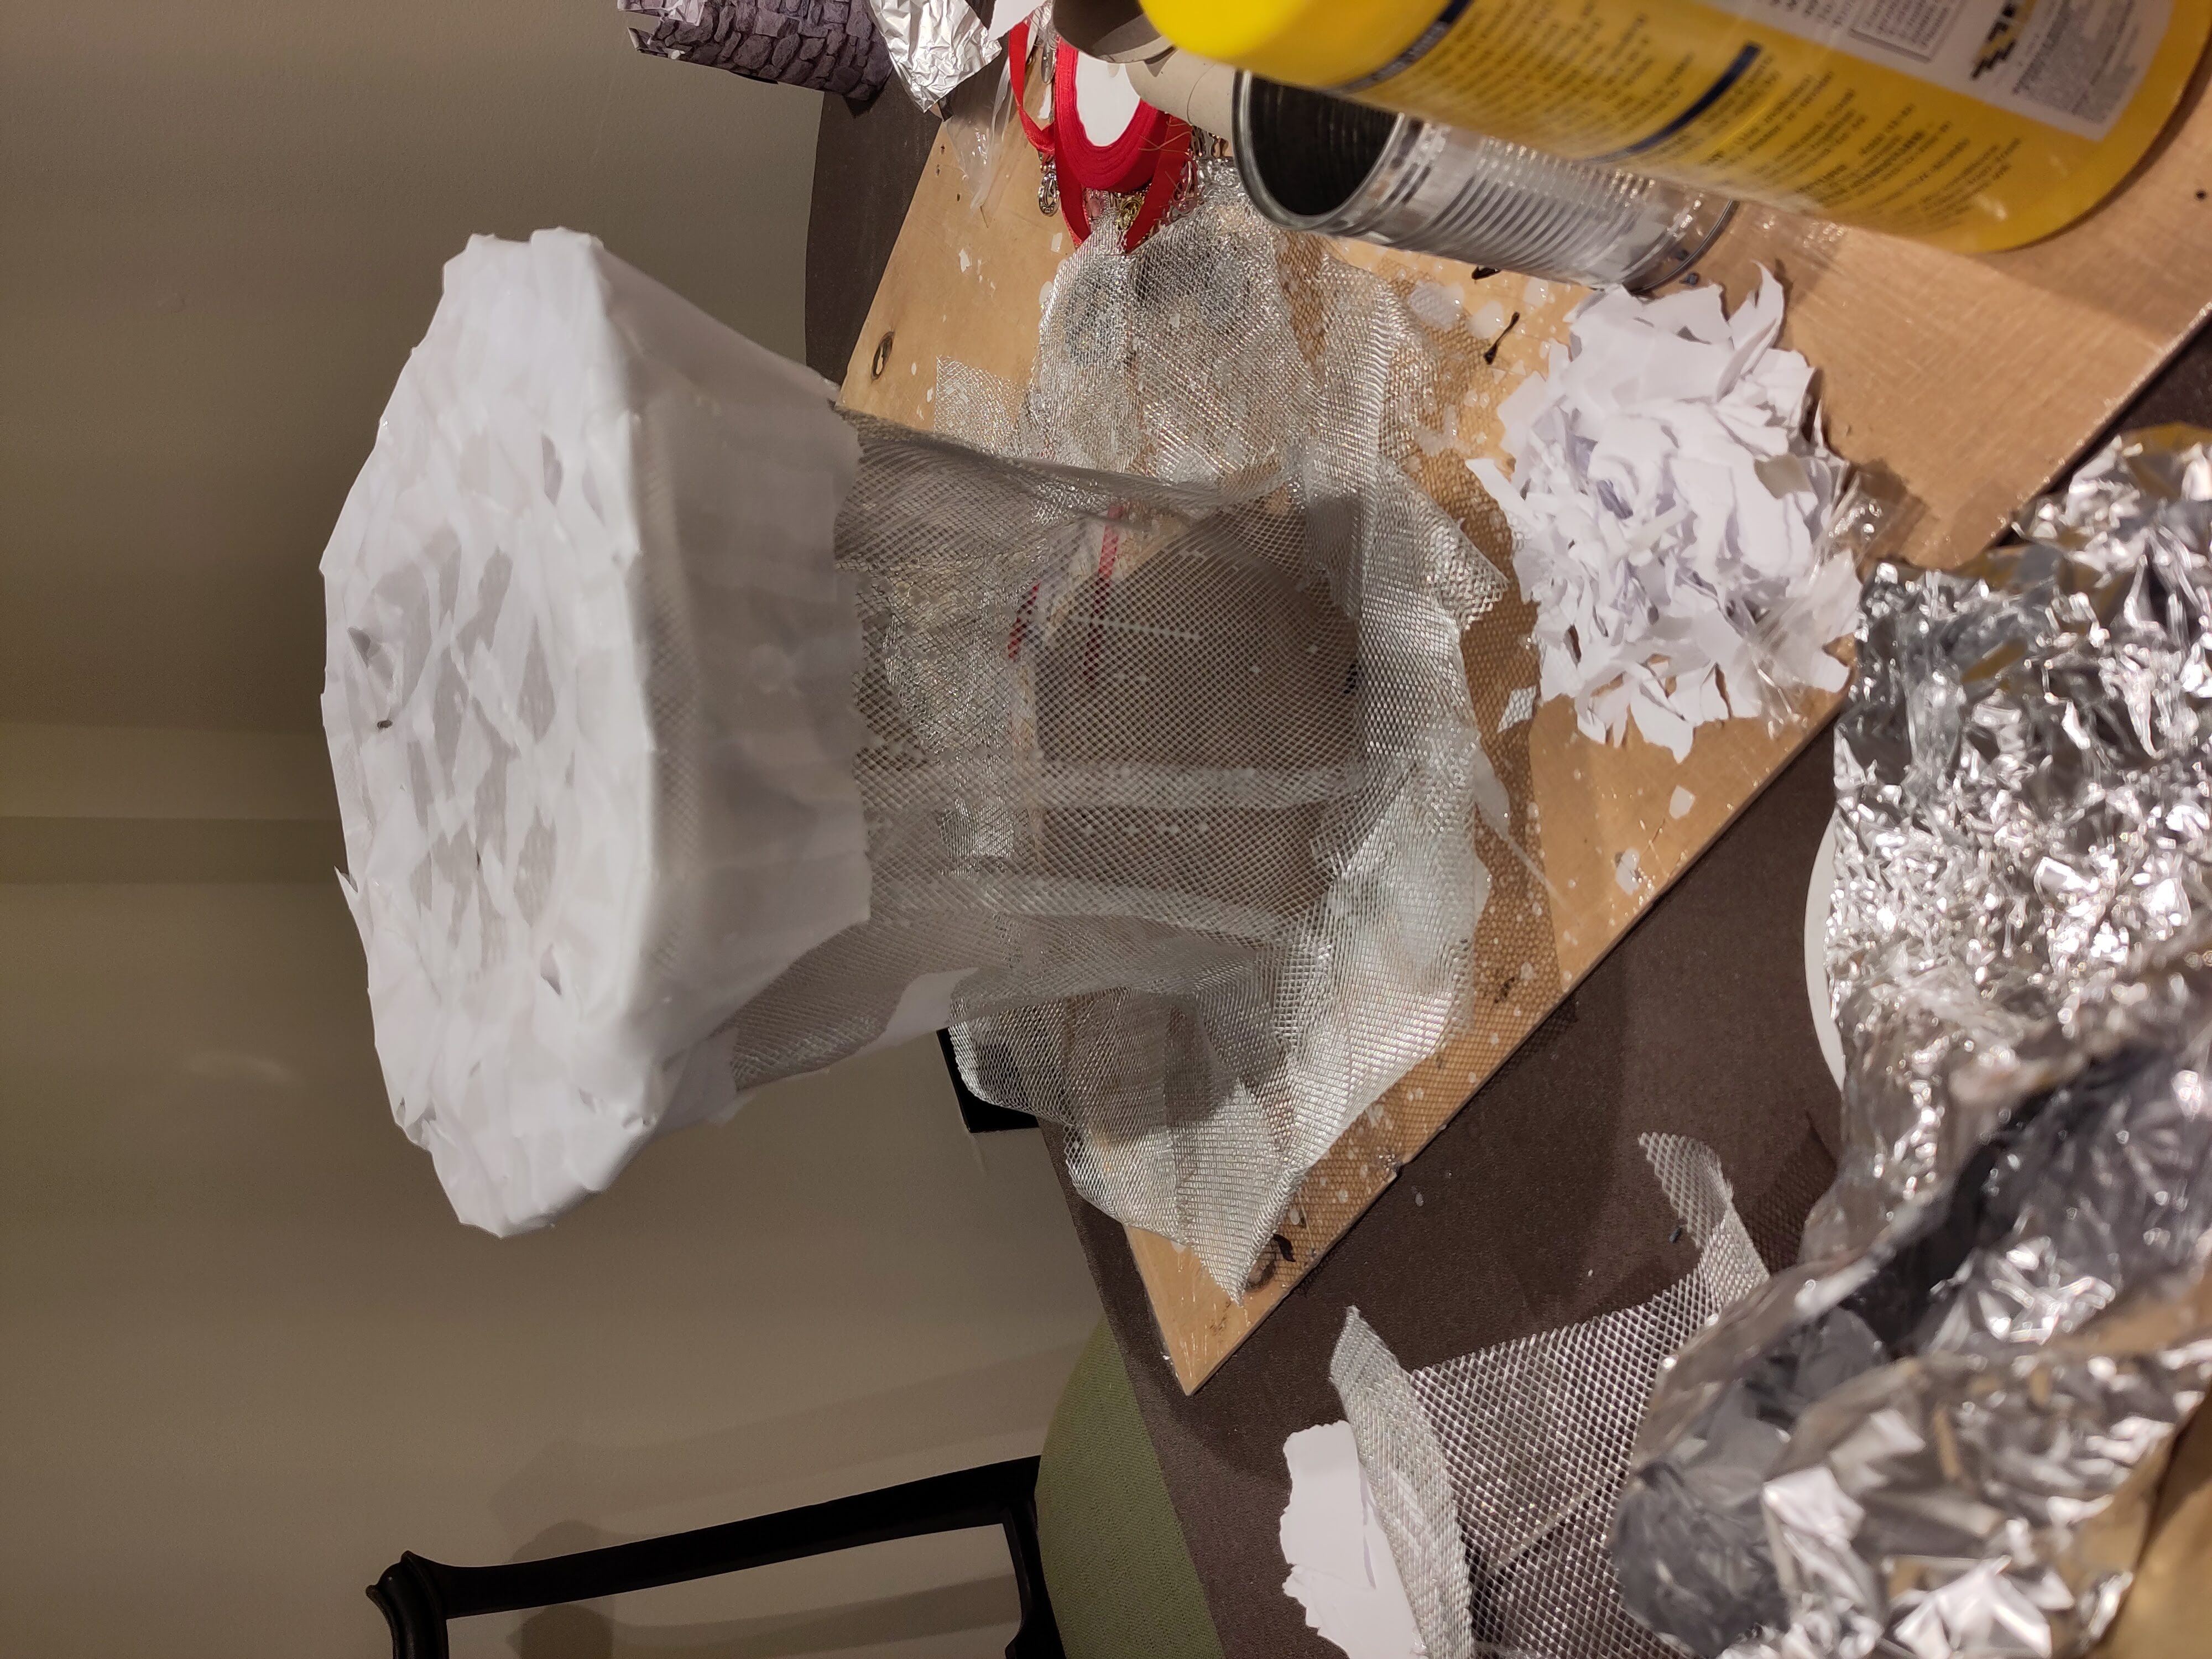
Here comes the velvet:
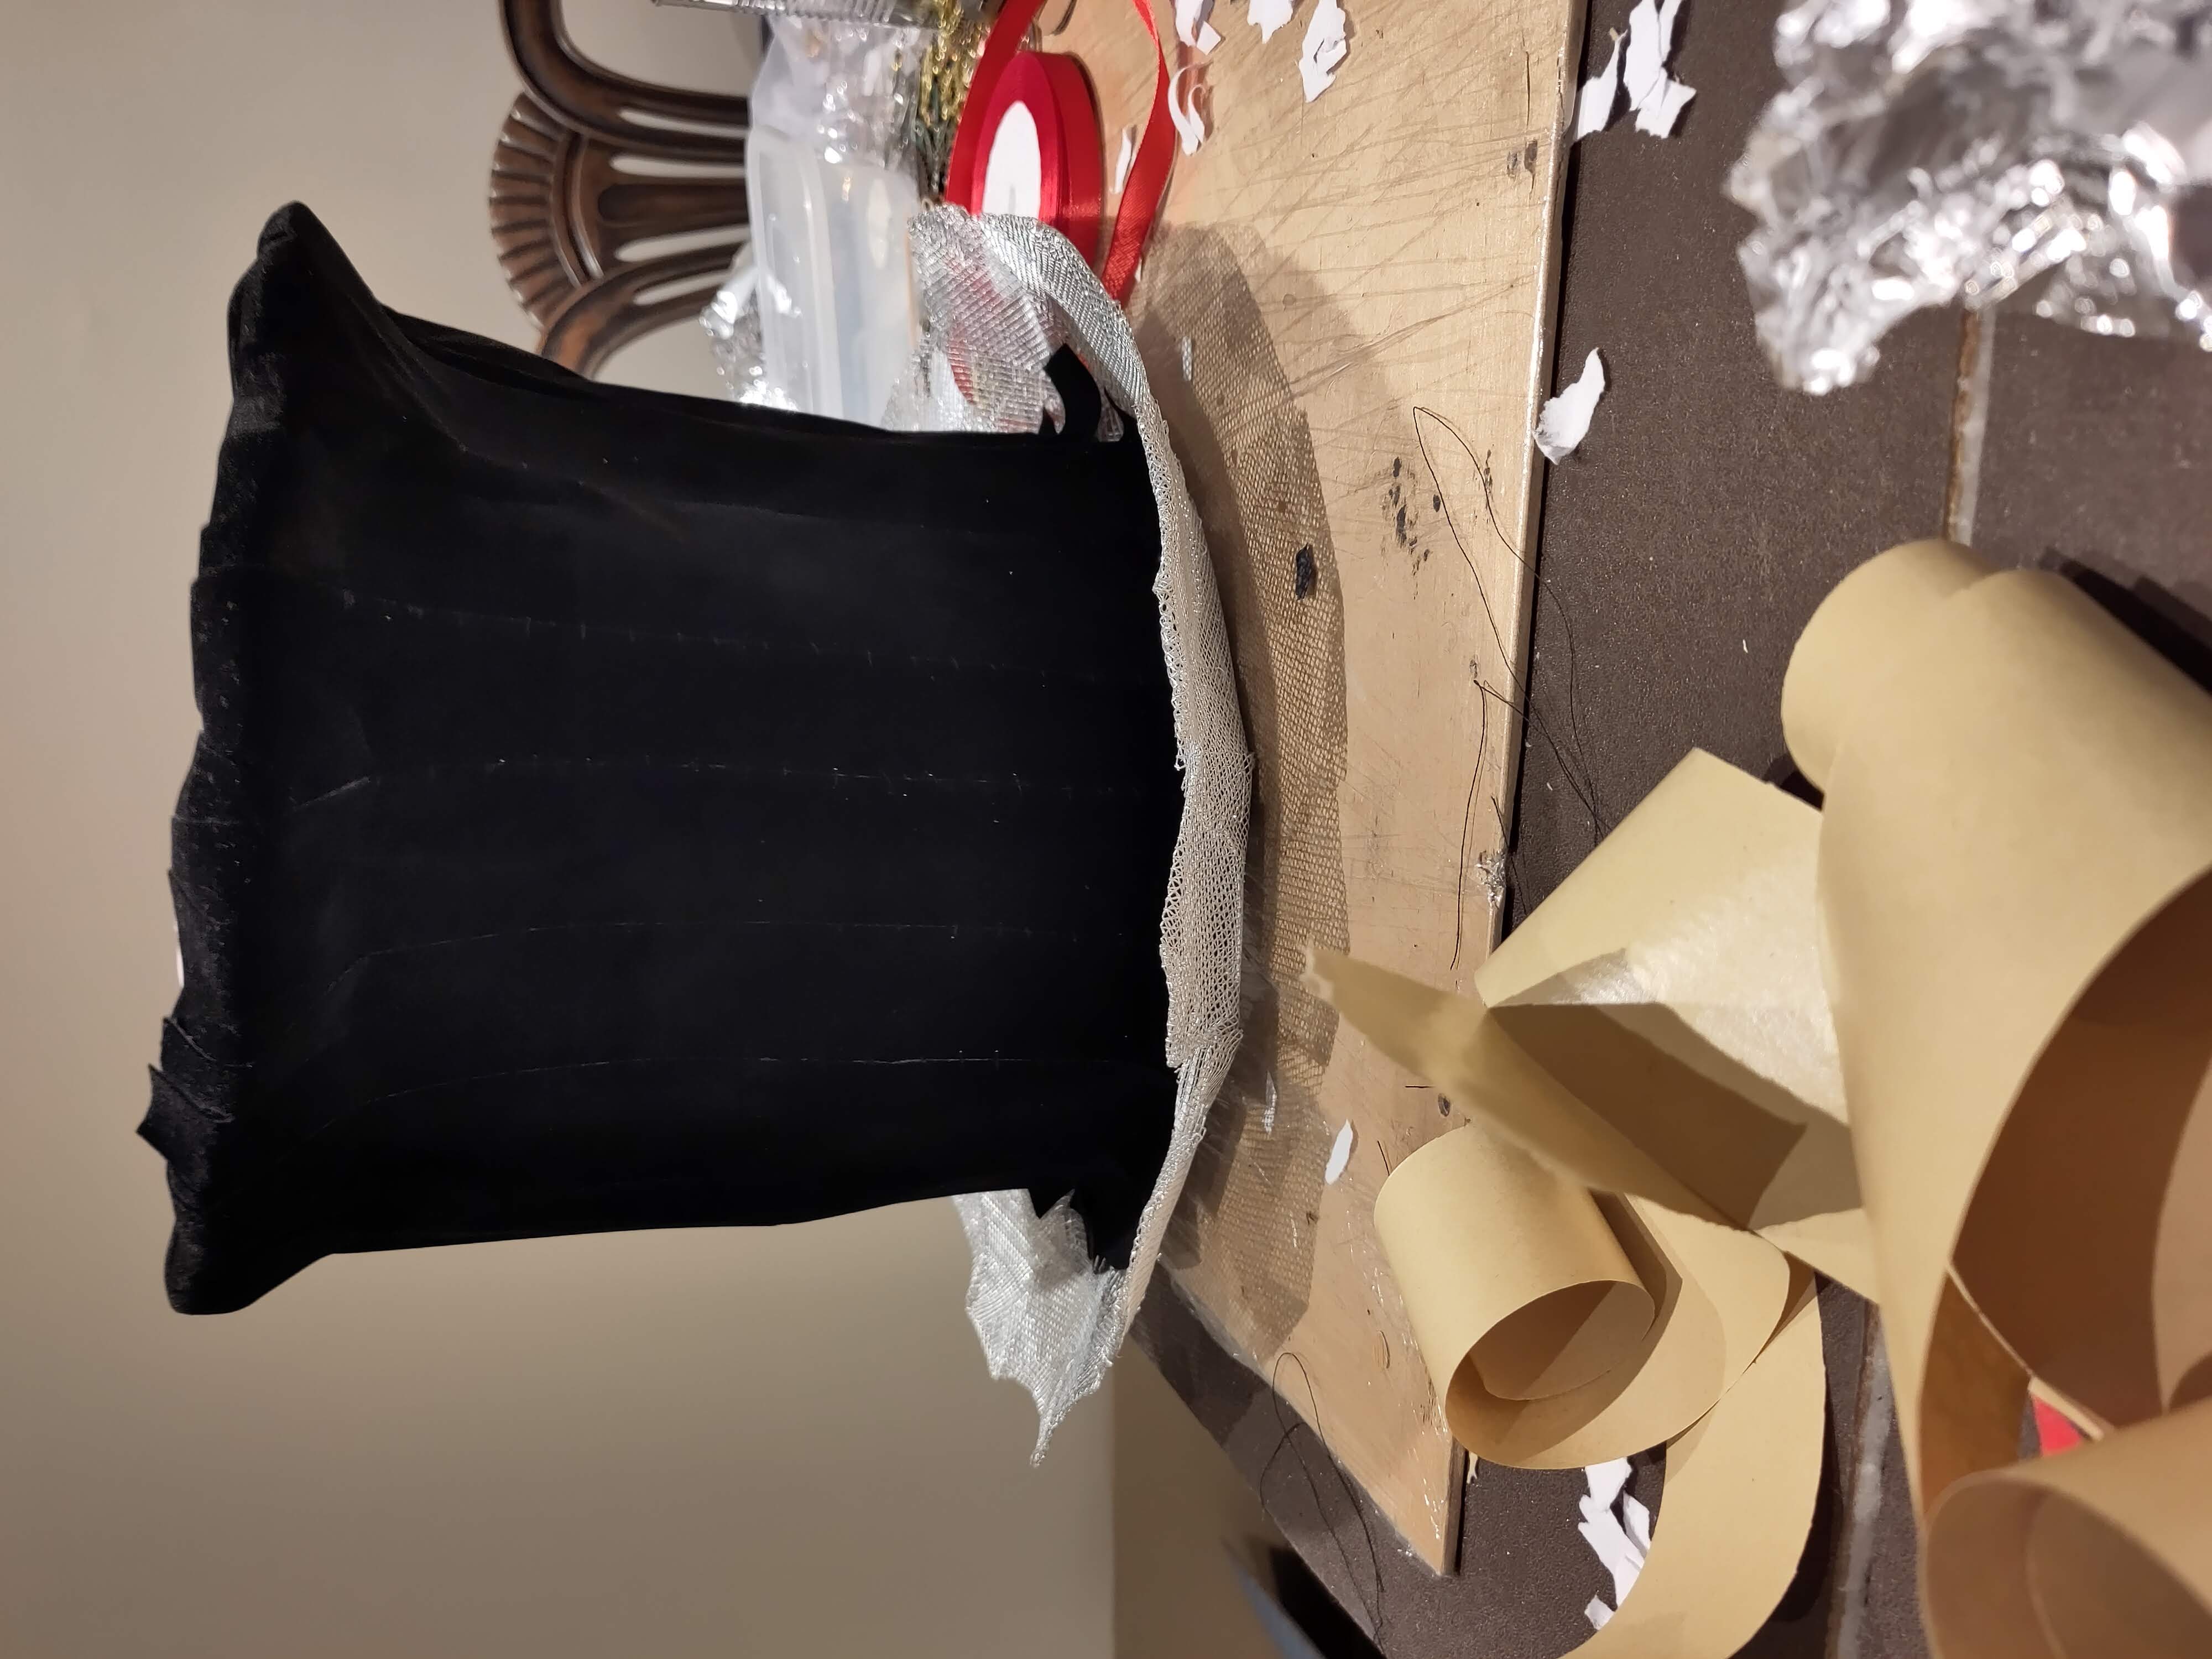
I sewed the strips together because the sticky-back wasn't quite sticky enough.
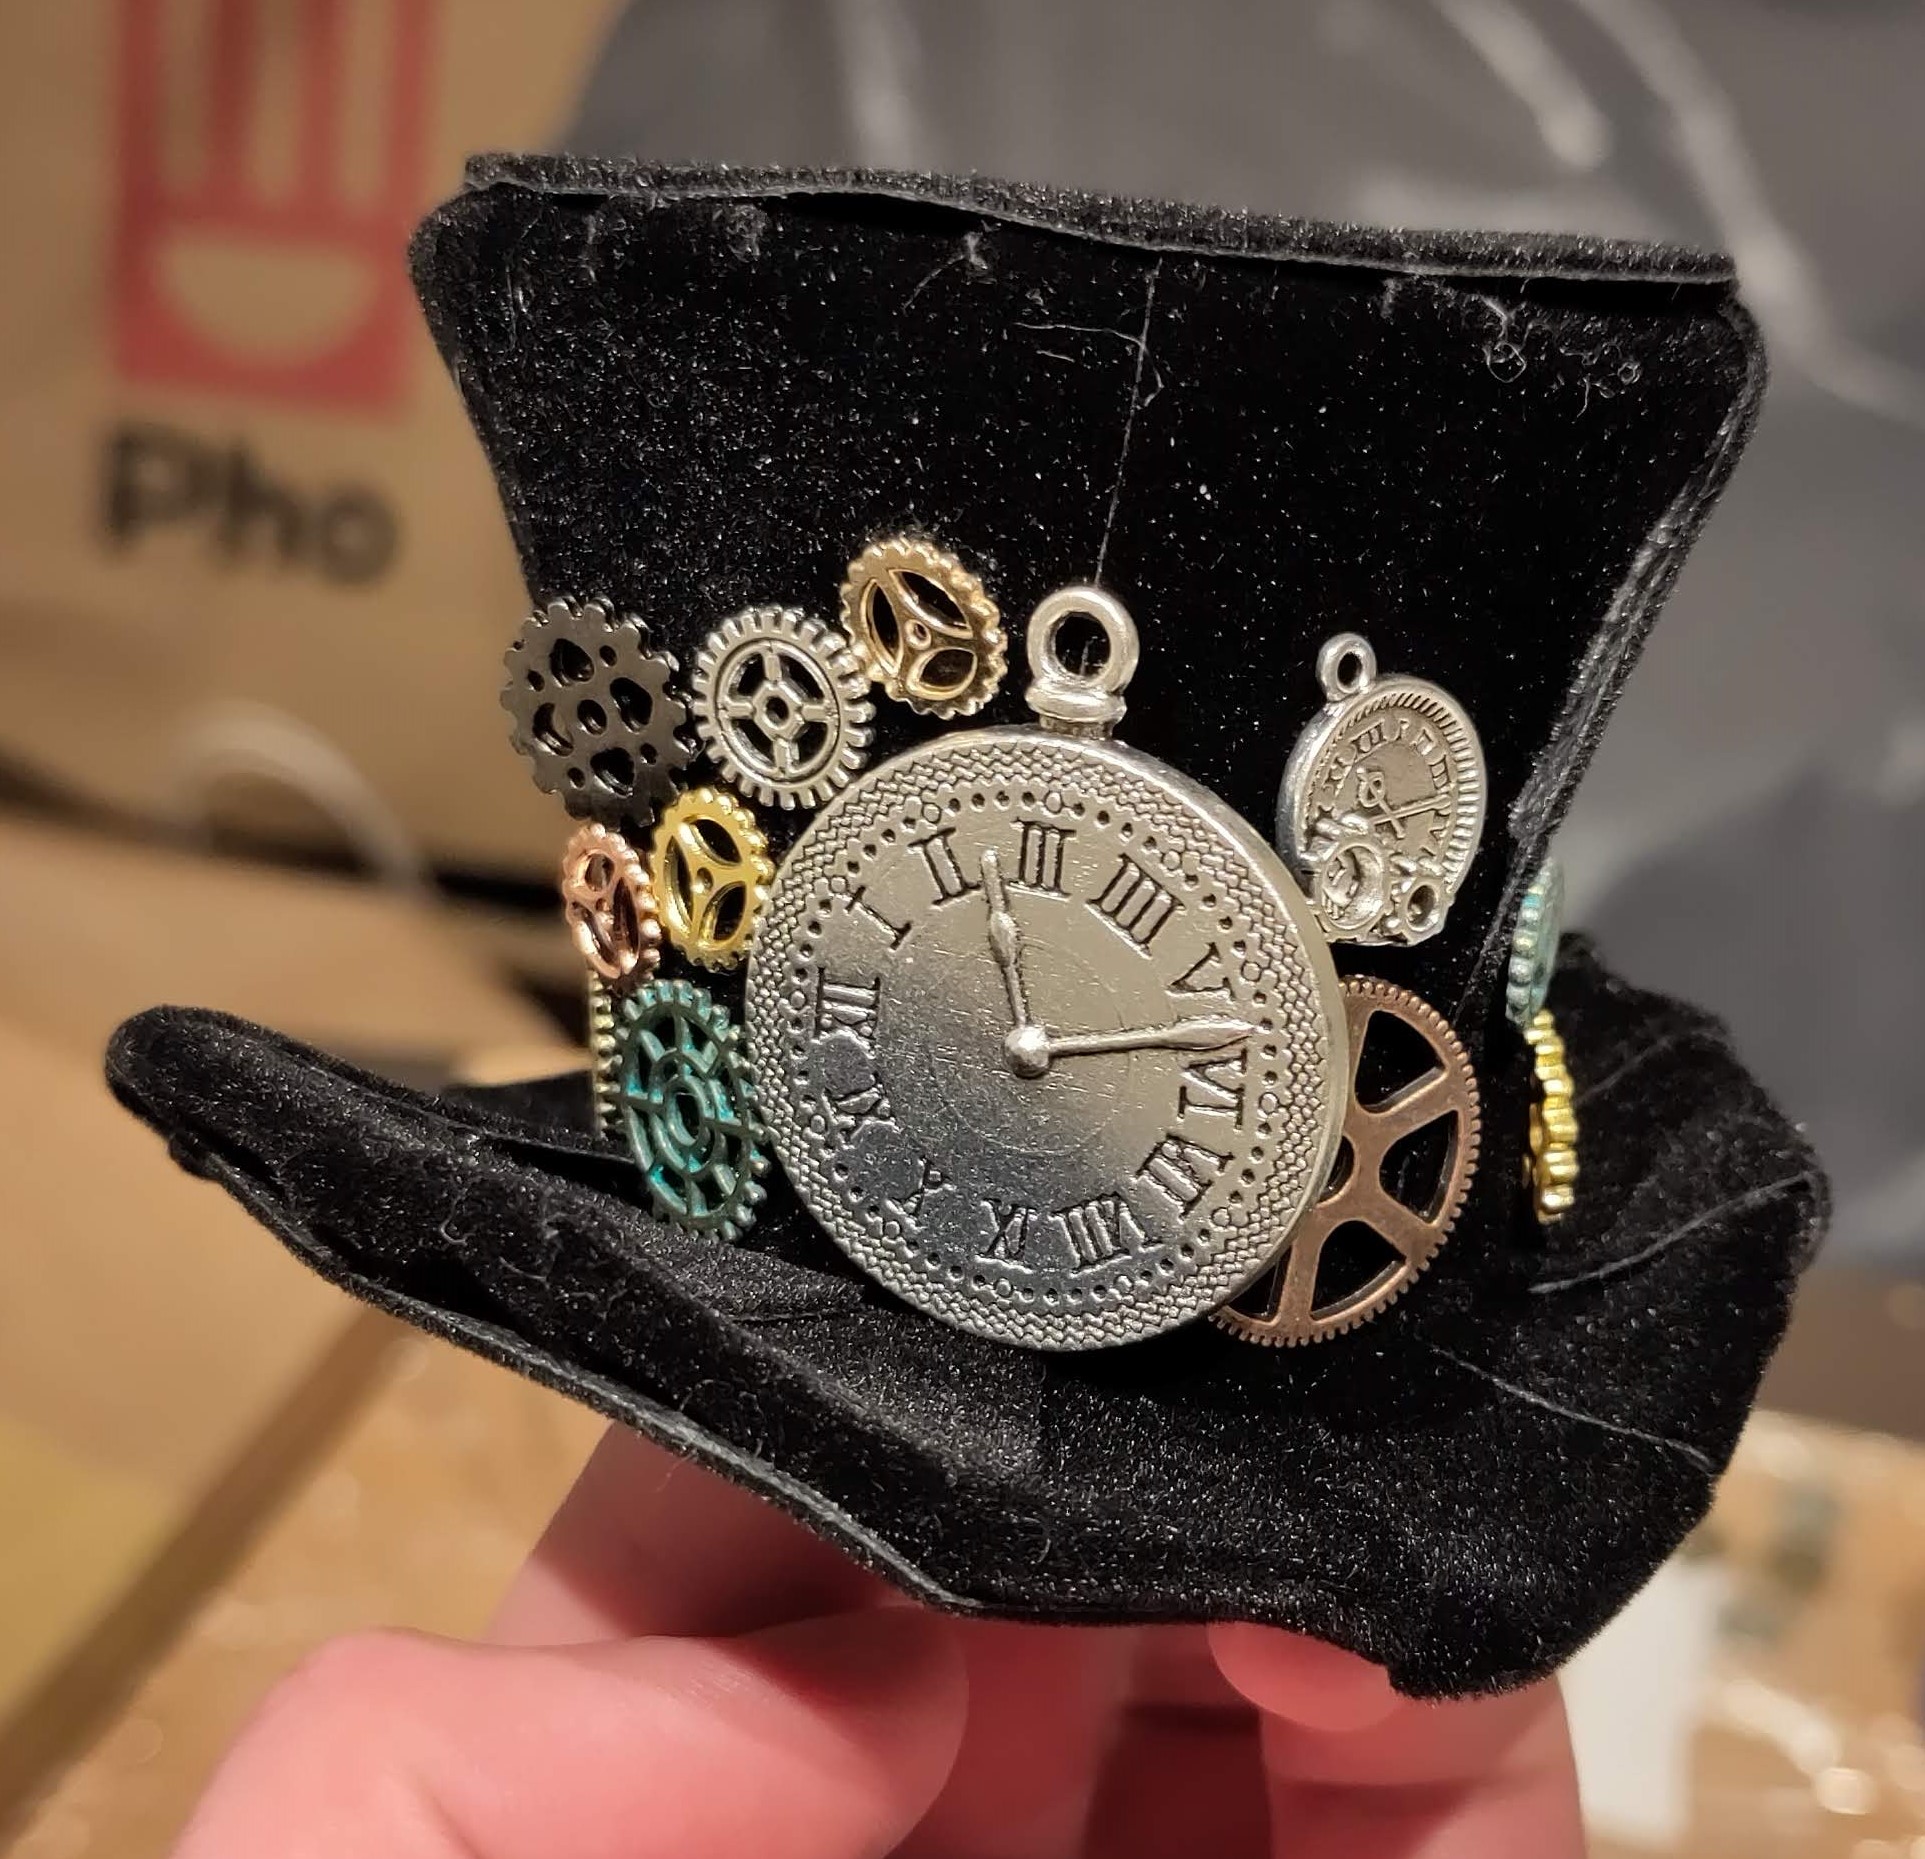
Now for clocks:
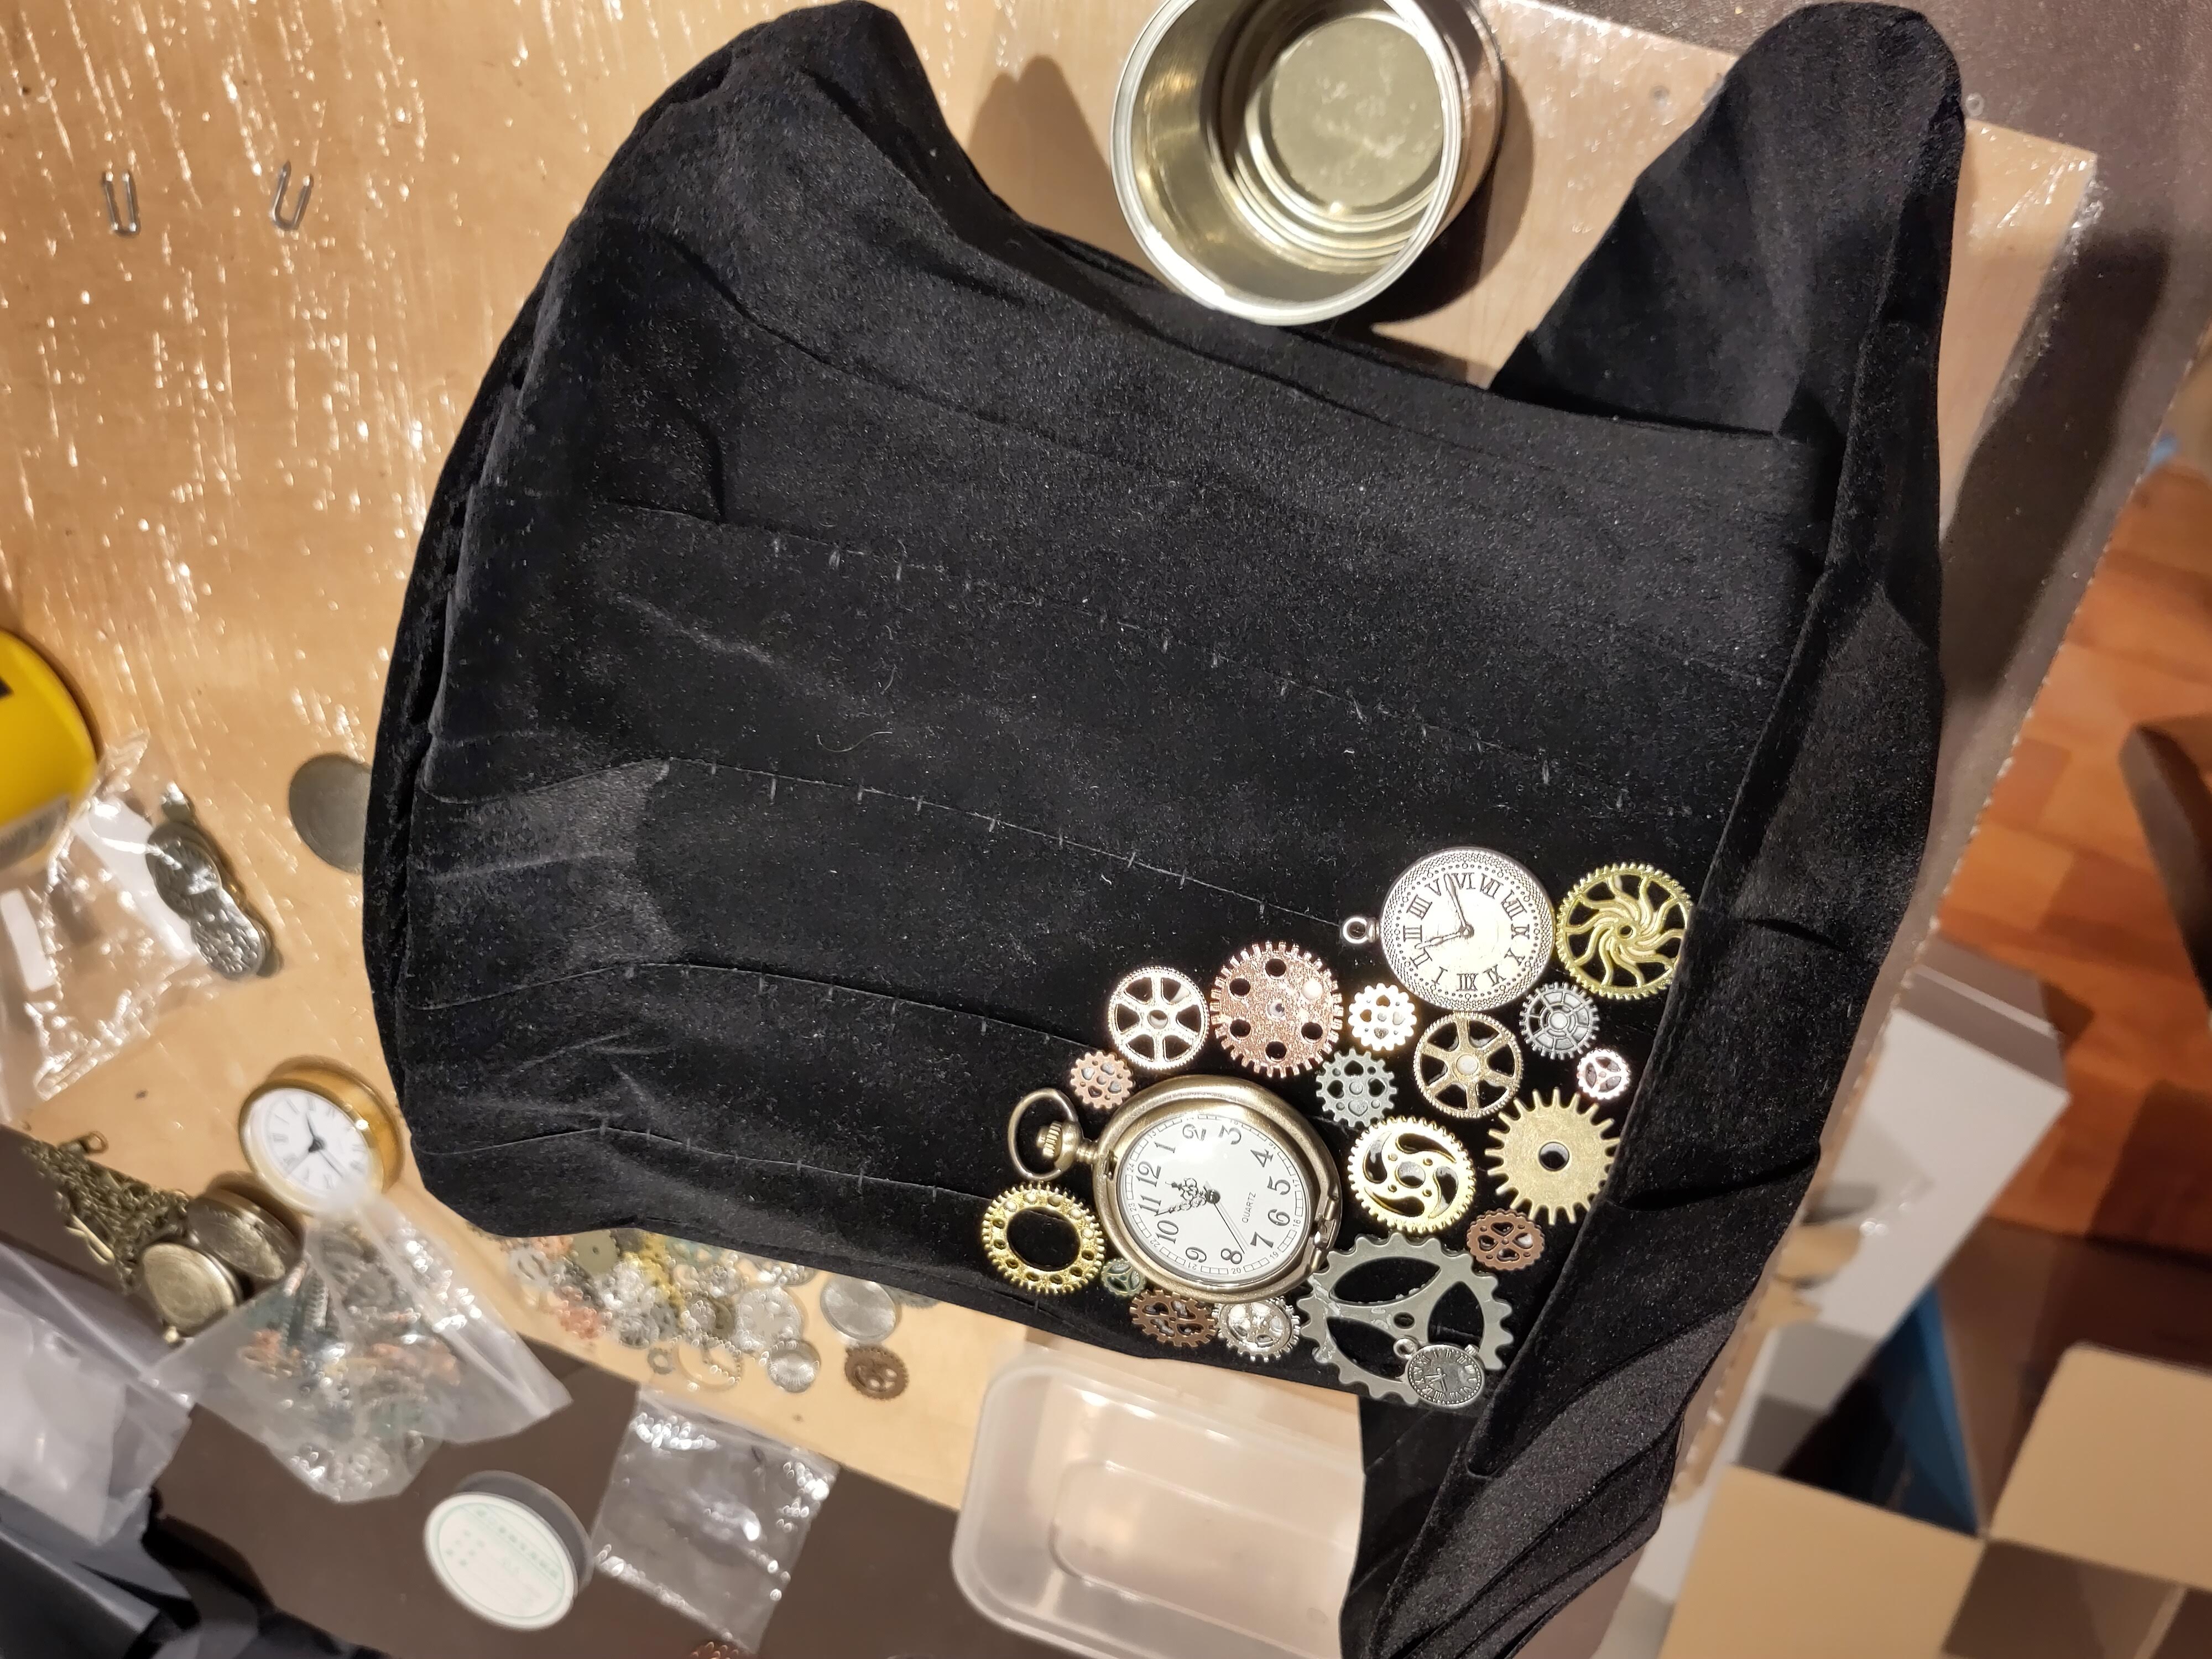
The largest clock is a working pocketwatch with the cover and chain removed.
And here it is! The final product:
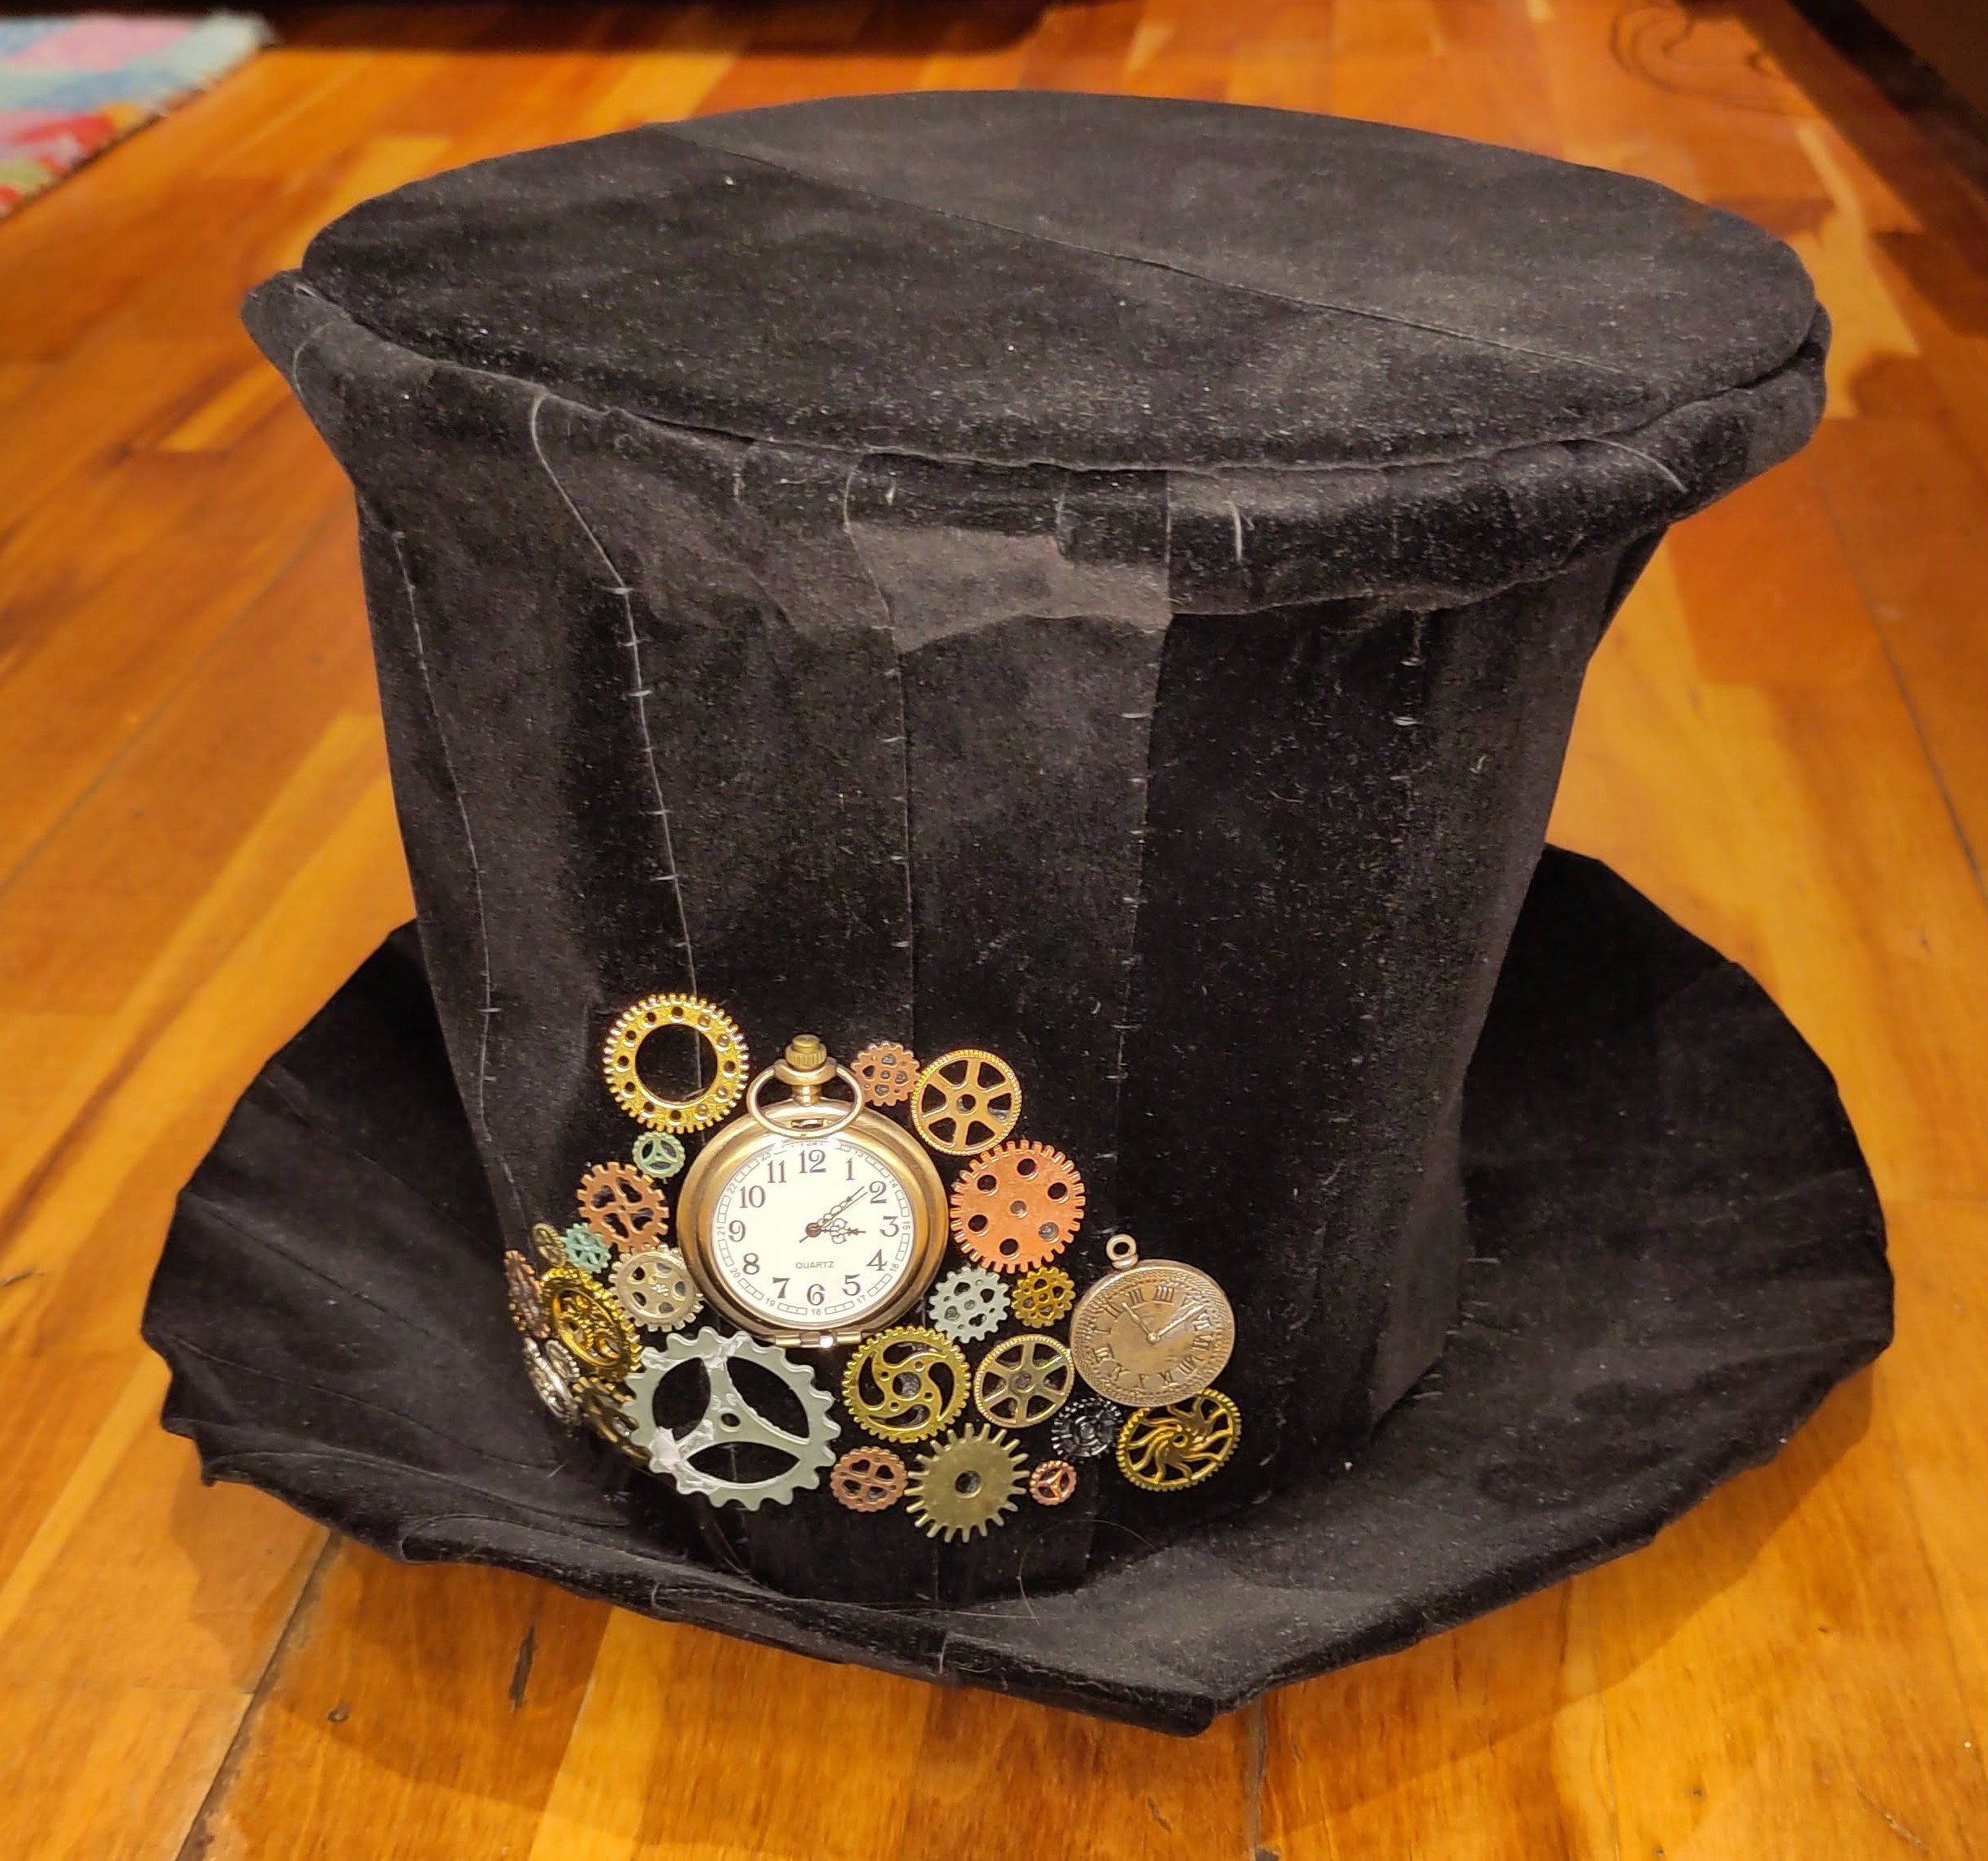
_ Likes